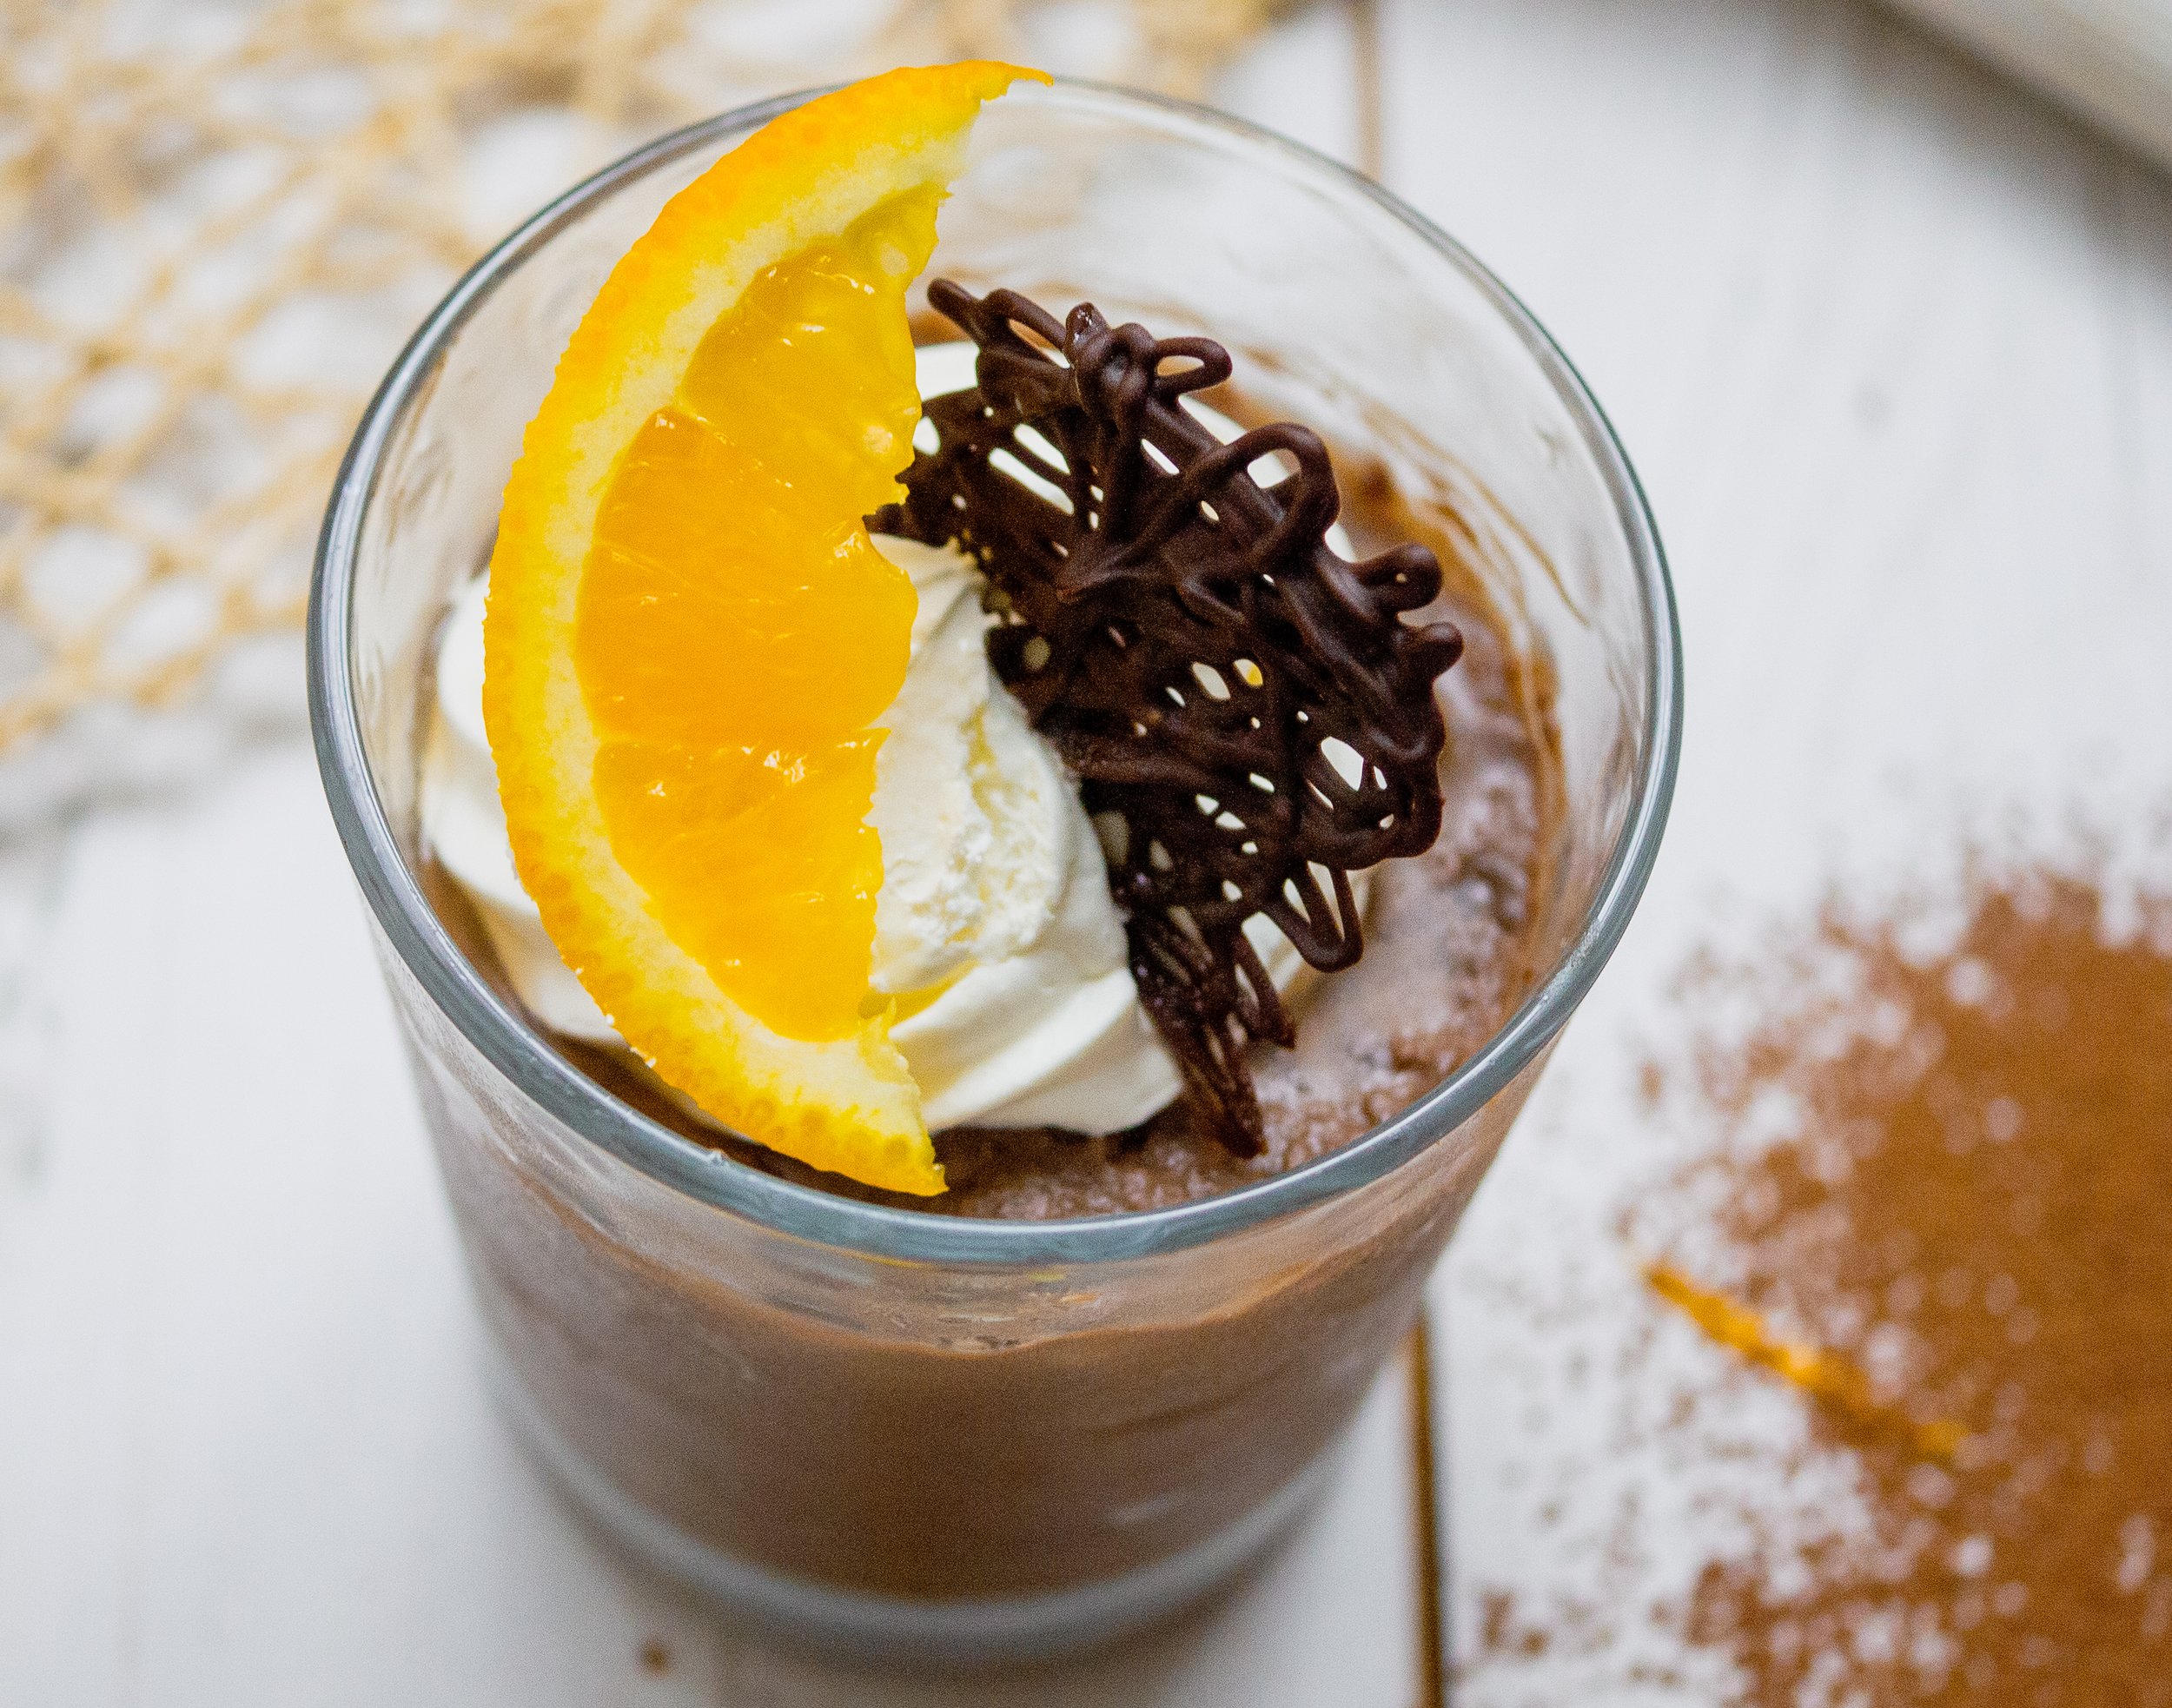
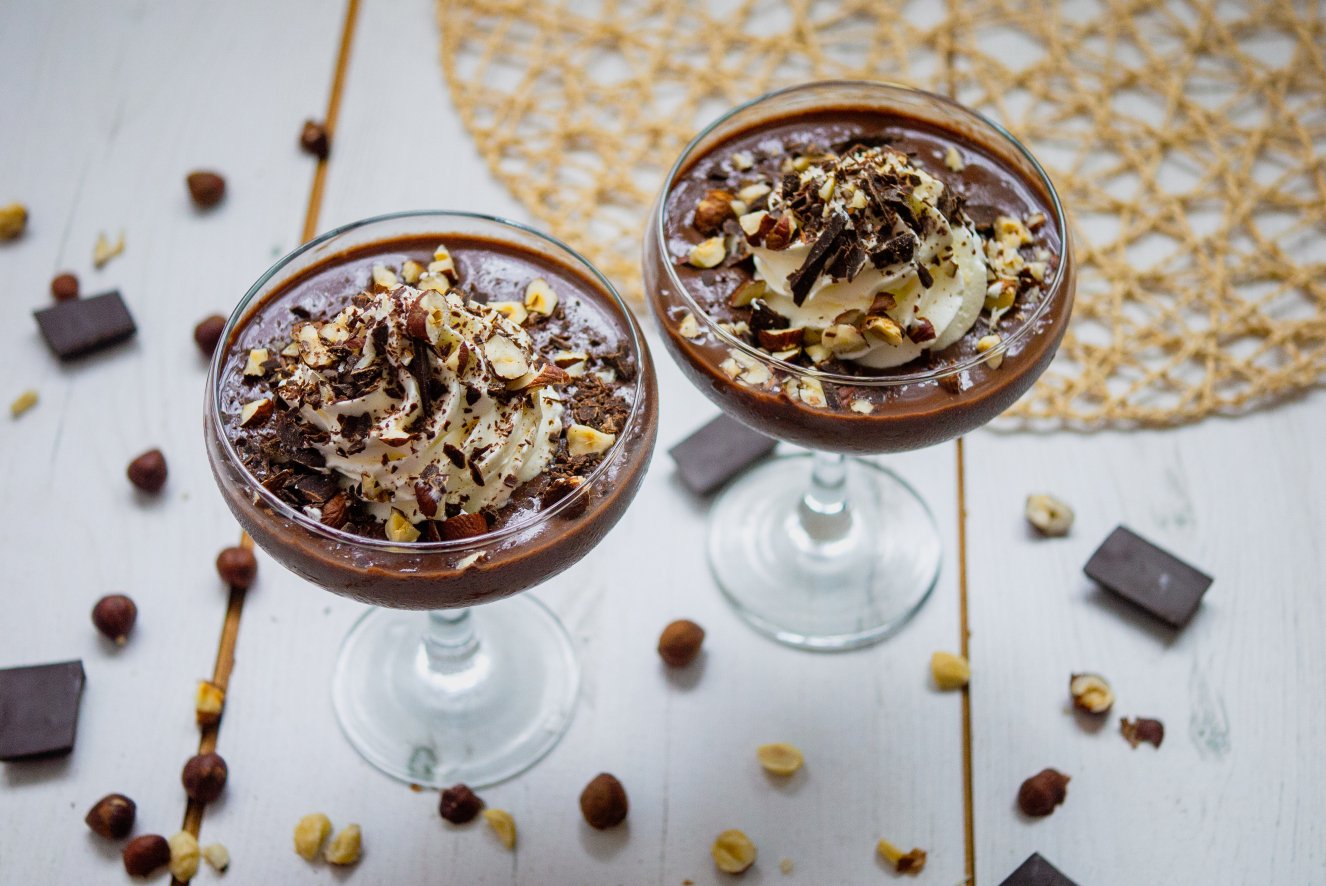
Chocolate and orange pots
GLUTEN FREE II VEGAN II DAIRY FREE II SOY FREE II SESAME FREE
Deliciously chocolatey, this dessert is a light velvety, silky smooth coconut chocolate custard with candied orange and topped with coconut cream and orange. This is an easy dessert recipe and is fab to wow your family or friends. Quick to prepare and doesn’t require ten thousand ingredients. YAY!!
Enjoy.

Notes on ingredients & substitutions
Coconut milk
The coconut milk I have used is one without any rubbish gums. Most coconut milk now that you can buy in the supermarket contains these questionable ingredients (some of these ingredients are linked to cancer, like carrageenan gum).
If you use coconut milk with emulsifying and thickening ingredients, your custard will not thicken. It will curdle or just be thin. The only way you will get a thick custard is by using tinned milk like this brand with just one ingredient: coconuts.
Sweetener
I always use either organic or local raw honey in my cooking. However, this is not vegan, so please use either agave, maple, coconut sugar or any sweetener you prefer.
Cornflour
Use arrowroot instead if you can’t get hold of cornflour, also known as cornstarch.
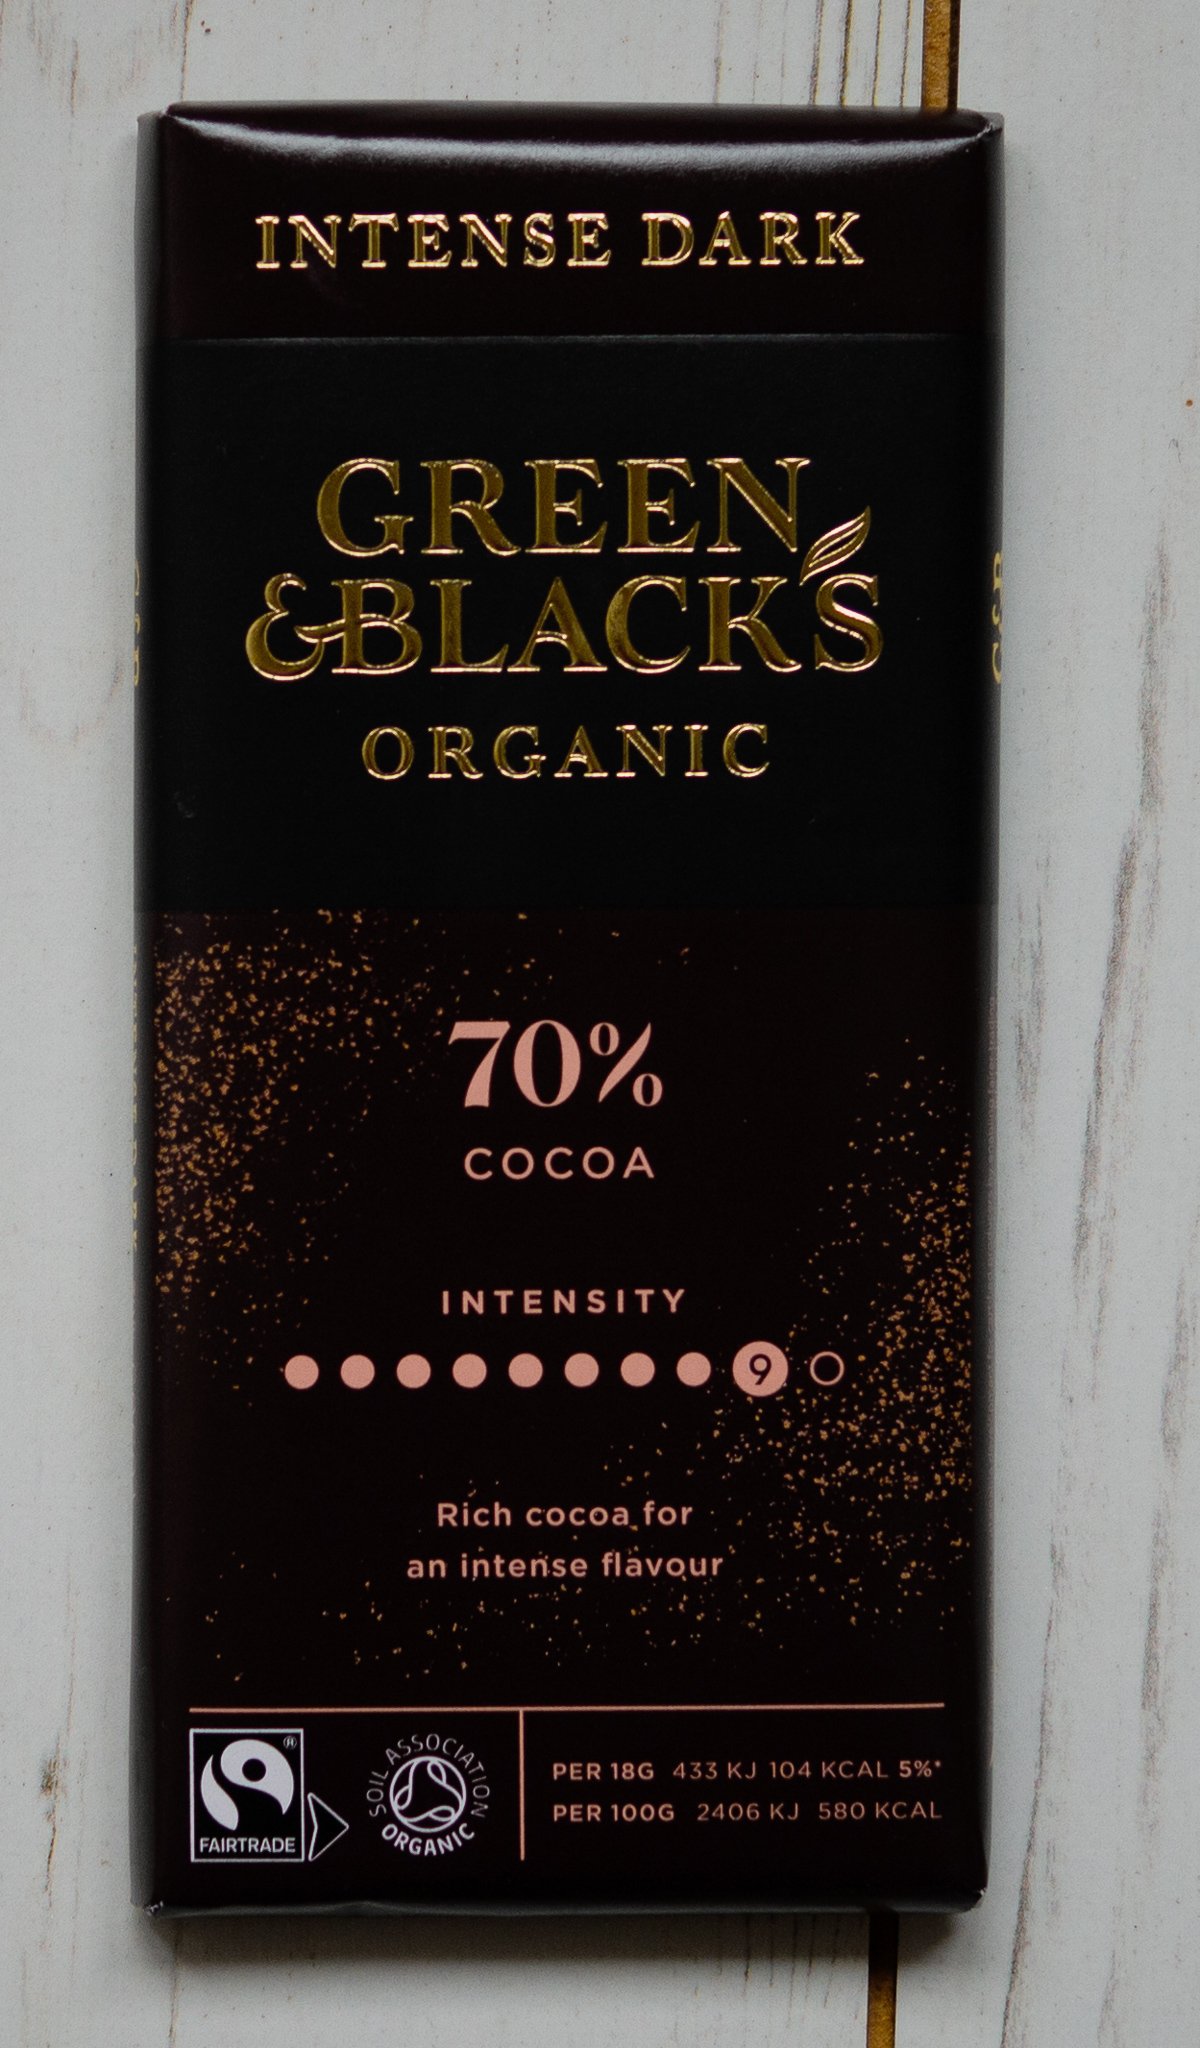
Chocolate
This is my preferred brand of chocolate. It’s the best dairy and soy-free chocolate for baking with. The high percentage of cocoa means you get a really chocolatey flavour. It will be more bitter, so adjust the sweetness.
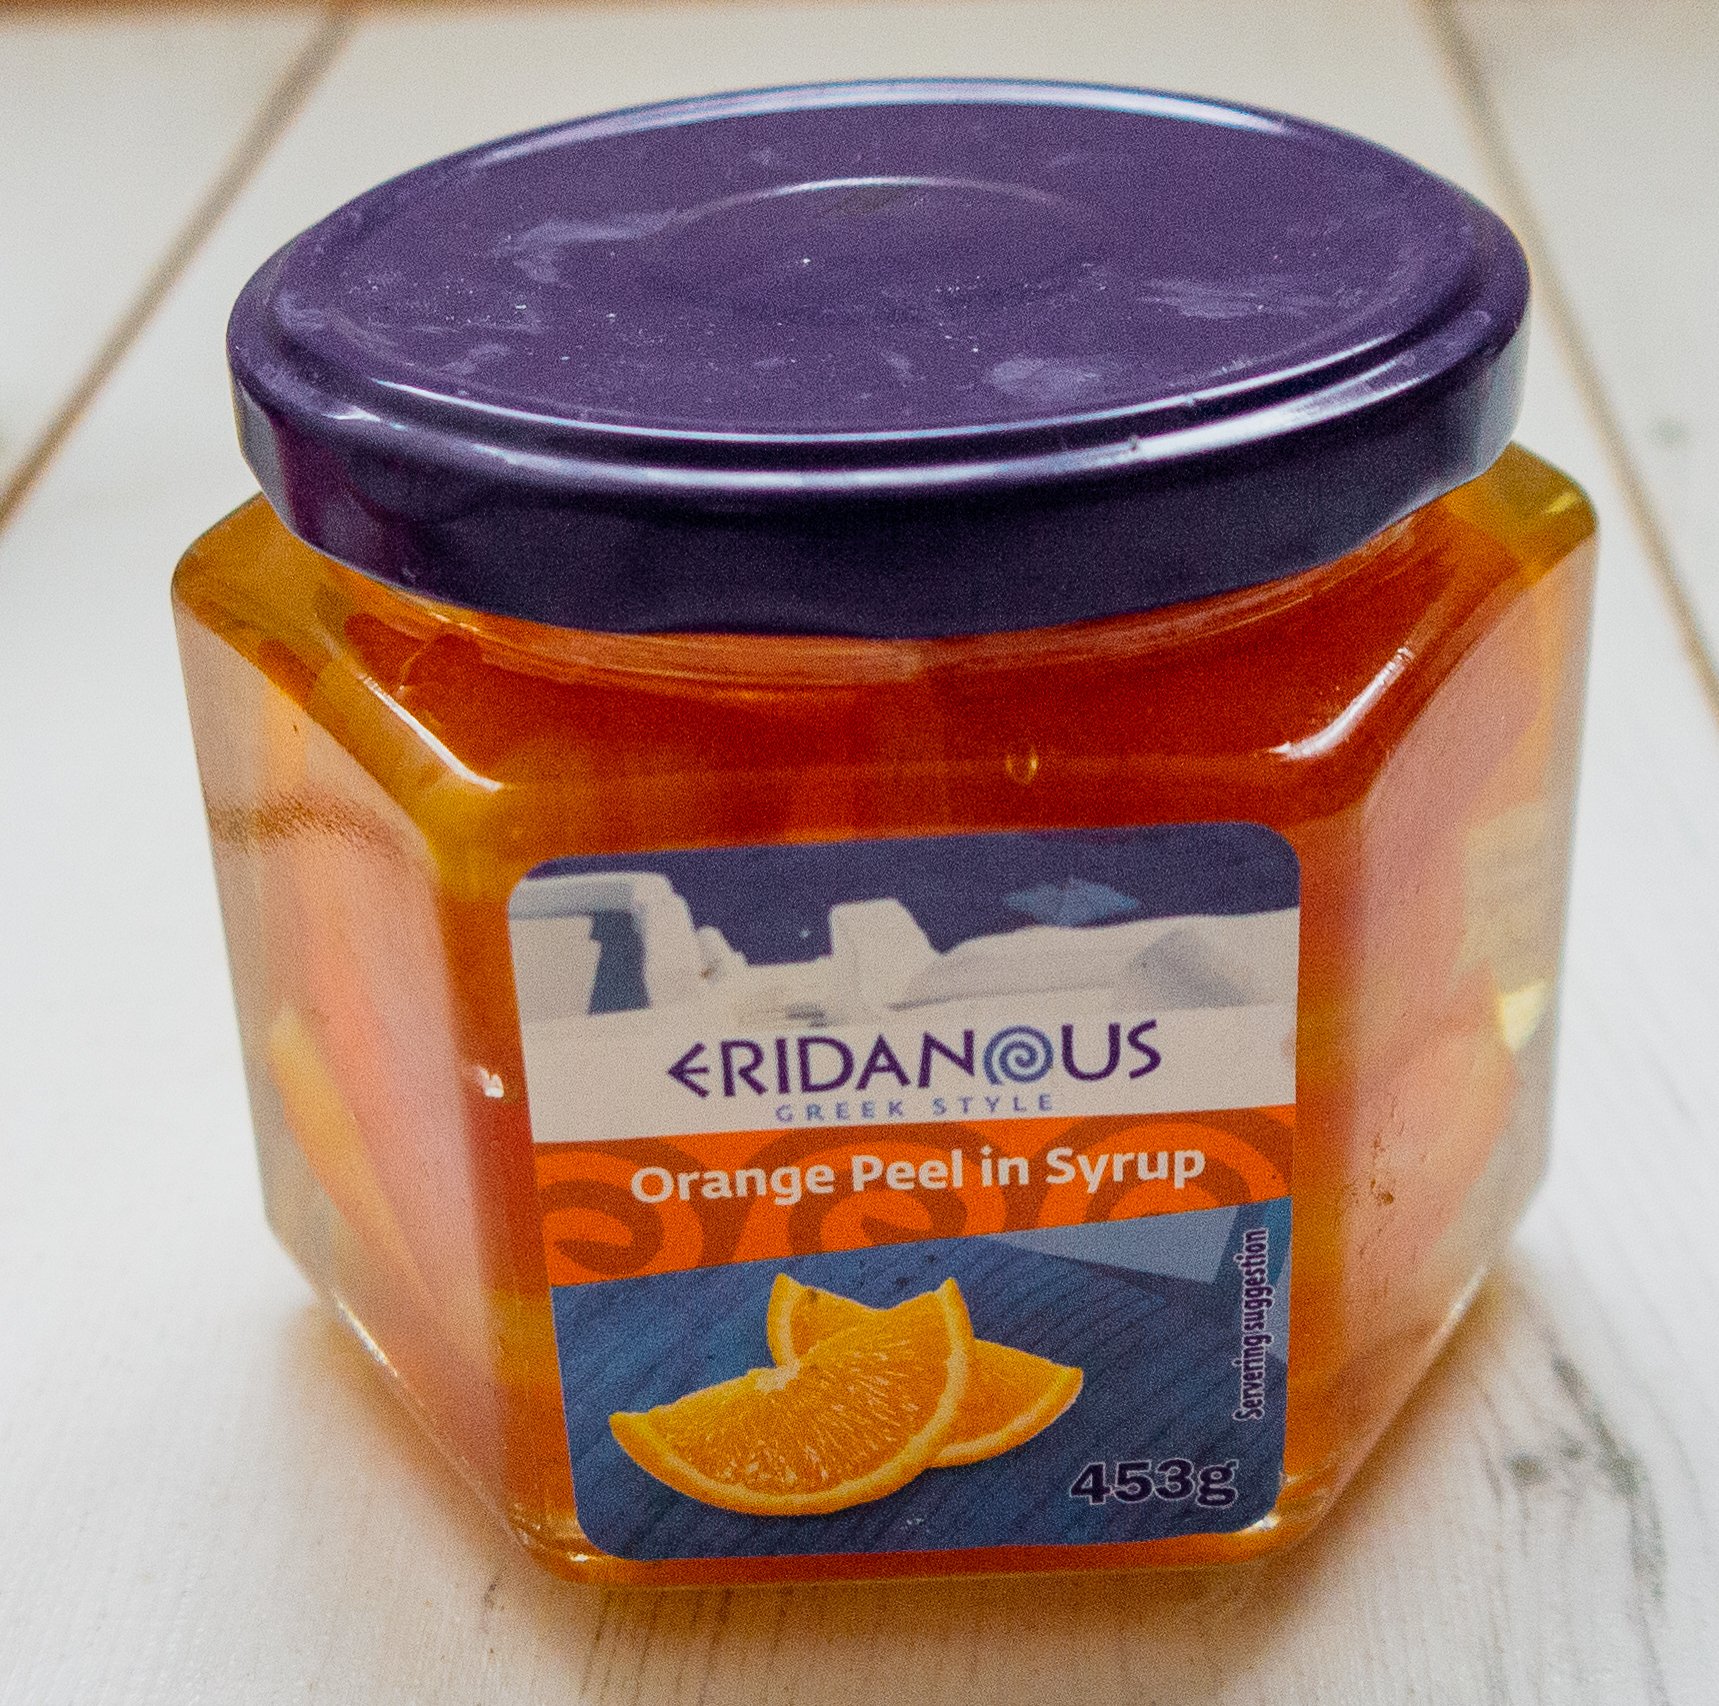
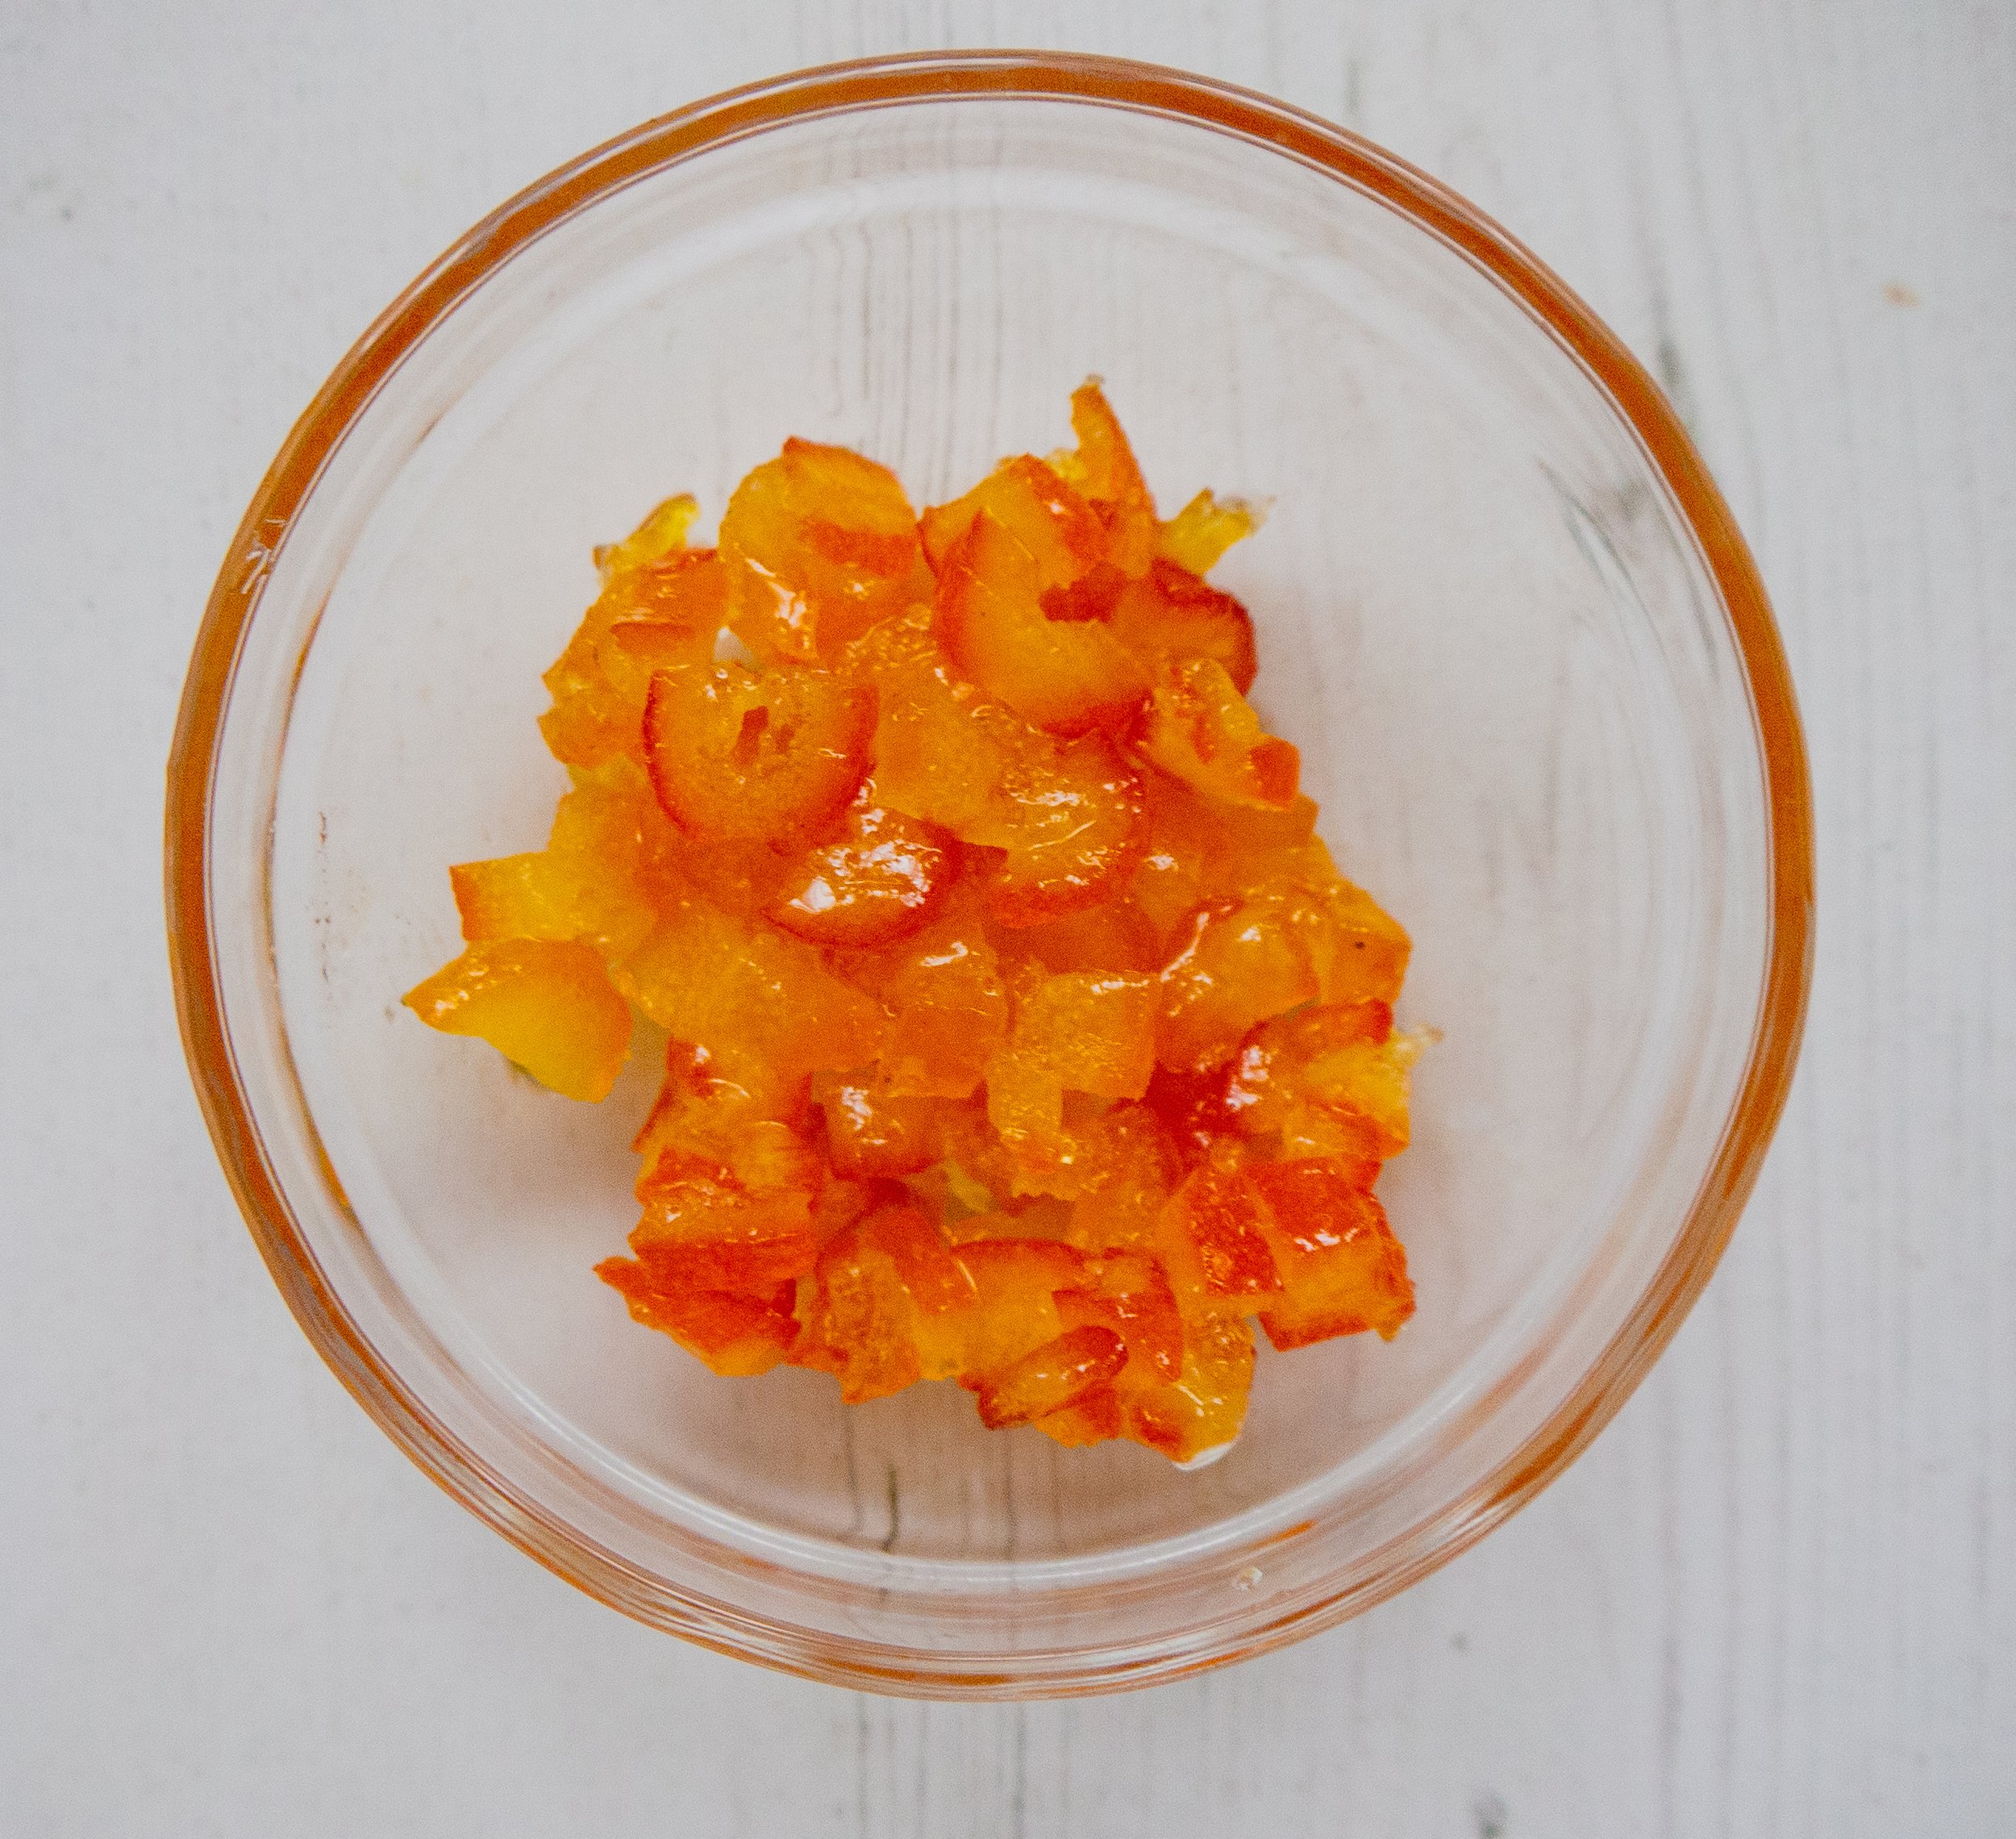
Orange peel in syrup/ candied orange peel
Buy this online here, or you can easily make your own candied peel; take a look here for the recipe.
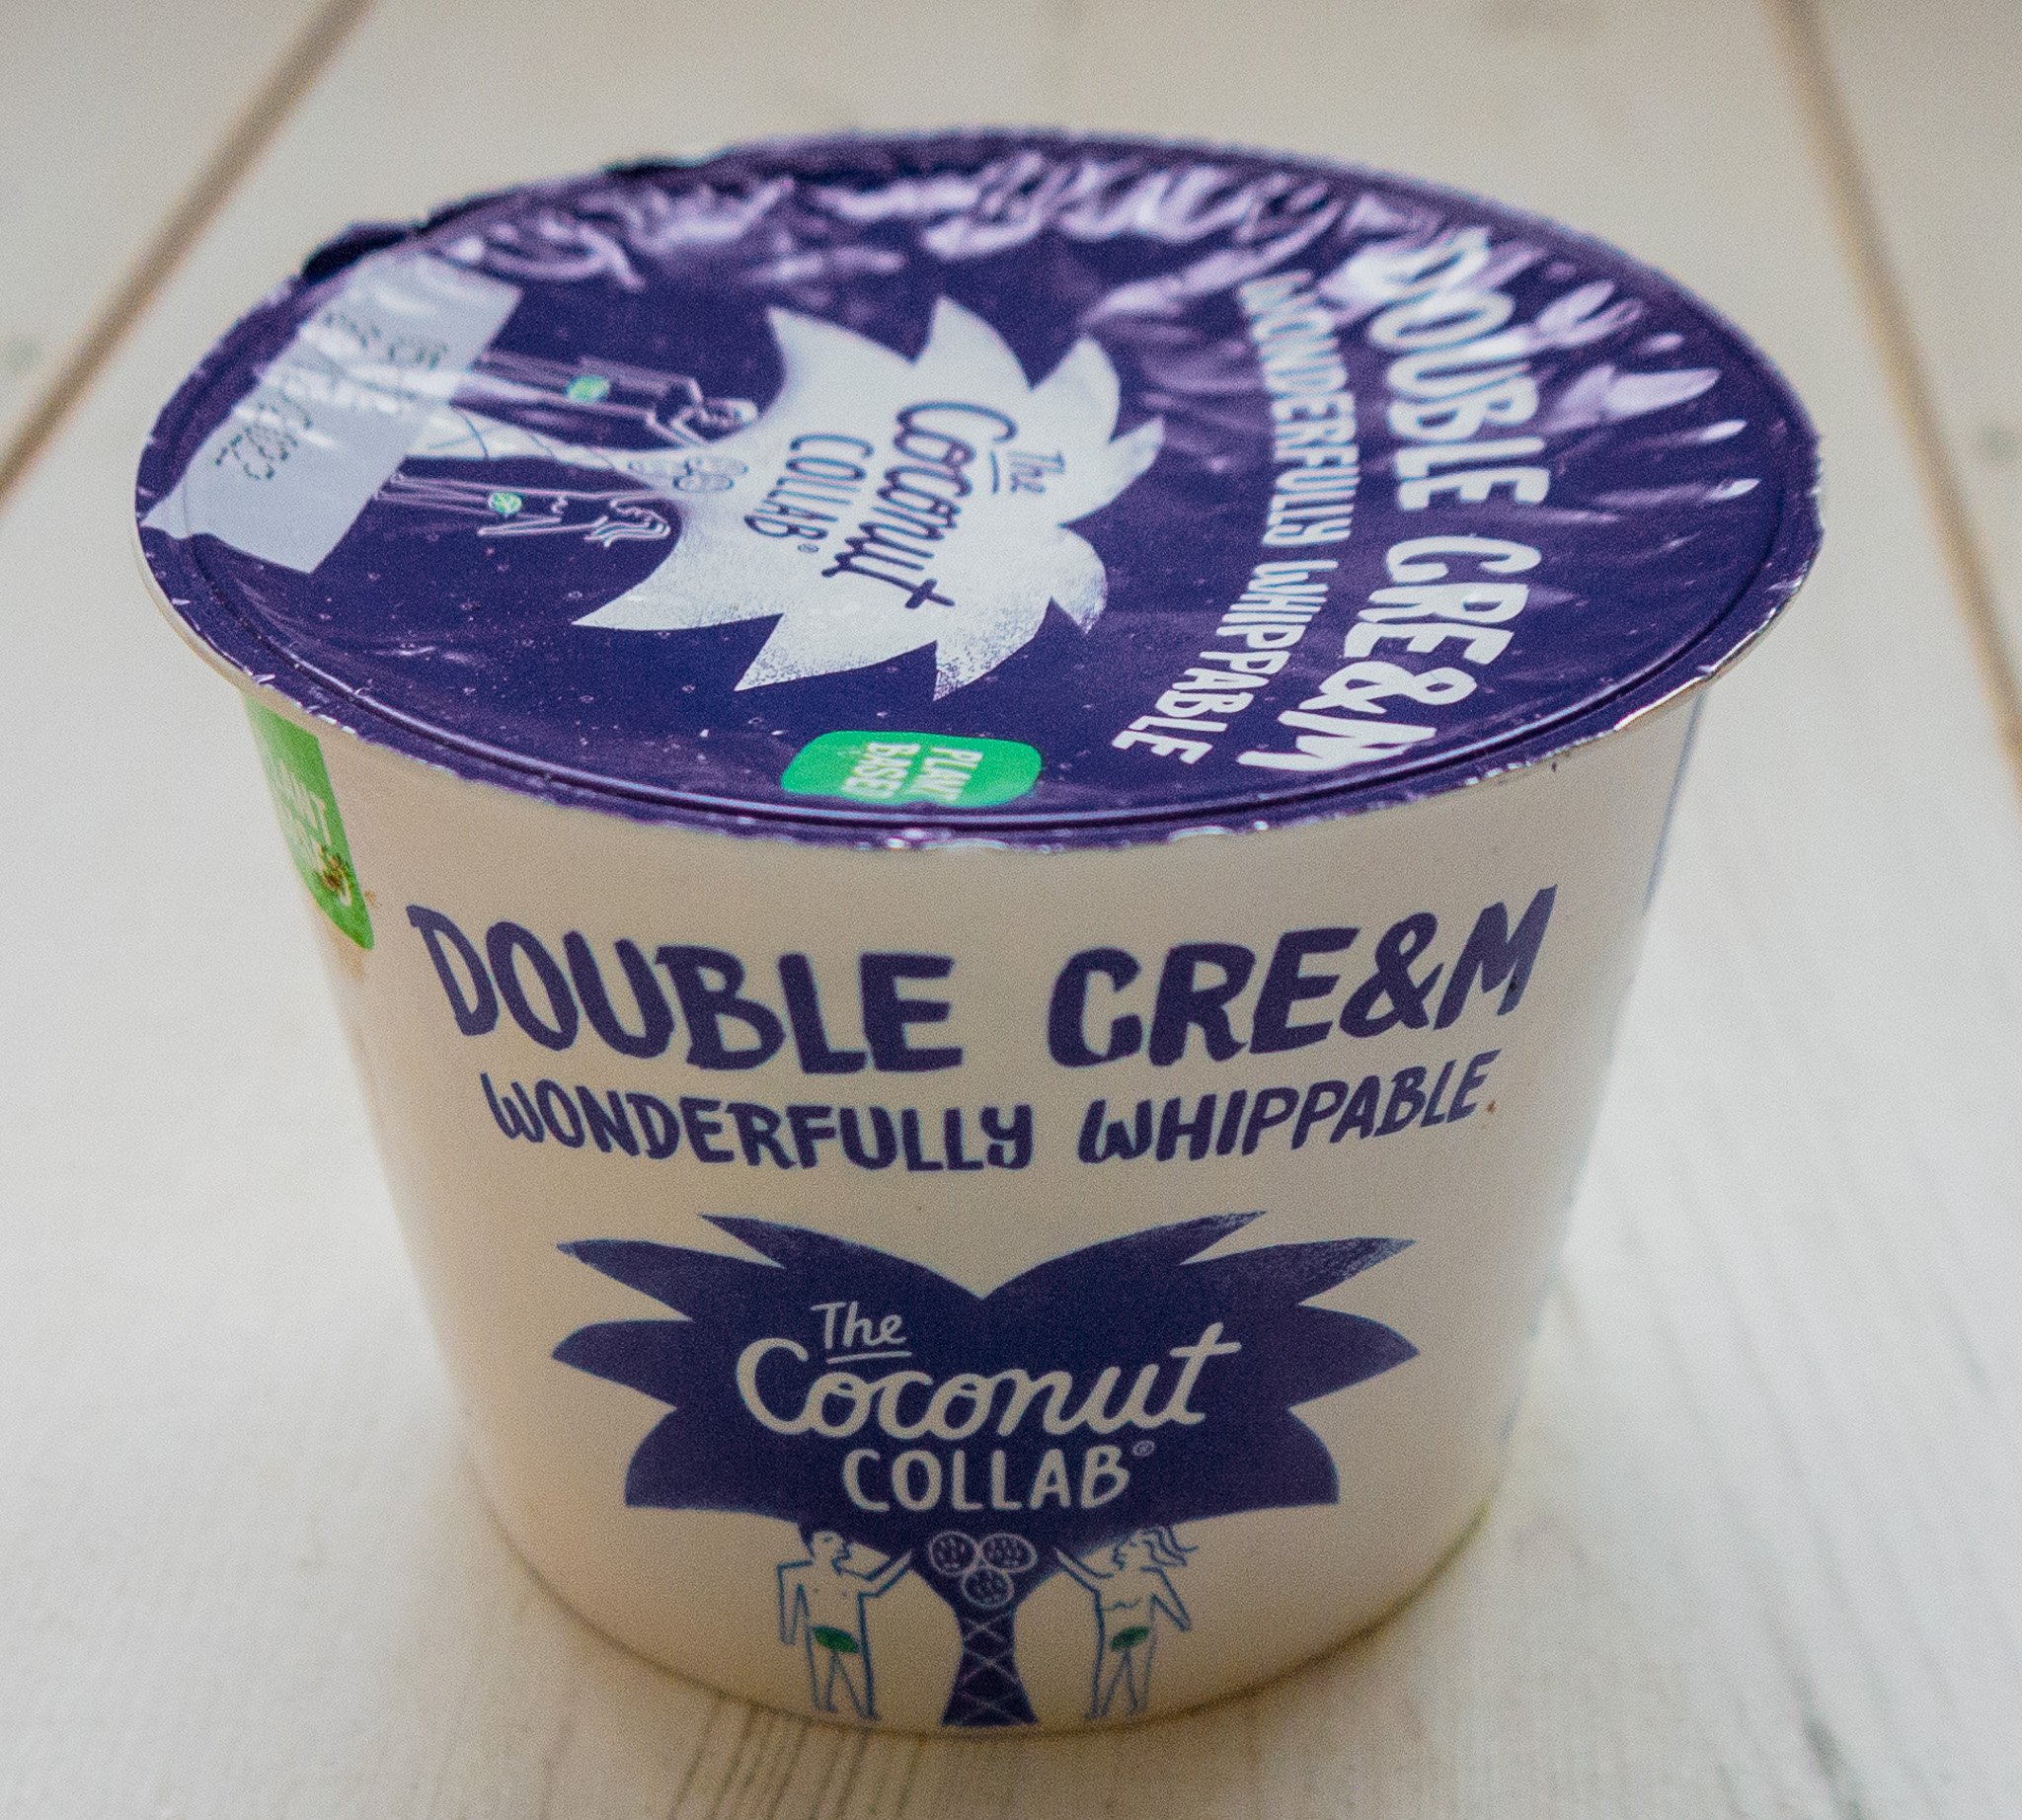
Whipping cream
I bought this whipping cream by the coconut collab from Sainsbury’s in the UK. It holds really well, doesn’t soften and pipes just like regular cream. OR you could use this brand of whipping cream instead if you prefer by biona. Take a look here.
You can buy this from most health food shops or online. It’s 3 times more expensive but tastes really good. It’s not really whippable; it thickens, but you can’t pipe it. I do really love this product as it’s only 1 ingredient as opposed to the coconut collab version. It’s your call, though. Choose whichever product you prefer.
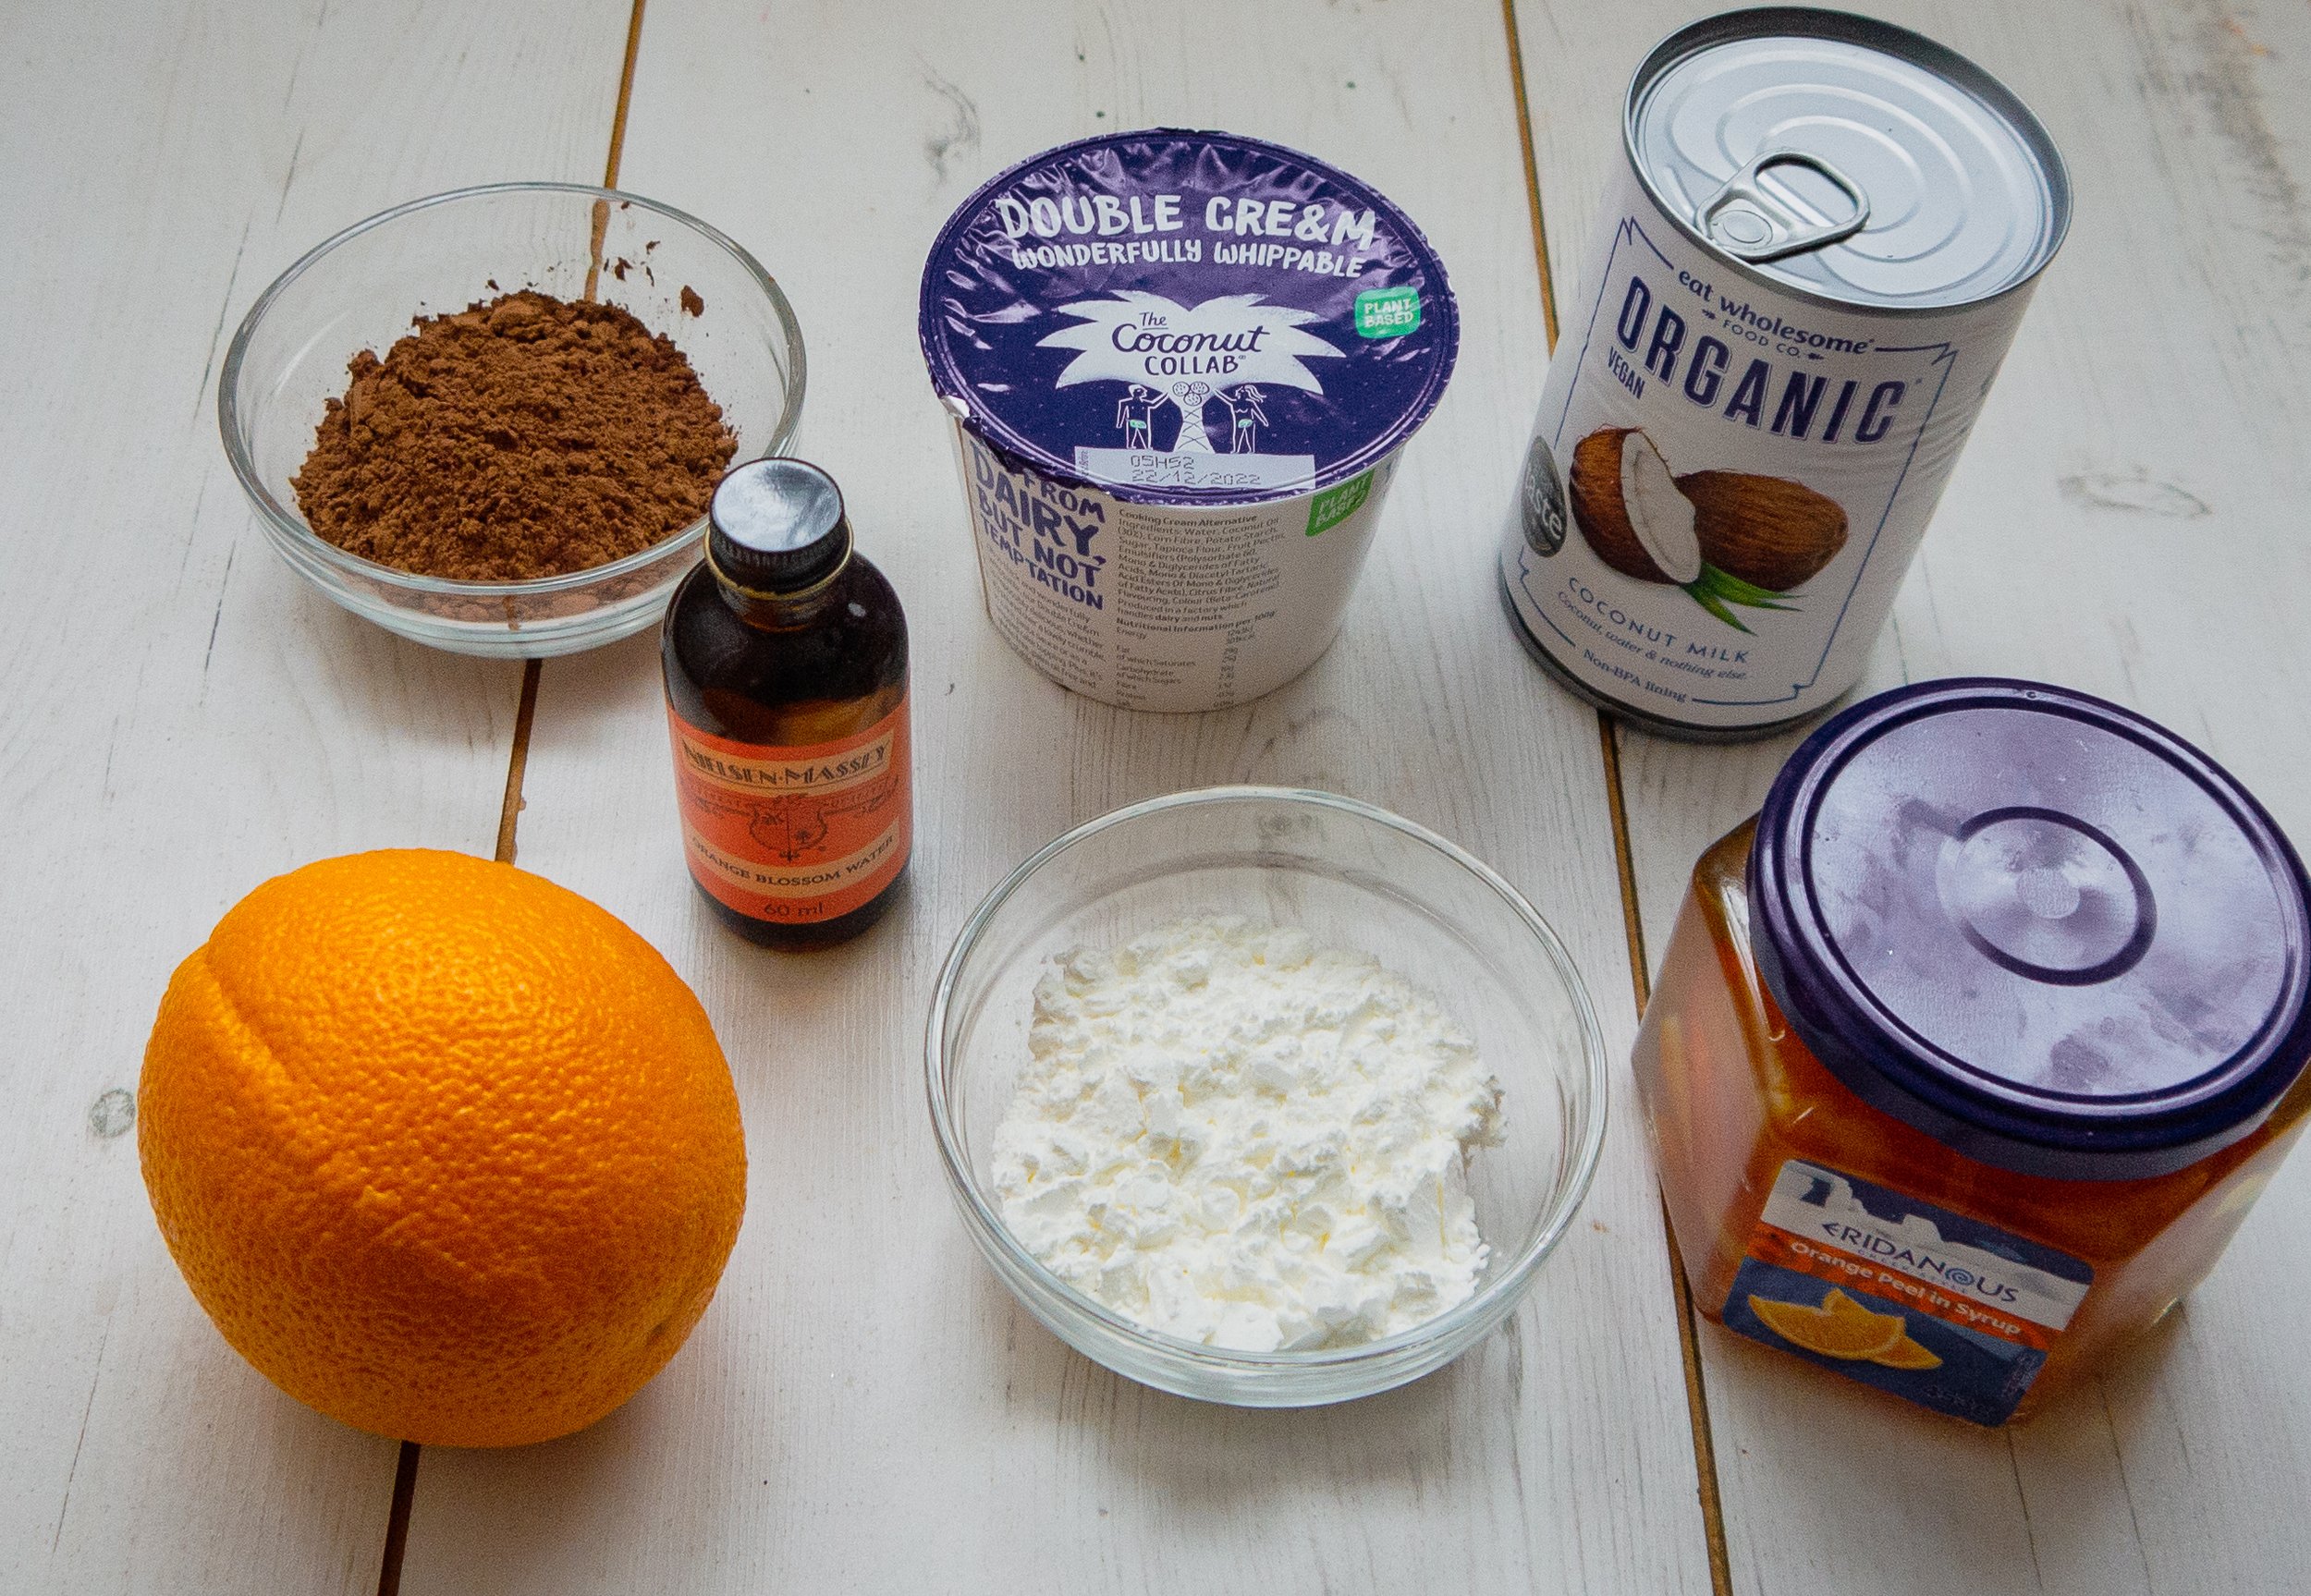
Ingredients

Tips
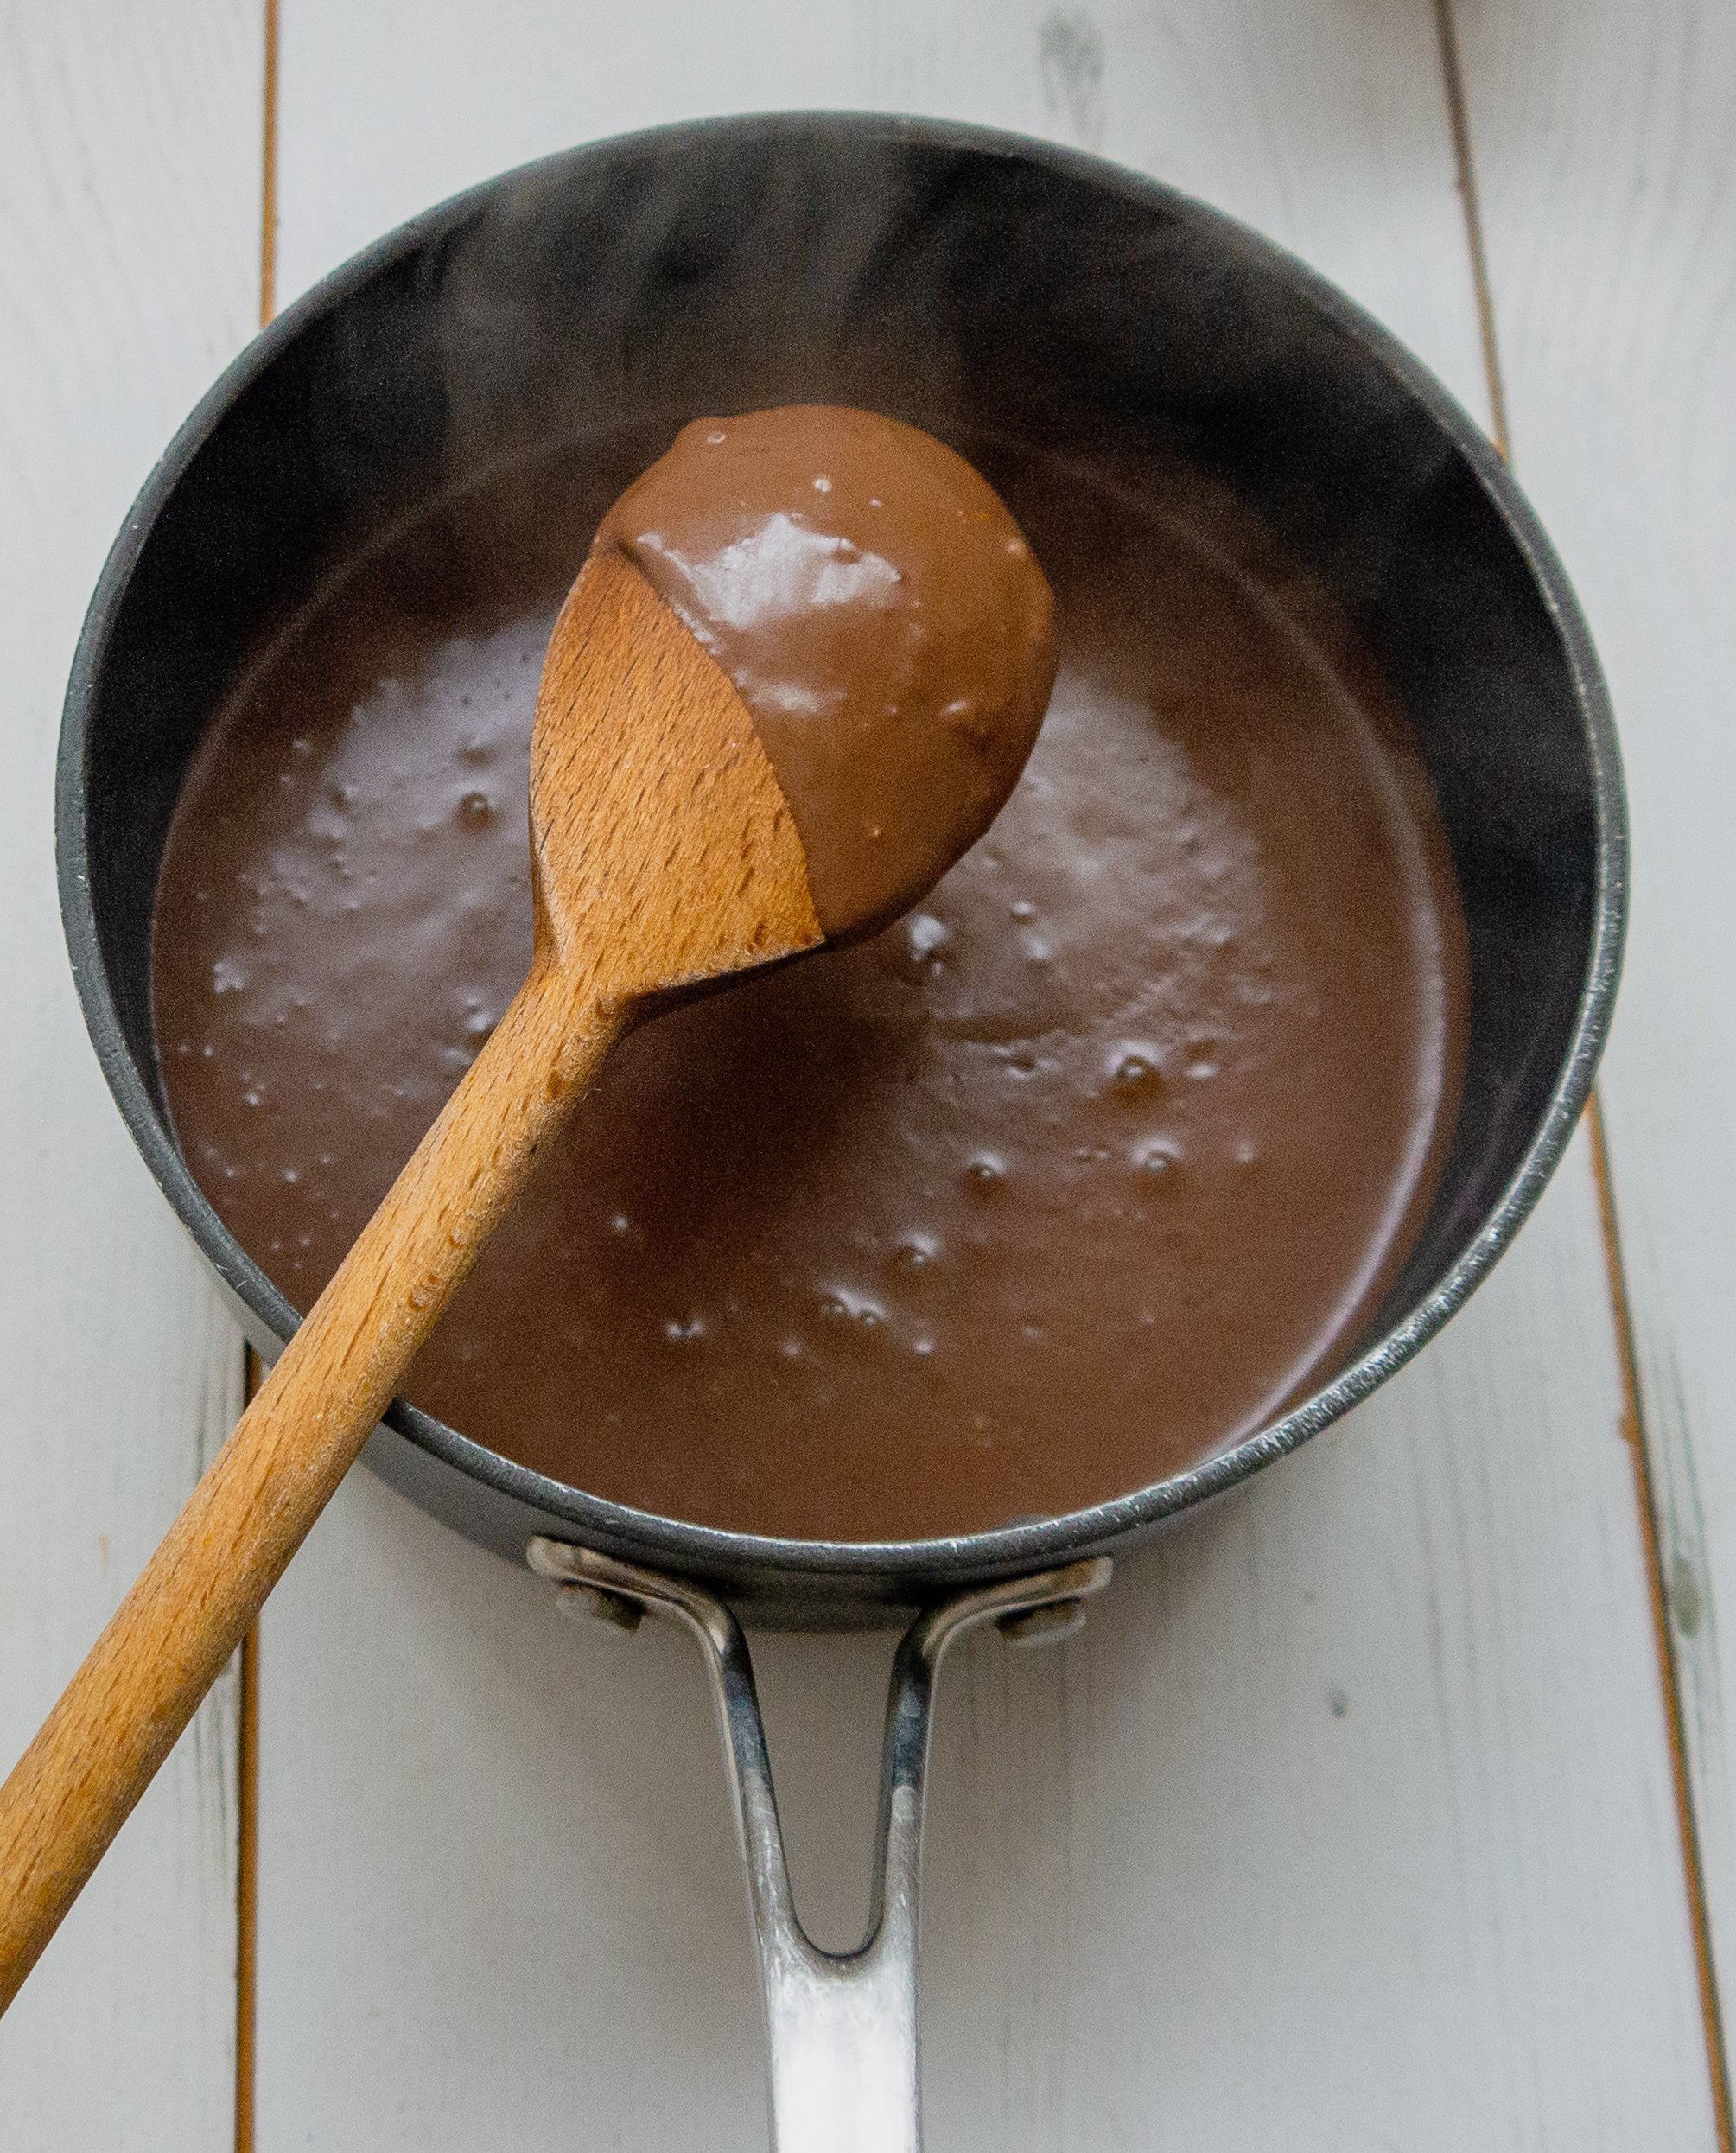
Do not boil this custard. It needs to be heated slowly and lovingly, so it doesn’t catch at the bottom and burn. You could use this like regular chocolate custard and thin it down a little to pour over your hot chocolate puddings.
Storage
These bad boys will keep in the fridge for 4/5 days
Makes 2 portions - 10 mins prep time - 2 hrs chilling time ( not for you for the custard)
Step by Step
Recipe
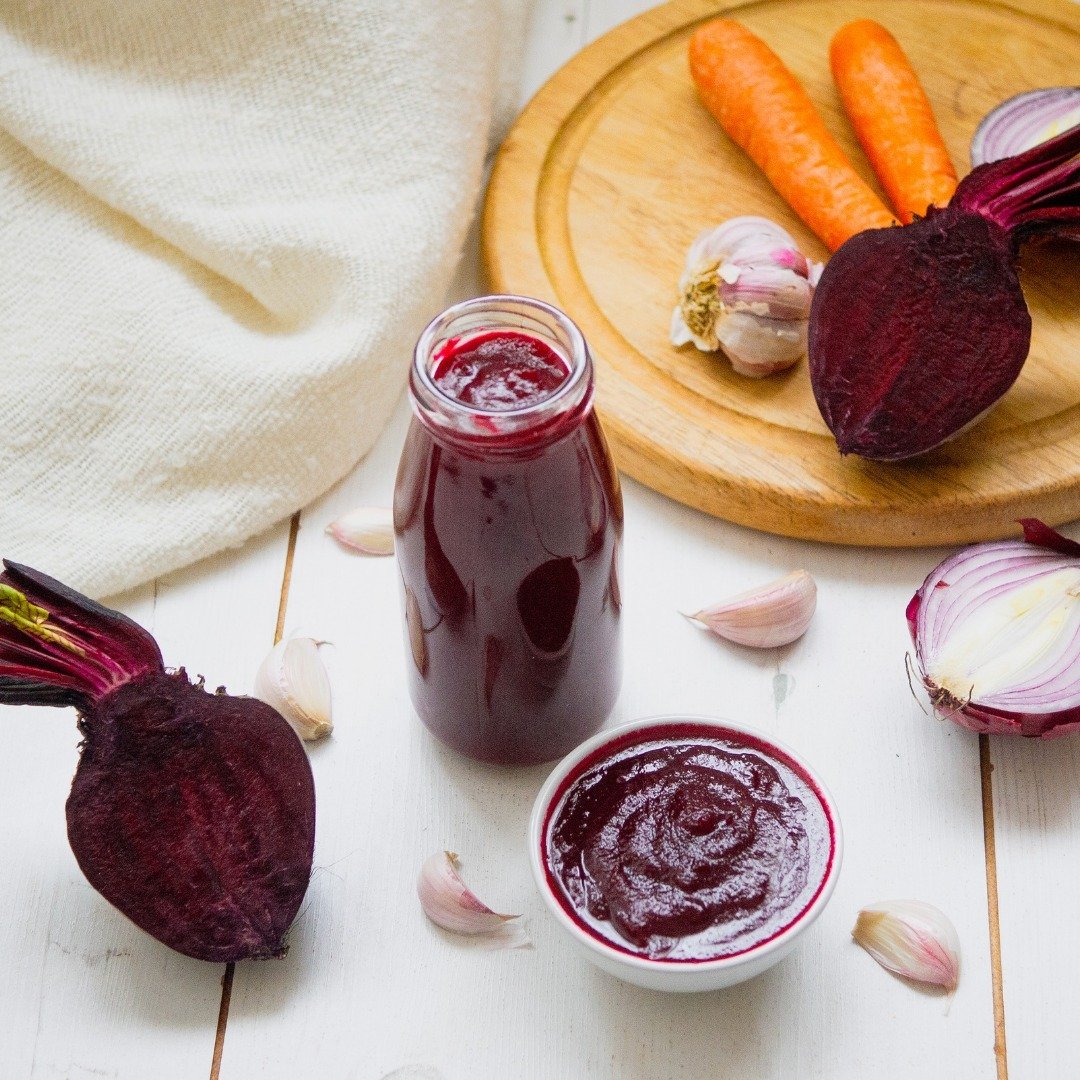
1 x 400g tin coconut milk ( see notes)
1 orange zest & juice ( cut a wedge of orange for garnish before you juice it)
1/2 tsp orange extract
30 g sweetener of choice ( see notes)
20 g cornflour
20 g cacao powder
1 carton whipping cream ( see notes)
2 pieces candied orange peel chopped
75 g chocolate
Method
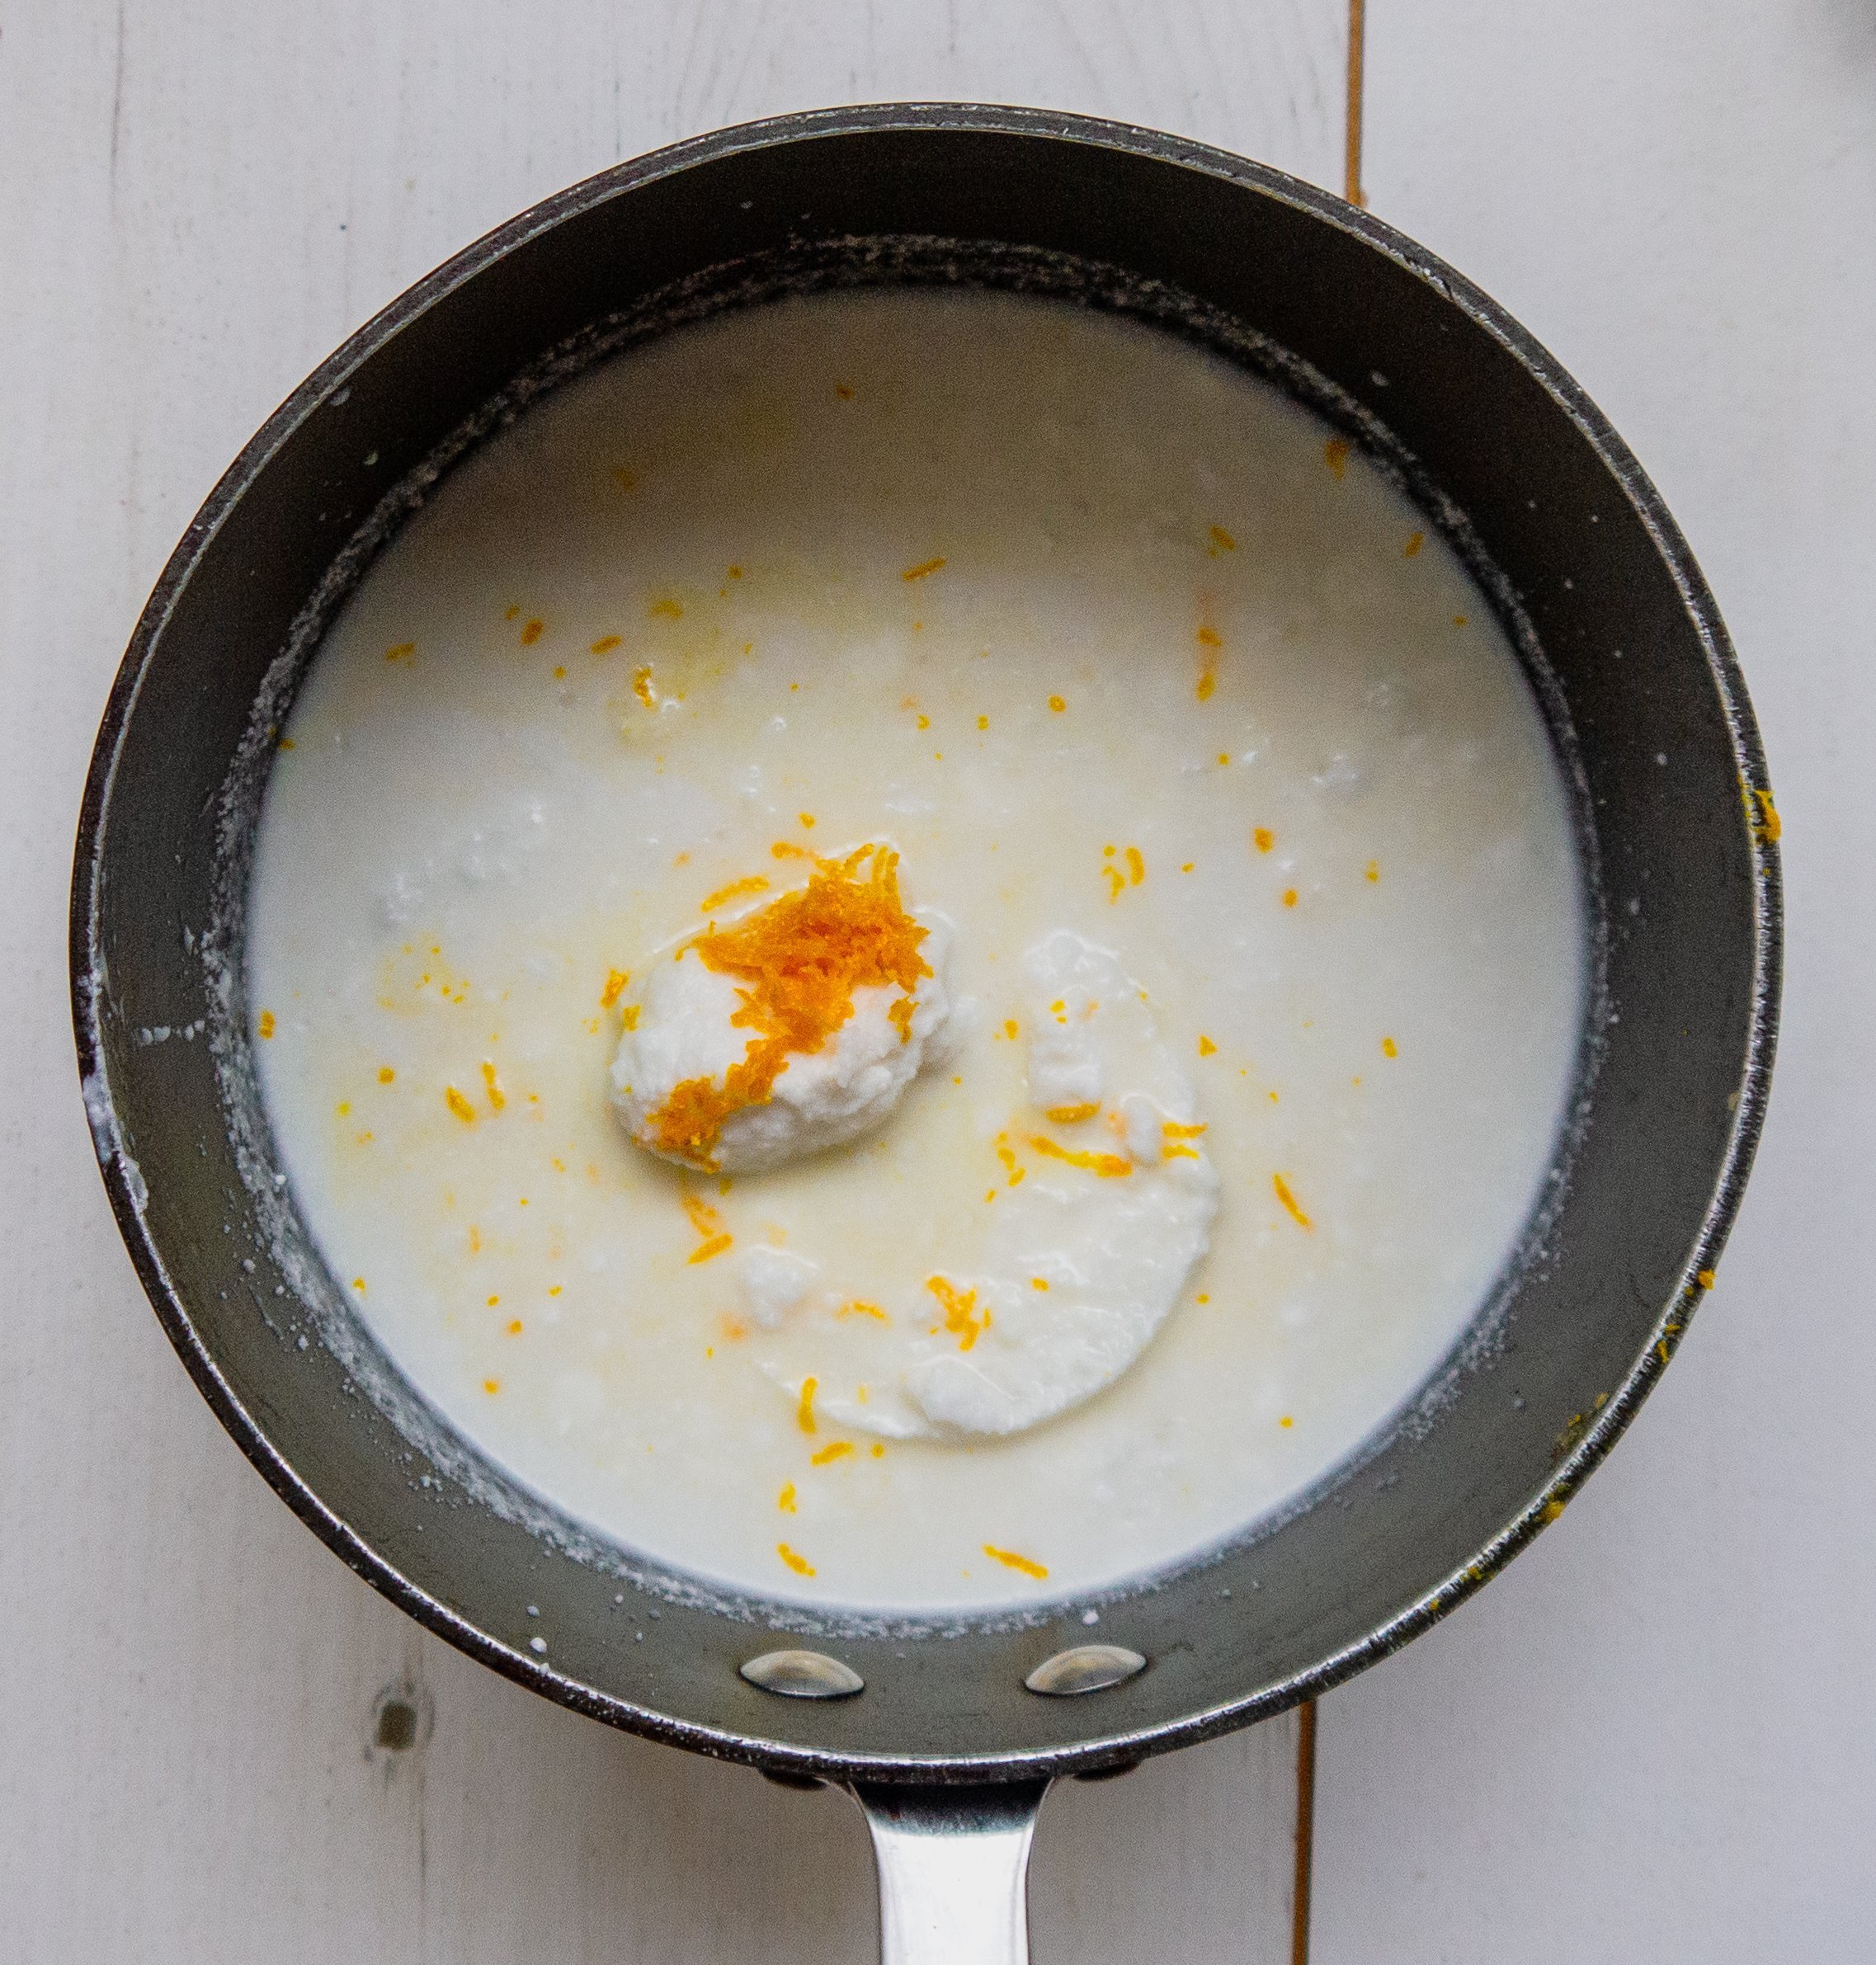
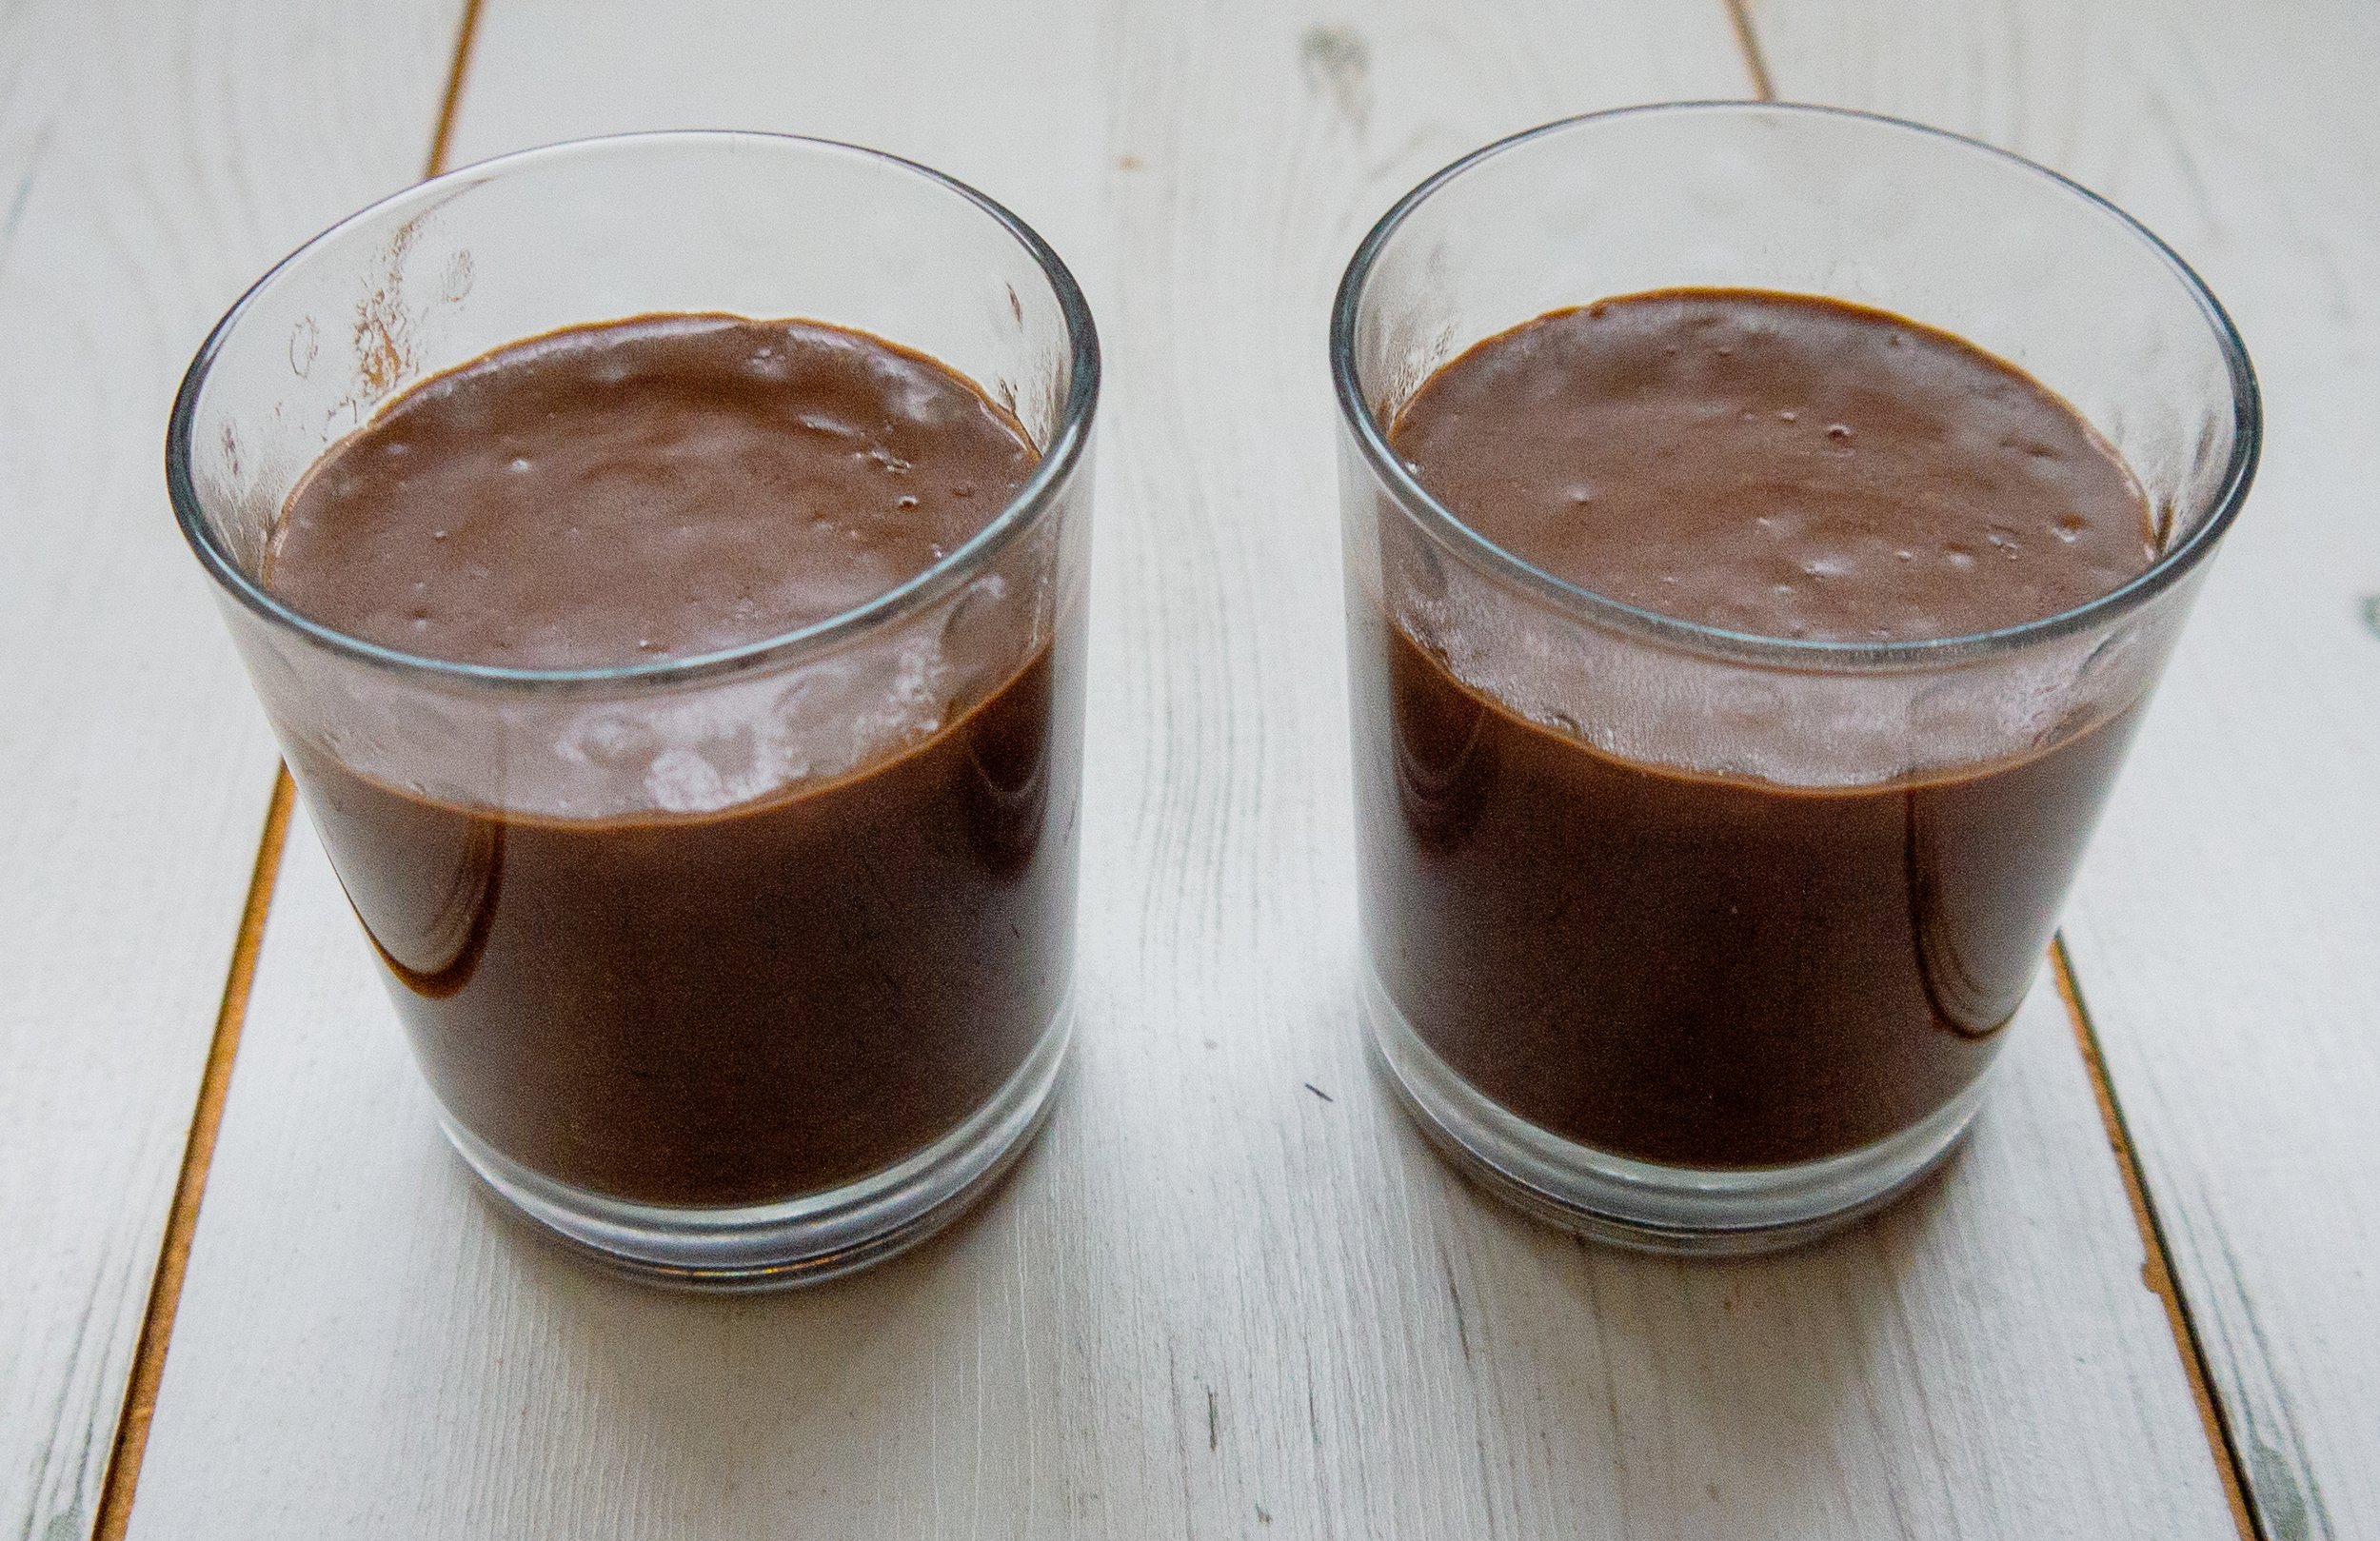
Heat the first 4 ingredients in a saucepan till nearly boiling point.
Mix the cornflour and cacao powder with enough milk to form a smooth thick paste, being careful that no lumps remain.
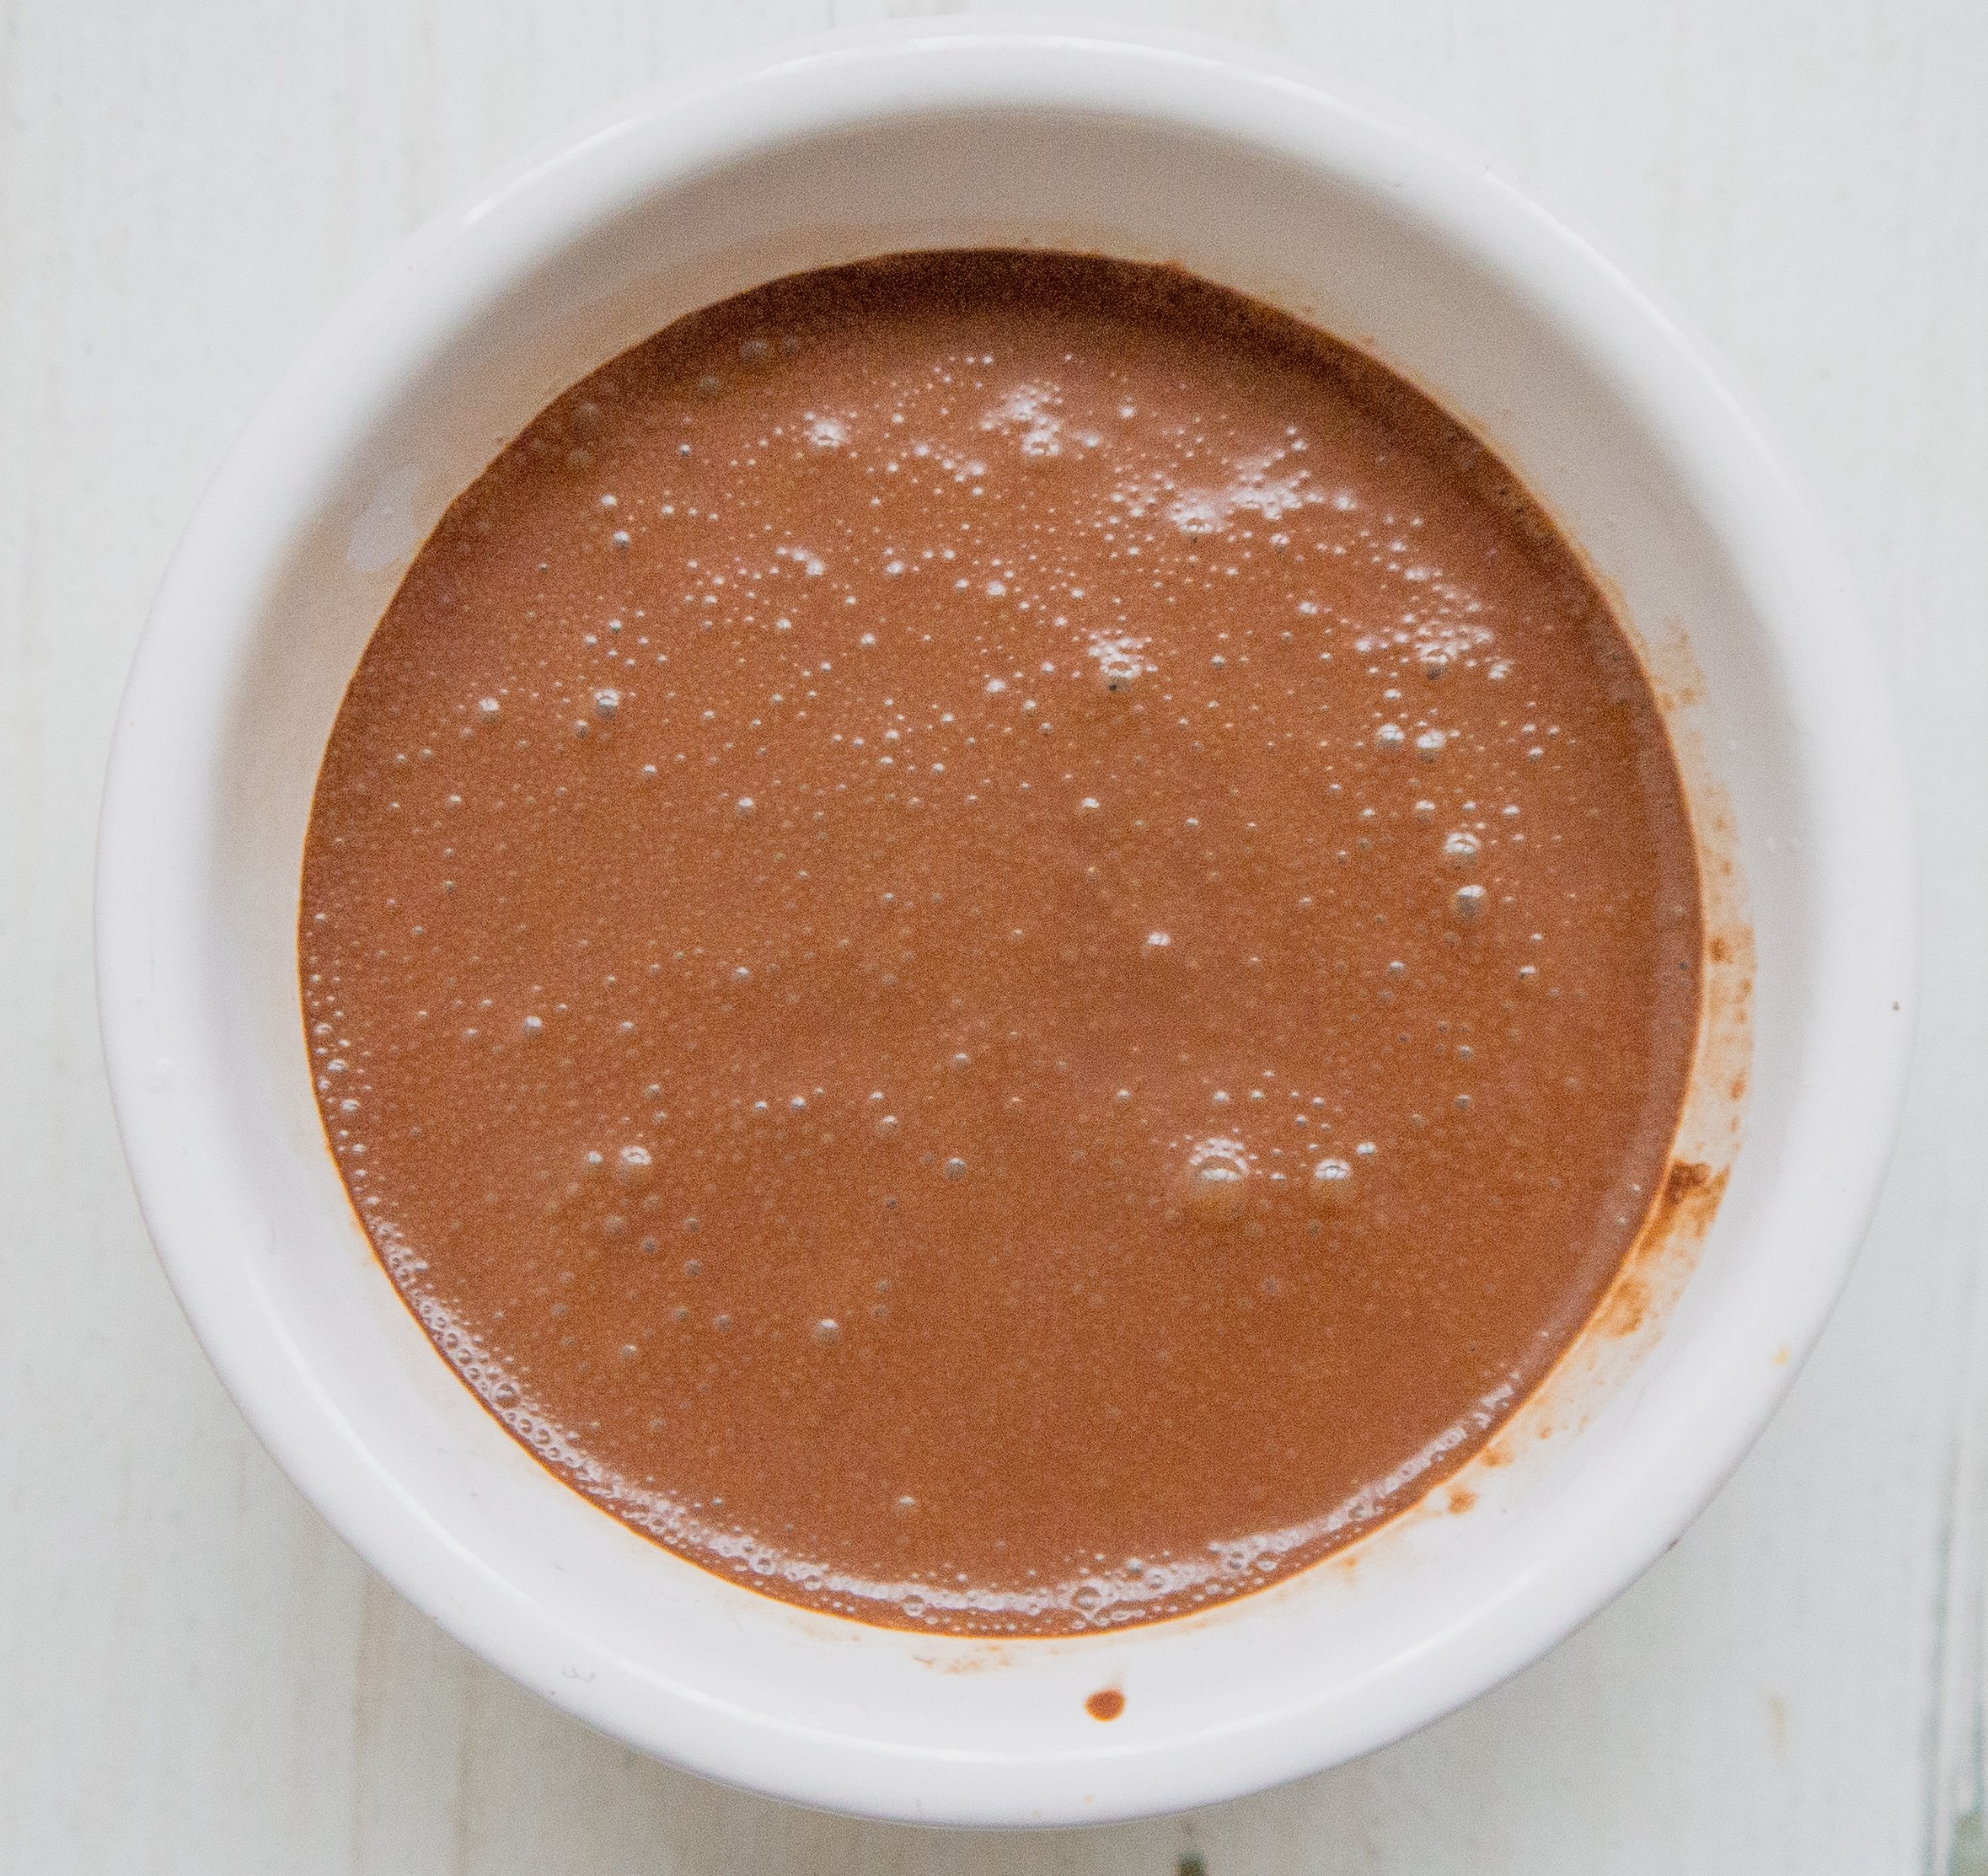
Once the milk is nearly boiling, whisk in the cornflour mixture, and continue whisking till smooth and thickened.
Add the orange peel, and adjust the sweetness if needed.
Pour into two glasses or ramekins and leave to cool a little before popping in the fridge to set. Approx 2/3 hours
While the custard is setting, whip the cream and place into a piping bag with a star nozzle. Leave in the fridge till ready to pipe.
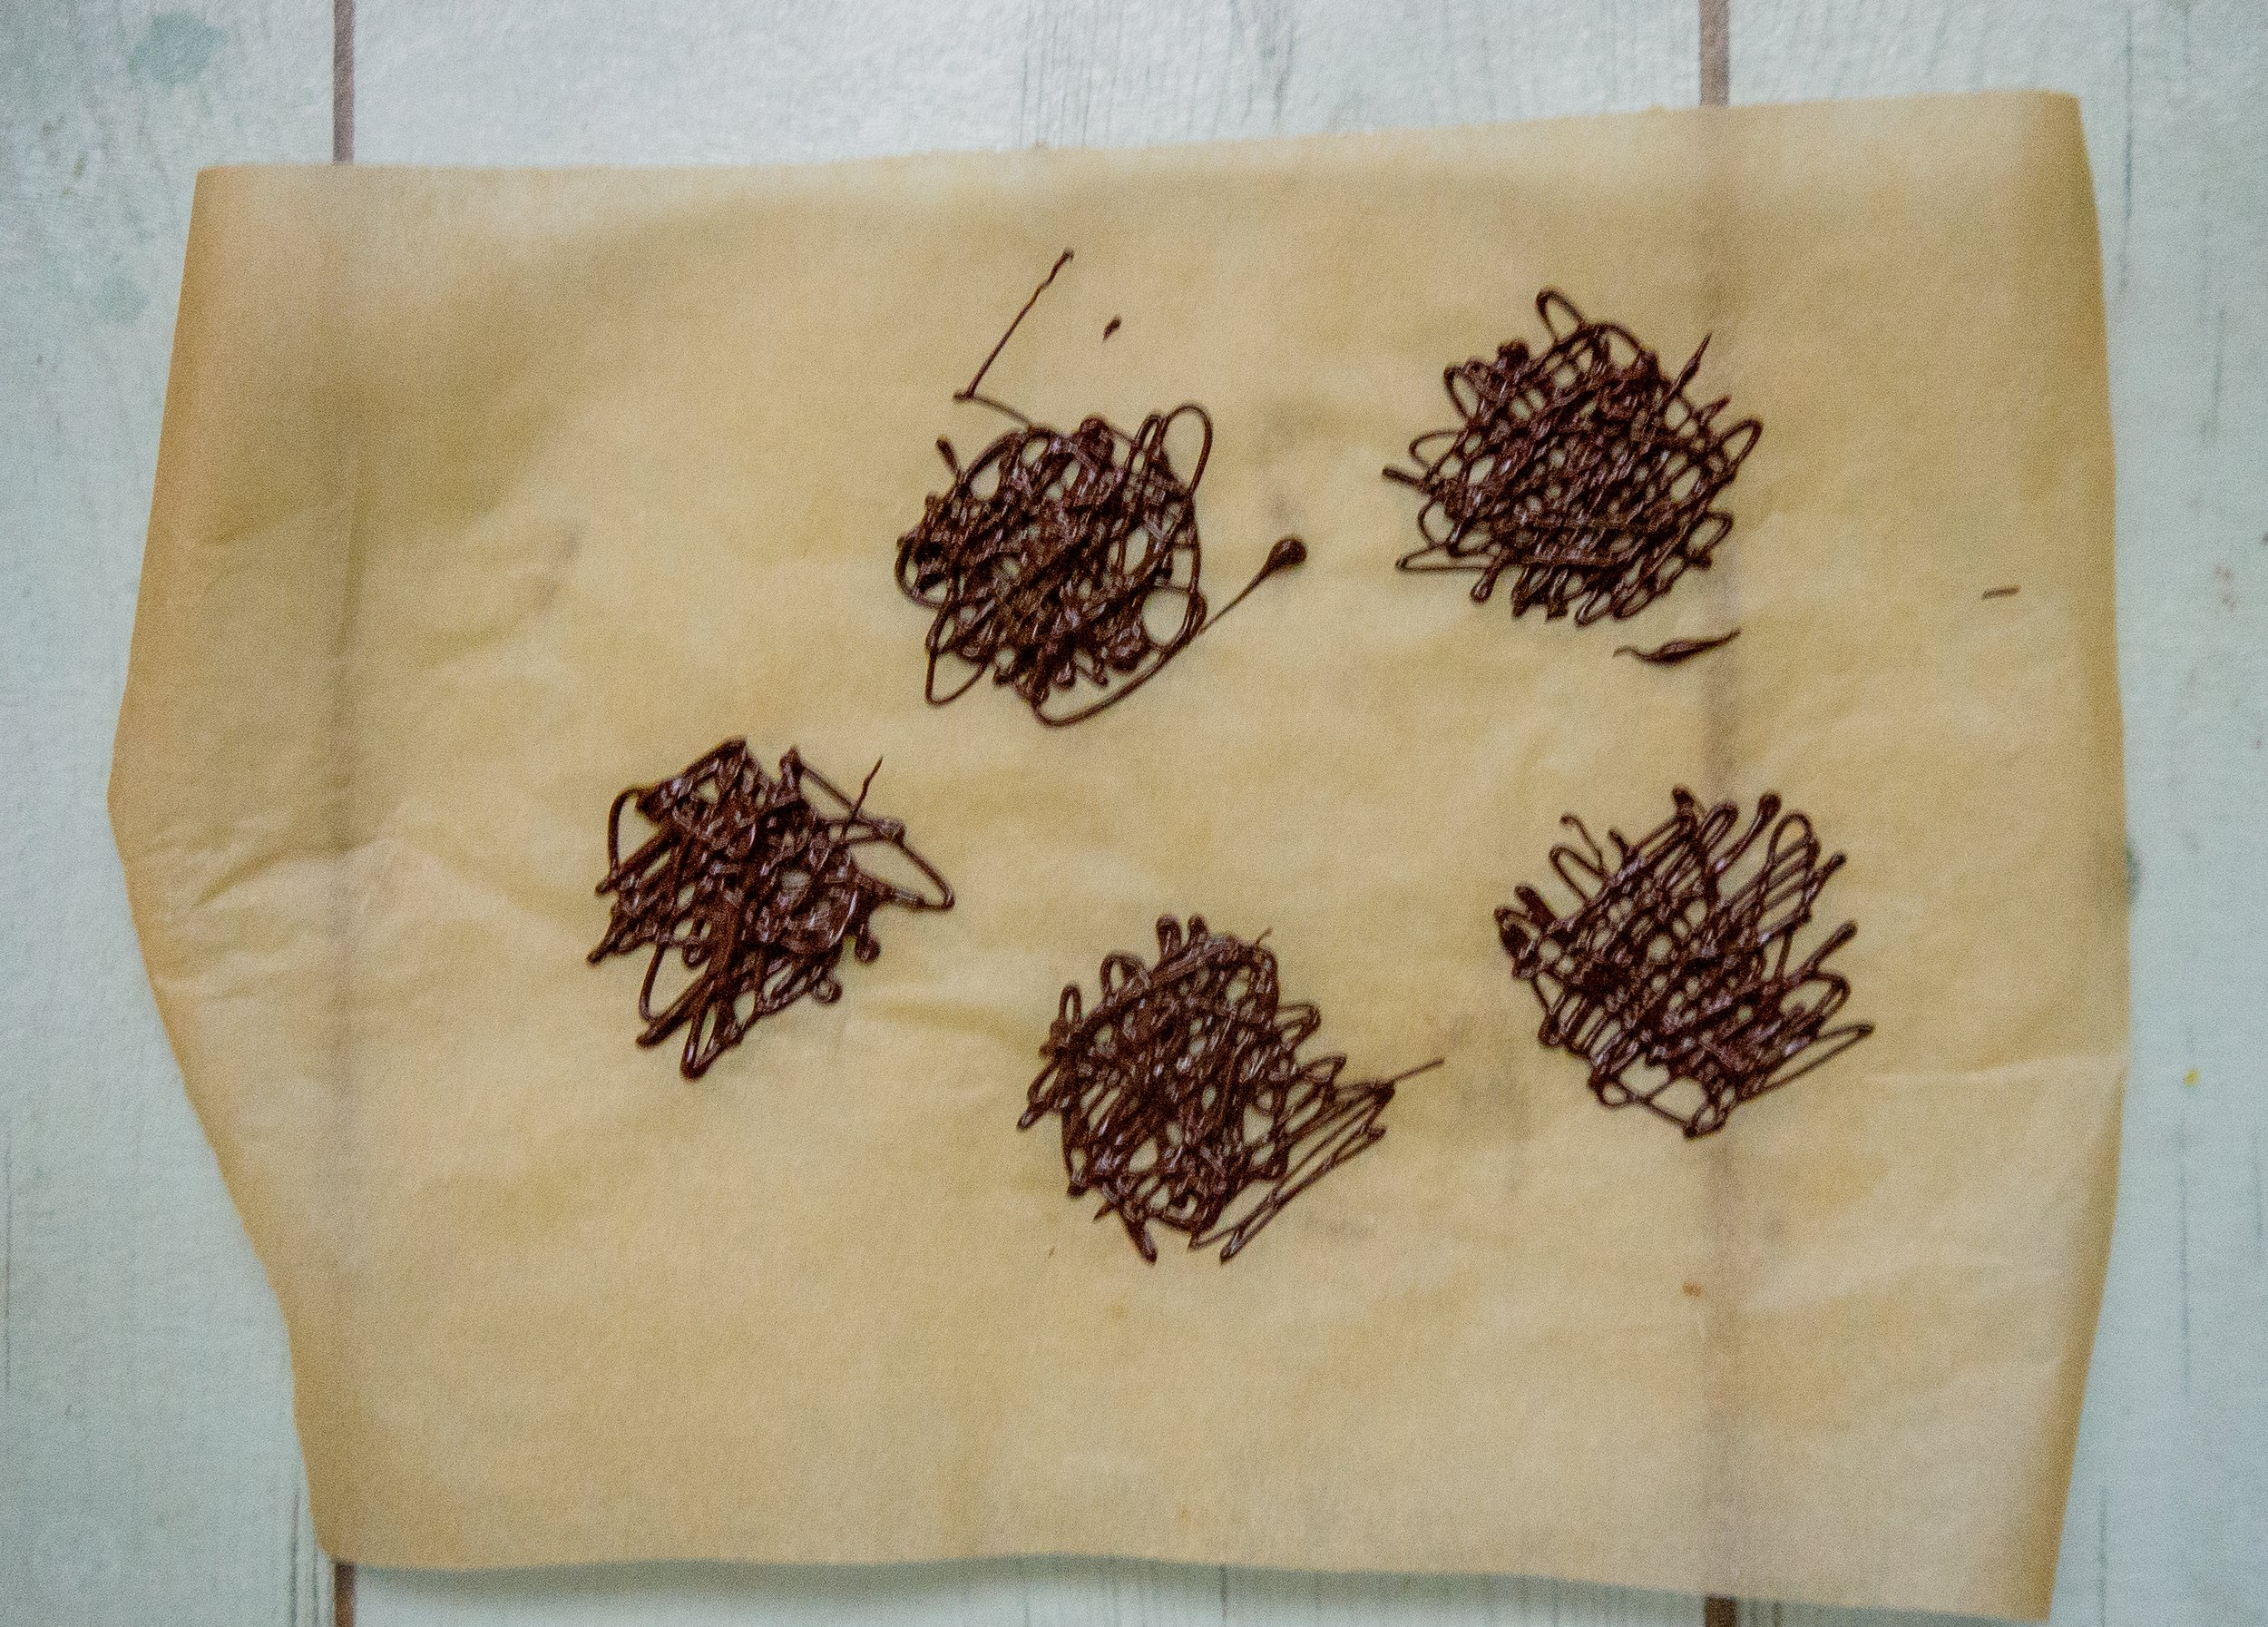
Melt the chocolate either in a bain Marie or in the microwave, pour into a small piping bag and pipe some squiggly shapes on a sheet of greaseproof paper. Leave in the fridge till set.
Once the custard has set, pipe the cream in the middle or spoon over, then add an orange wedge for garnish and a piece of chocolate decoration.
Do a happy dance because your so fabulous and you made this dessert. Now eat and enjoy.
Variations
You could omit the orange altogether and use raspberries or mint instead as a great variation.
If your find cooking for your allergies and intolerances challenging. I also teach cookery classes and can do this in person or via zoom. Contact me here for a tailor-made class to suit your requirements.
Don’t forget to sign up for my newsletter so you can receive my articles and recipes straight into your inbox, plus you receive my FREE gluten and dairy-free swaps resource. Download it here.

Looking for anything?
Browse all Articles
Latest articles


Latest Recipes


Follow along on Instagram
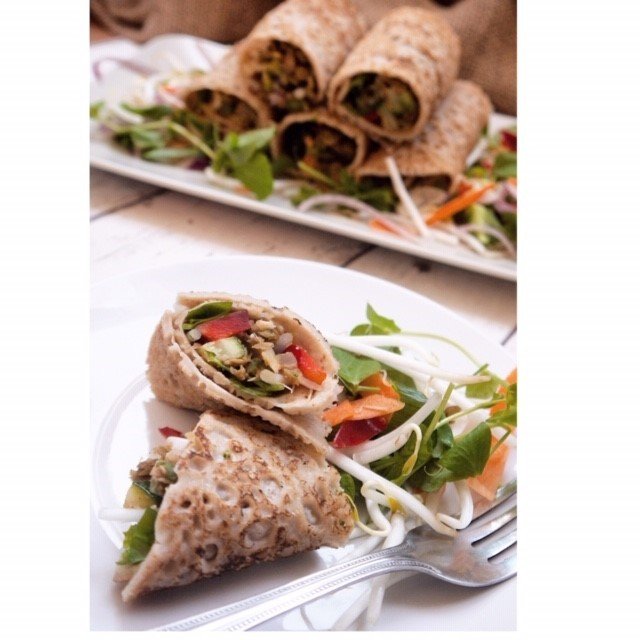
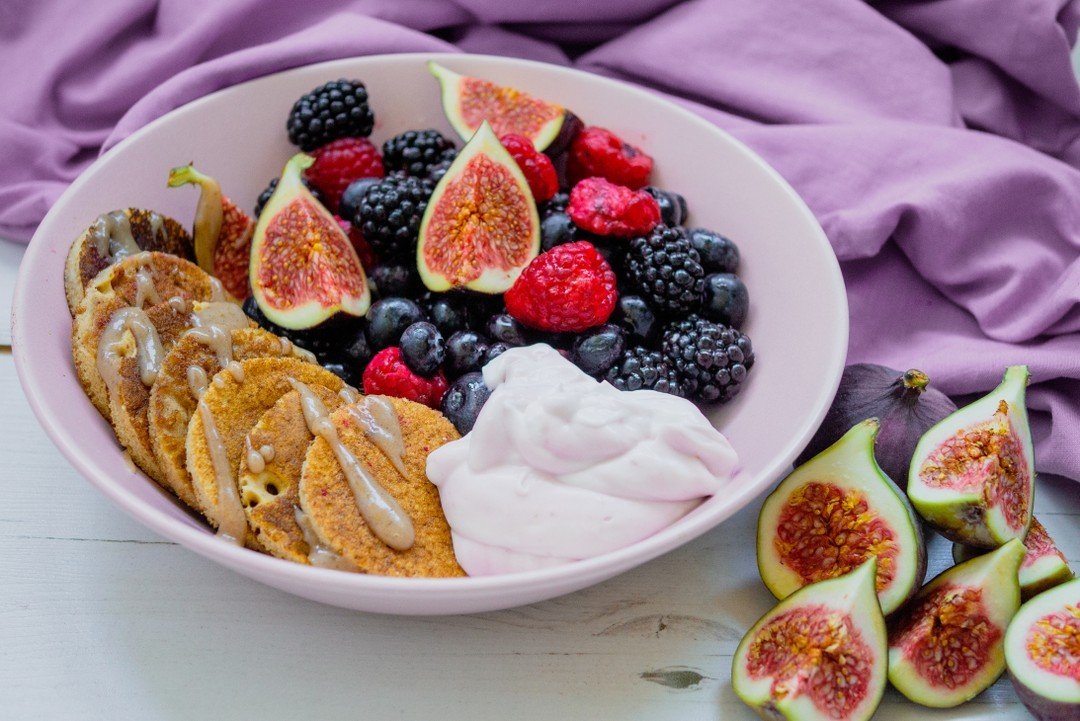

You might also like these recipes: