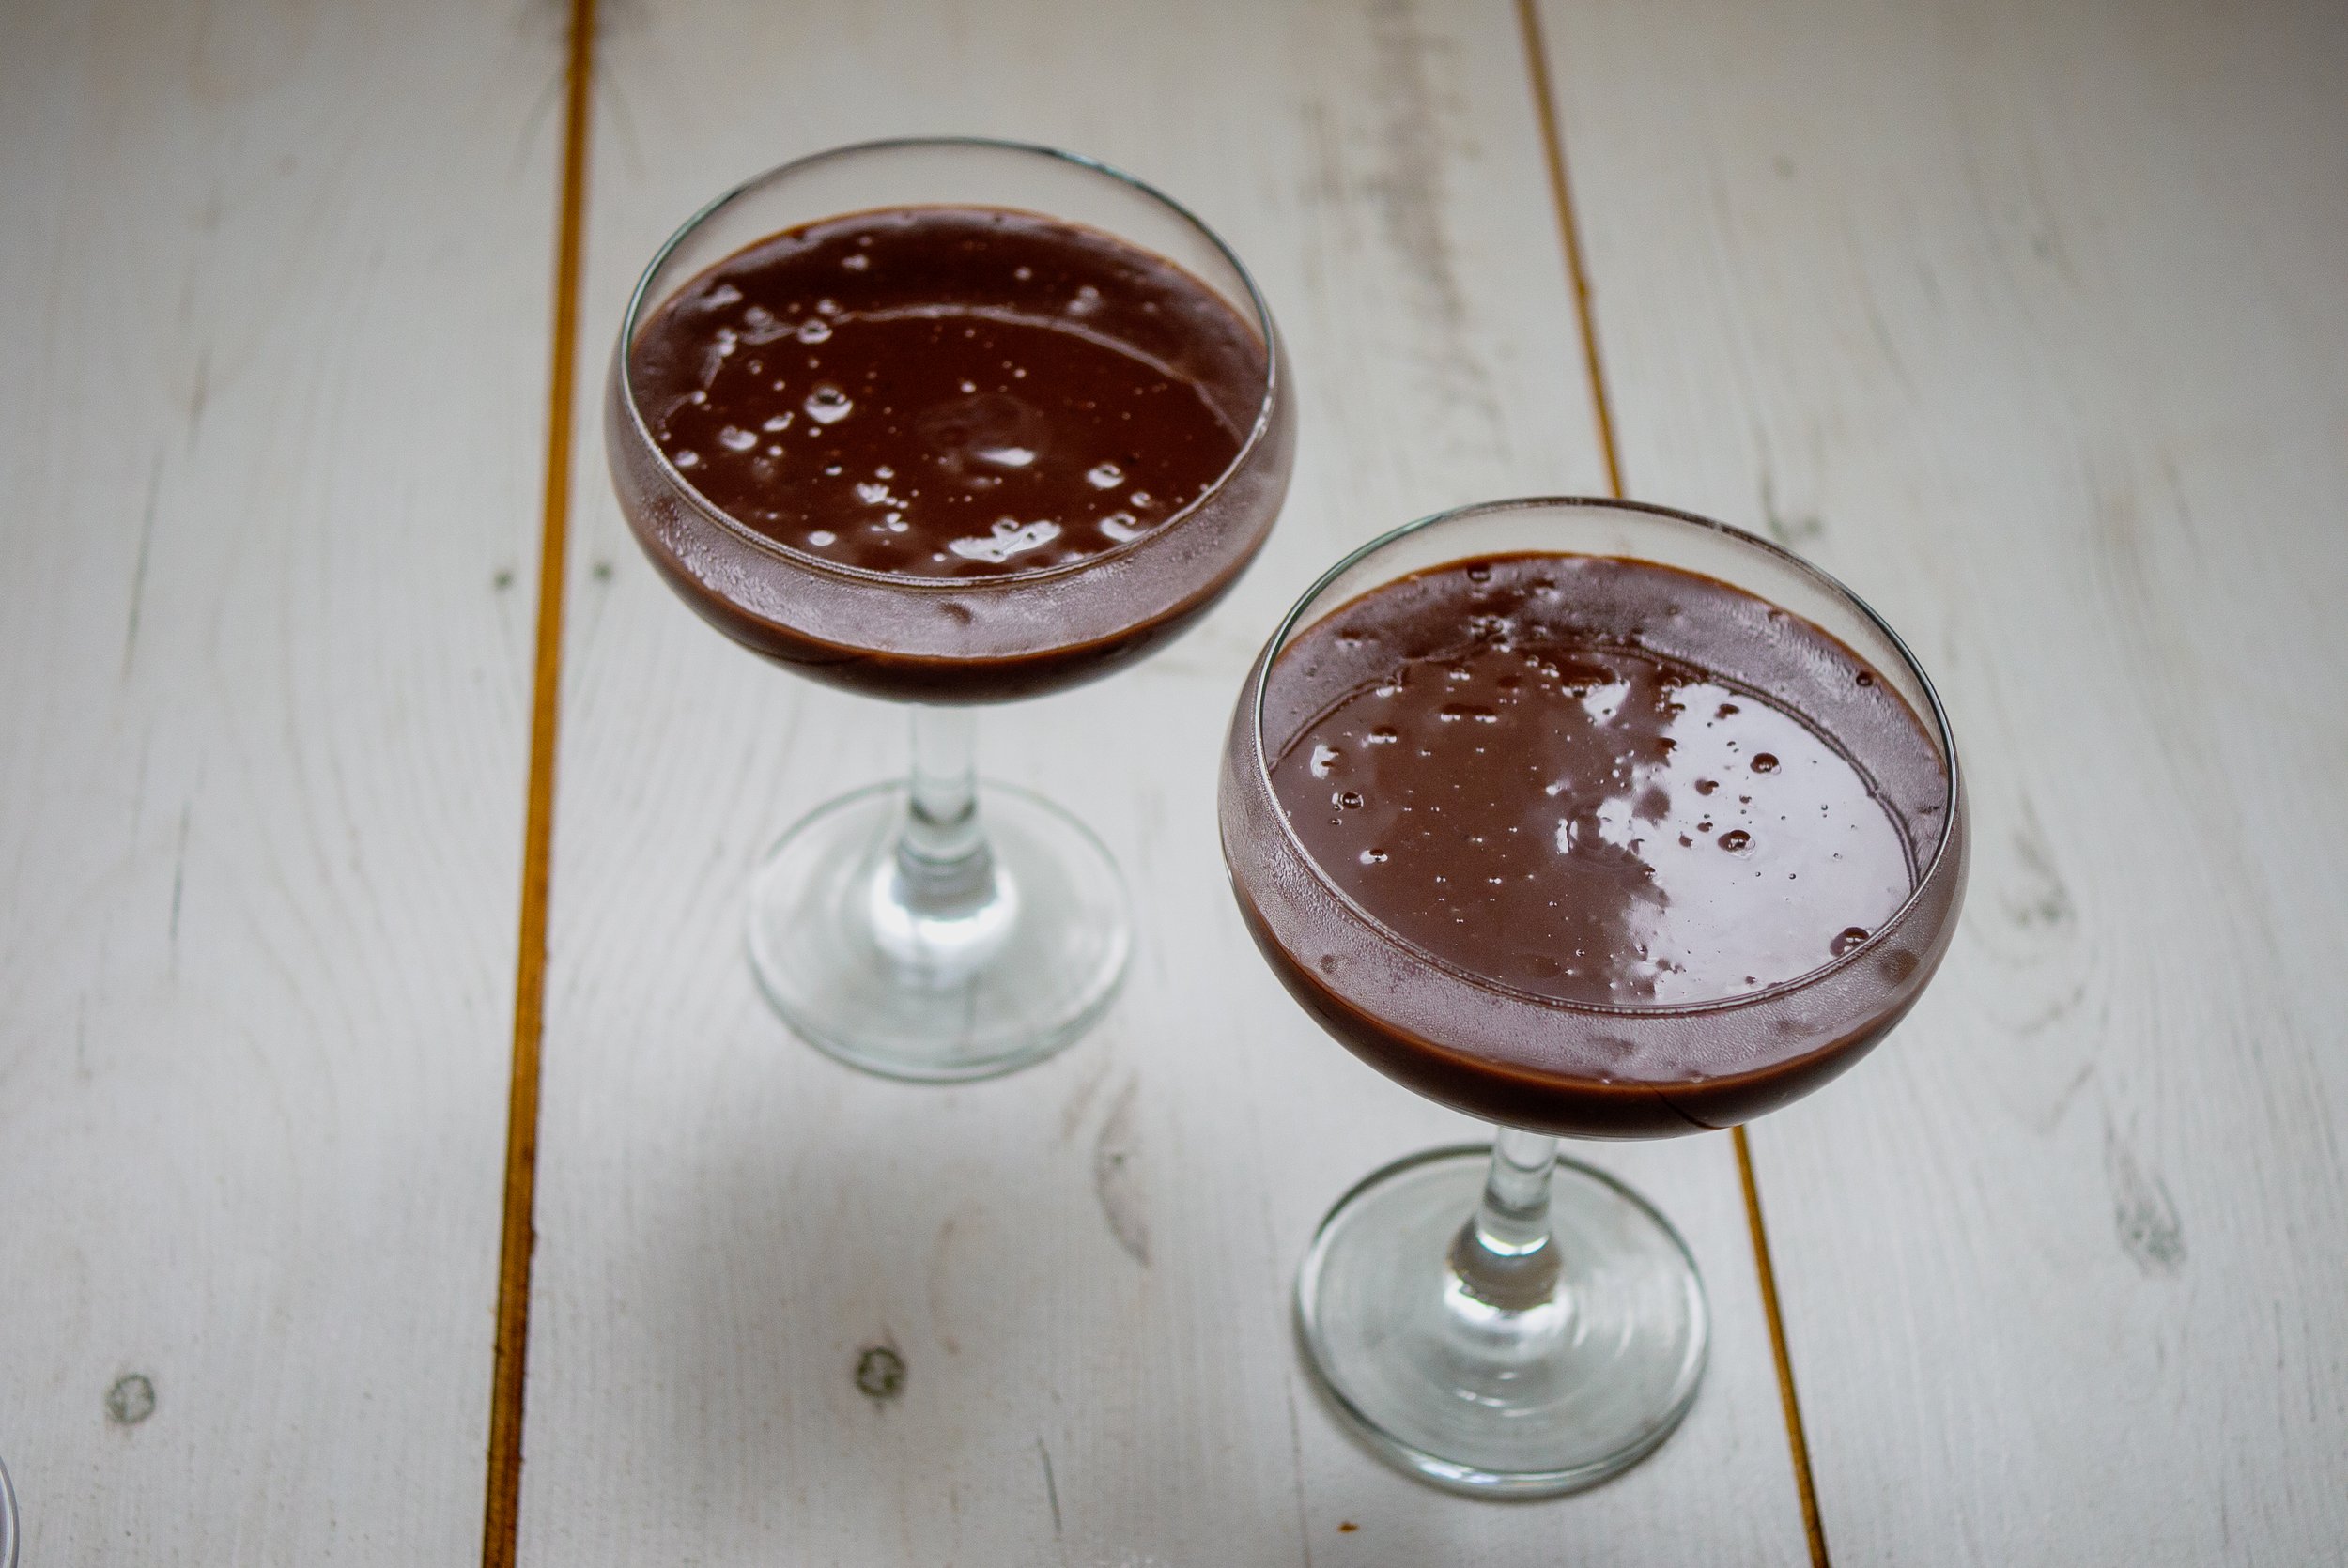
Vegan Chocolate Custard Dessert Pots
VEGAN II GLUTEN FREE II SOY FREE II DAIRY FREE II SESAME FREE II EGG FREE II SHELLFISH FREE II FISH FREE II NIGHTSHADE FREE
Are you on the hunt for a delicious vegan dessert recipe? Look no further! These vegan chocolate and hazelnut dessert pots will hit the spot. This is probably the best dairy-free chocolate custard recipe you'll ever come across. I nearly licked the saucepan clean after making it. It's decadently chocolatey, velvety smooth, and incredibly comforting.
This recipe is also very versatile and can be used as a hot custard to serve with chocolate cake or brownies, chilled as a cold dessert, or even used in a chocolate tart or a trifle - the only limitation is your imagination. With only four ingredients and a preparation time of just five minutes, it's incredibly simple to make. ENJOY!

Notes on ingredients
Chocolate
I like to use chocolate with a cocoa content of 70%, meaning that 70% of the chocolate has been made from ingredients in the cocoa bean. The remaining 30% will consist of other ingredients, such as sugar, predominantly but may also include, for example, tiny percentages of vanilla flavouring. The higher the percentage, the stronger the cocoa flavour, which means it will be more bitter and less sweet.
Use whatever chocolate you find palatable. Sometimes I will use 70/80% in my cooking and add a little extra sweetener like honey/agave/maple syrup. Dark chocolate is almost always dairy free unless it’s a cheap brand where they will add crappy fillers. My fave brands to eat and use in cooking are ( also allergy-friendly)
Green & blacks - Click here to go to the website.
Ombar - Click here for more info - Buy this online at well easy (affiliate link) OR in Waitrose or health food shops.
Raw chocolate - Click here for more information.
Plamil chocolate - Click here for more info
If you have a soy allergy, always choose raw chocolate, as this will not have any soy ingredients added. (Always check on the label, though.)
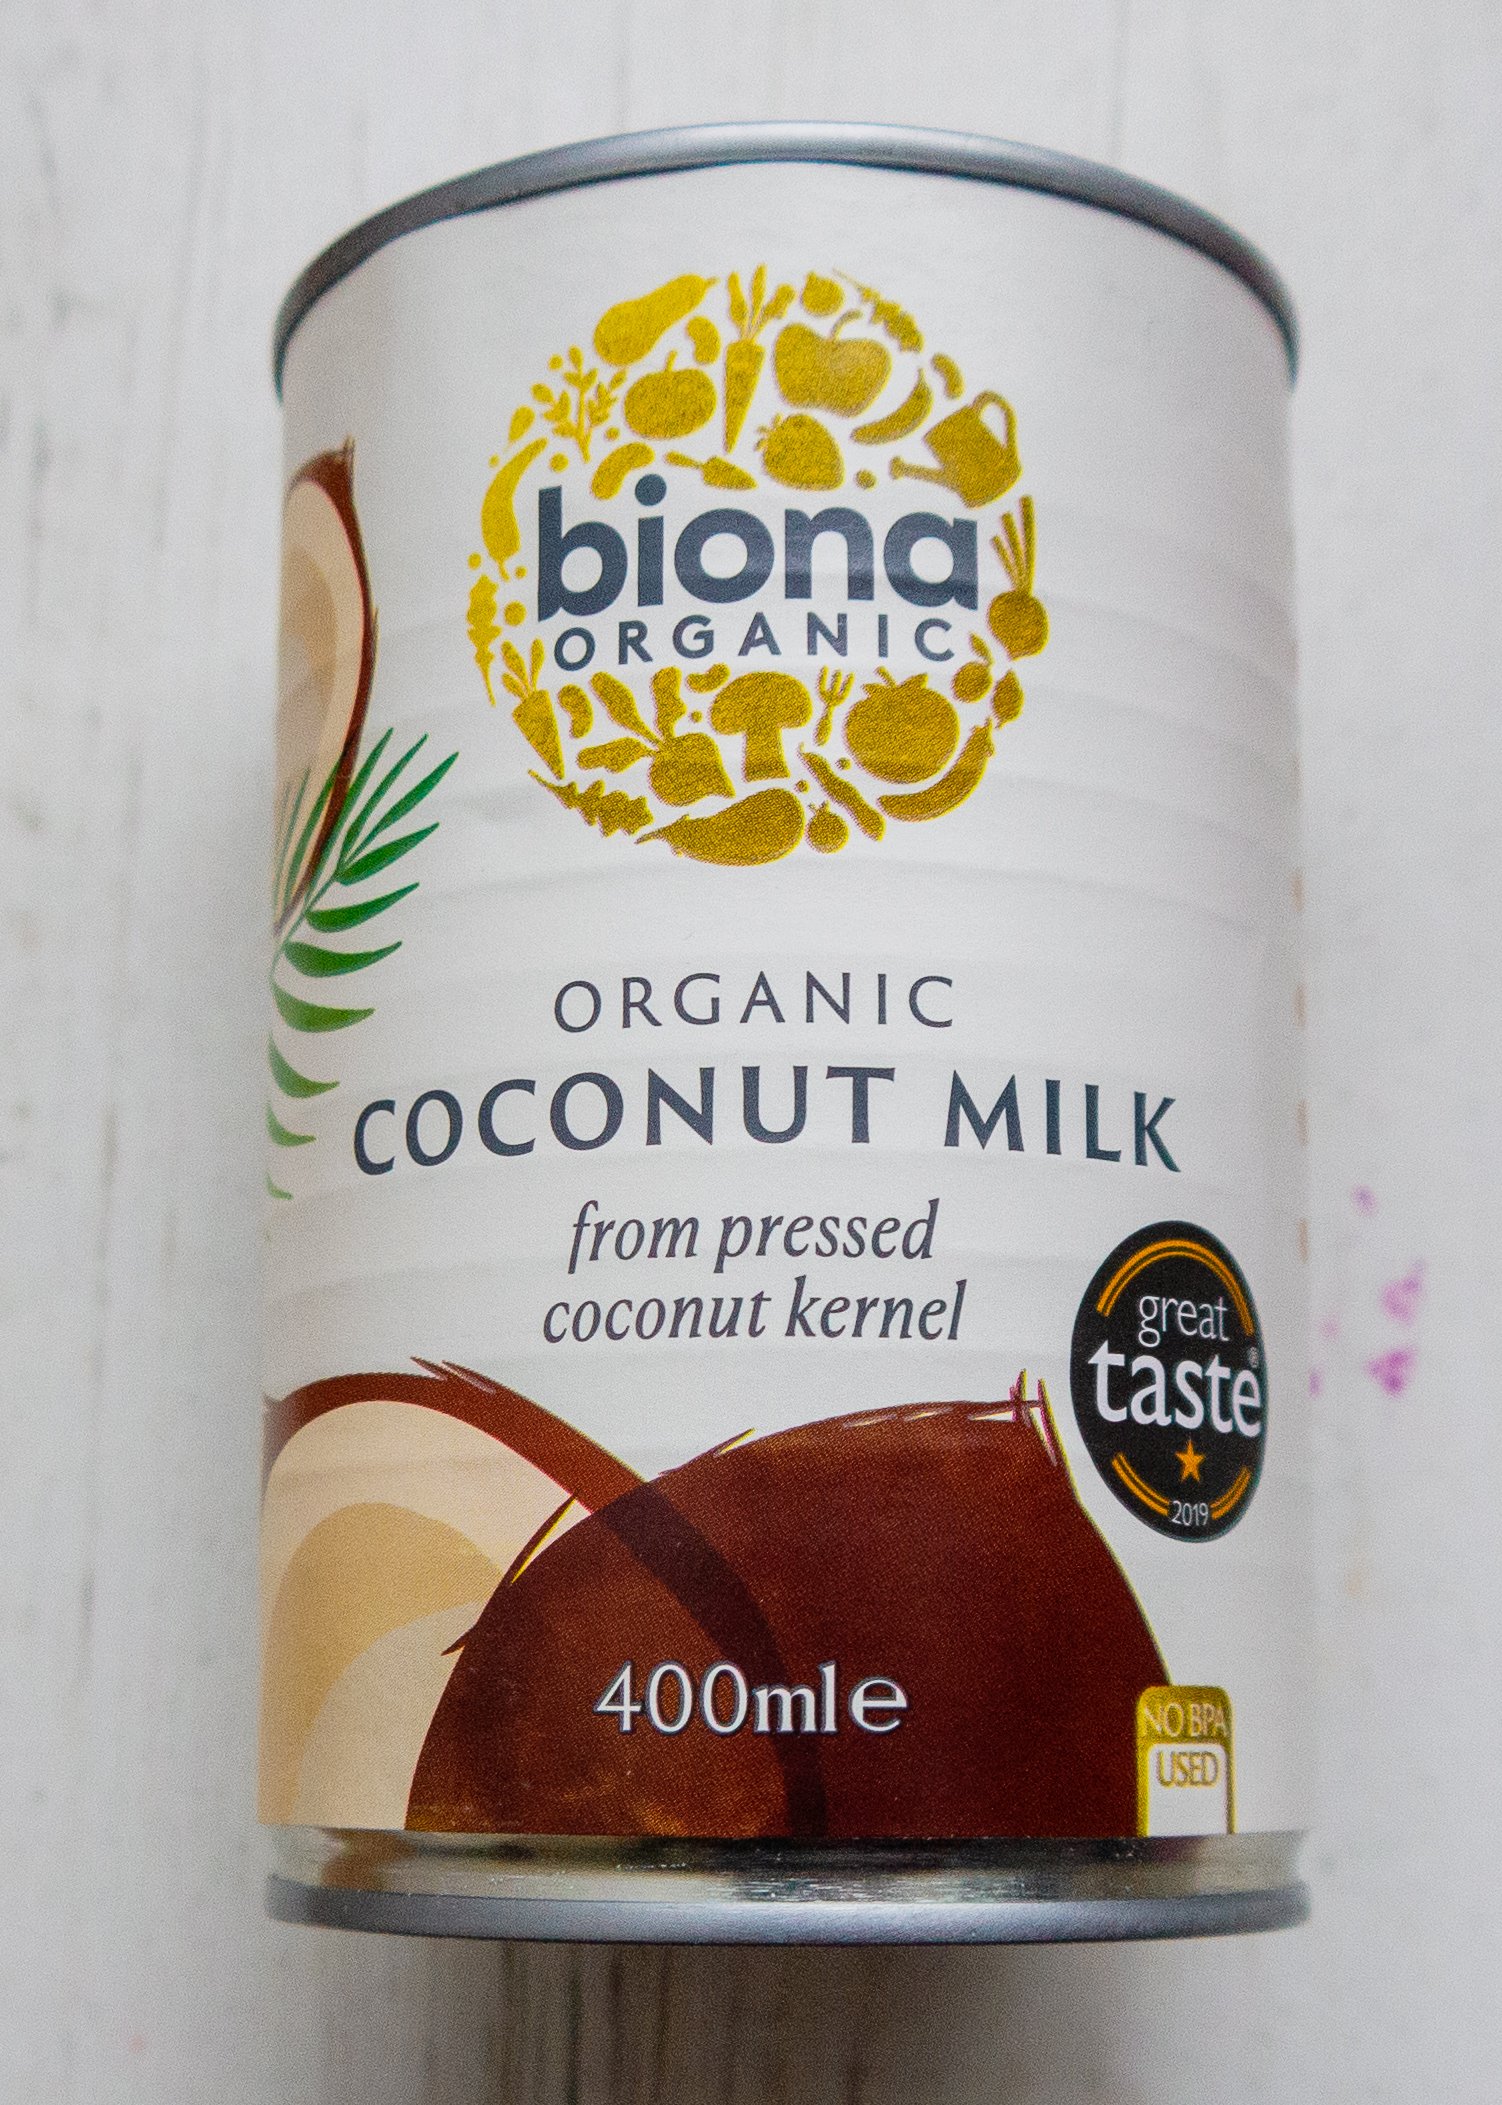
Coconut milk
It's important to use coconut milk with only one ingredient - coconuts. Some supermarket brands contain emulsifiers and carcinogenic gums, which can prevent anything you make from setting or thickening. Additionally, these additives can cause inflammation. Purchasing from trusted sources such as Amazon or Well Easy is best to ensure high-quality coconut milk. You can find links to these sources in the shopping tips section below.
Can I use another type of milk?
I tried this recipe with hazelnut and coconut milk from Plenish, which has no additives, but it didn't thicken at all. I have tried other kinds of milk in the past to make the custard, but it resulted in a scrambled or curdled mess. In my experience, coconut milk is the best choice for this recipe. While you can experiment with other milks, I have found that it usually ends up being a disaster.
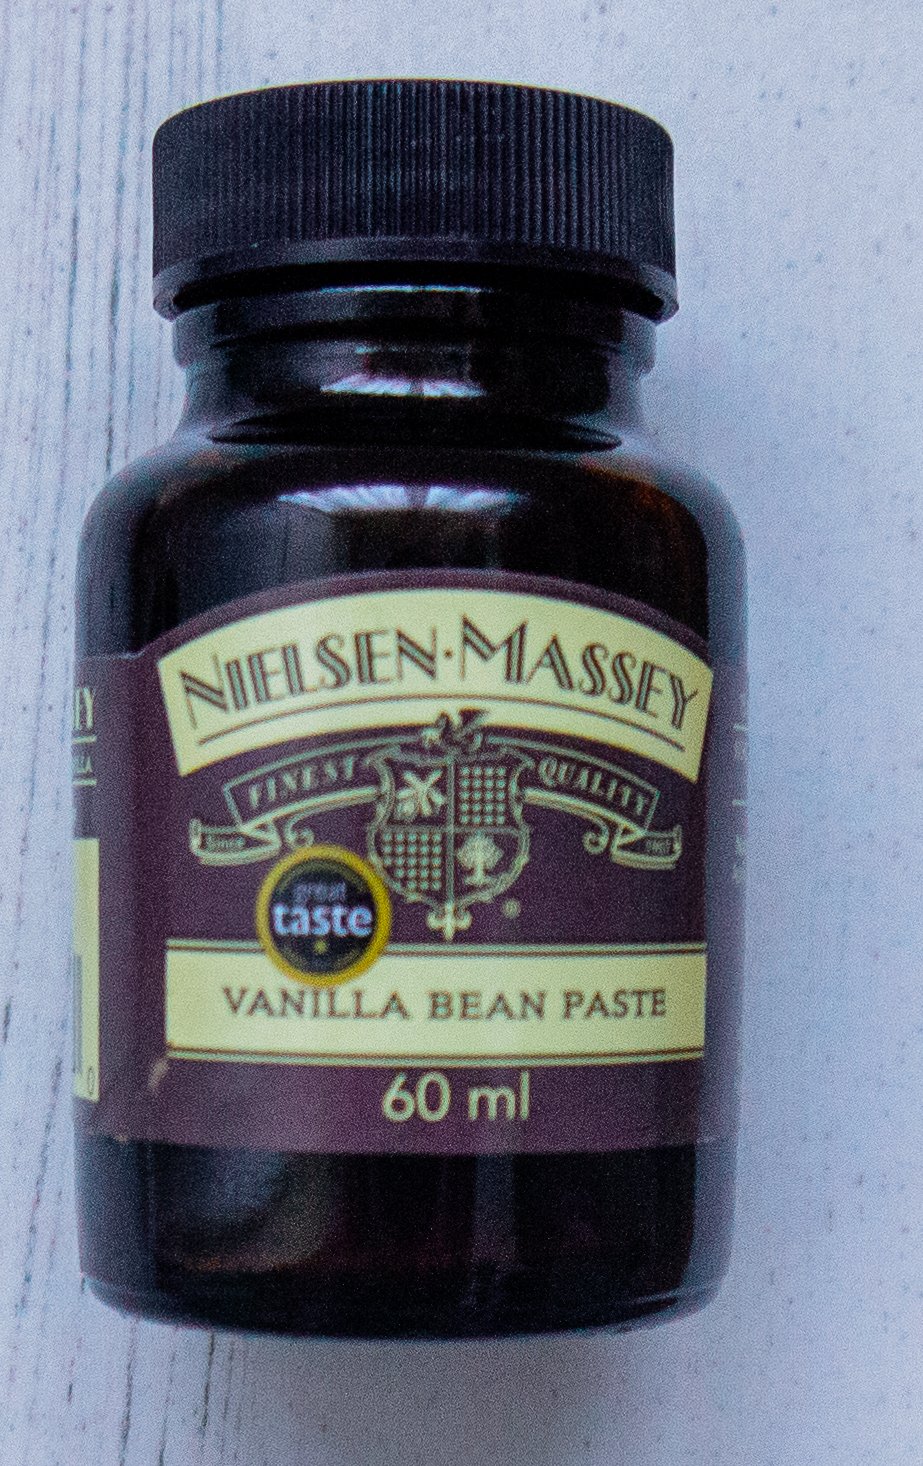
Vanilla extract
The brand I use is of high quality but a bit expensive. I recommend using extract over essence as it is more concentrated. Vanilla essence is just a really diluted and cheaper quality product.
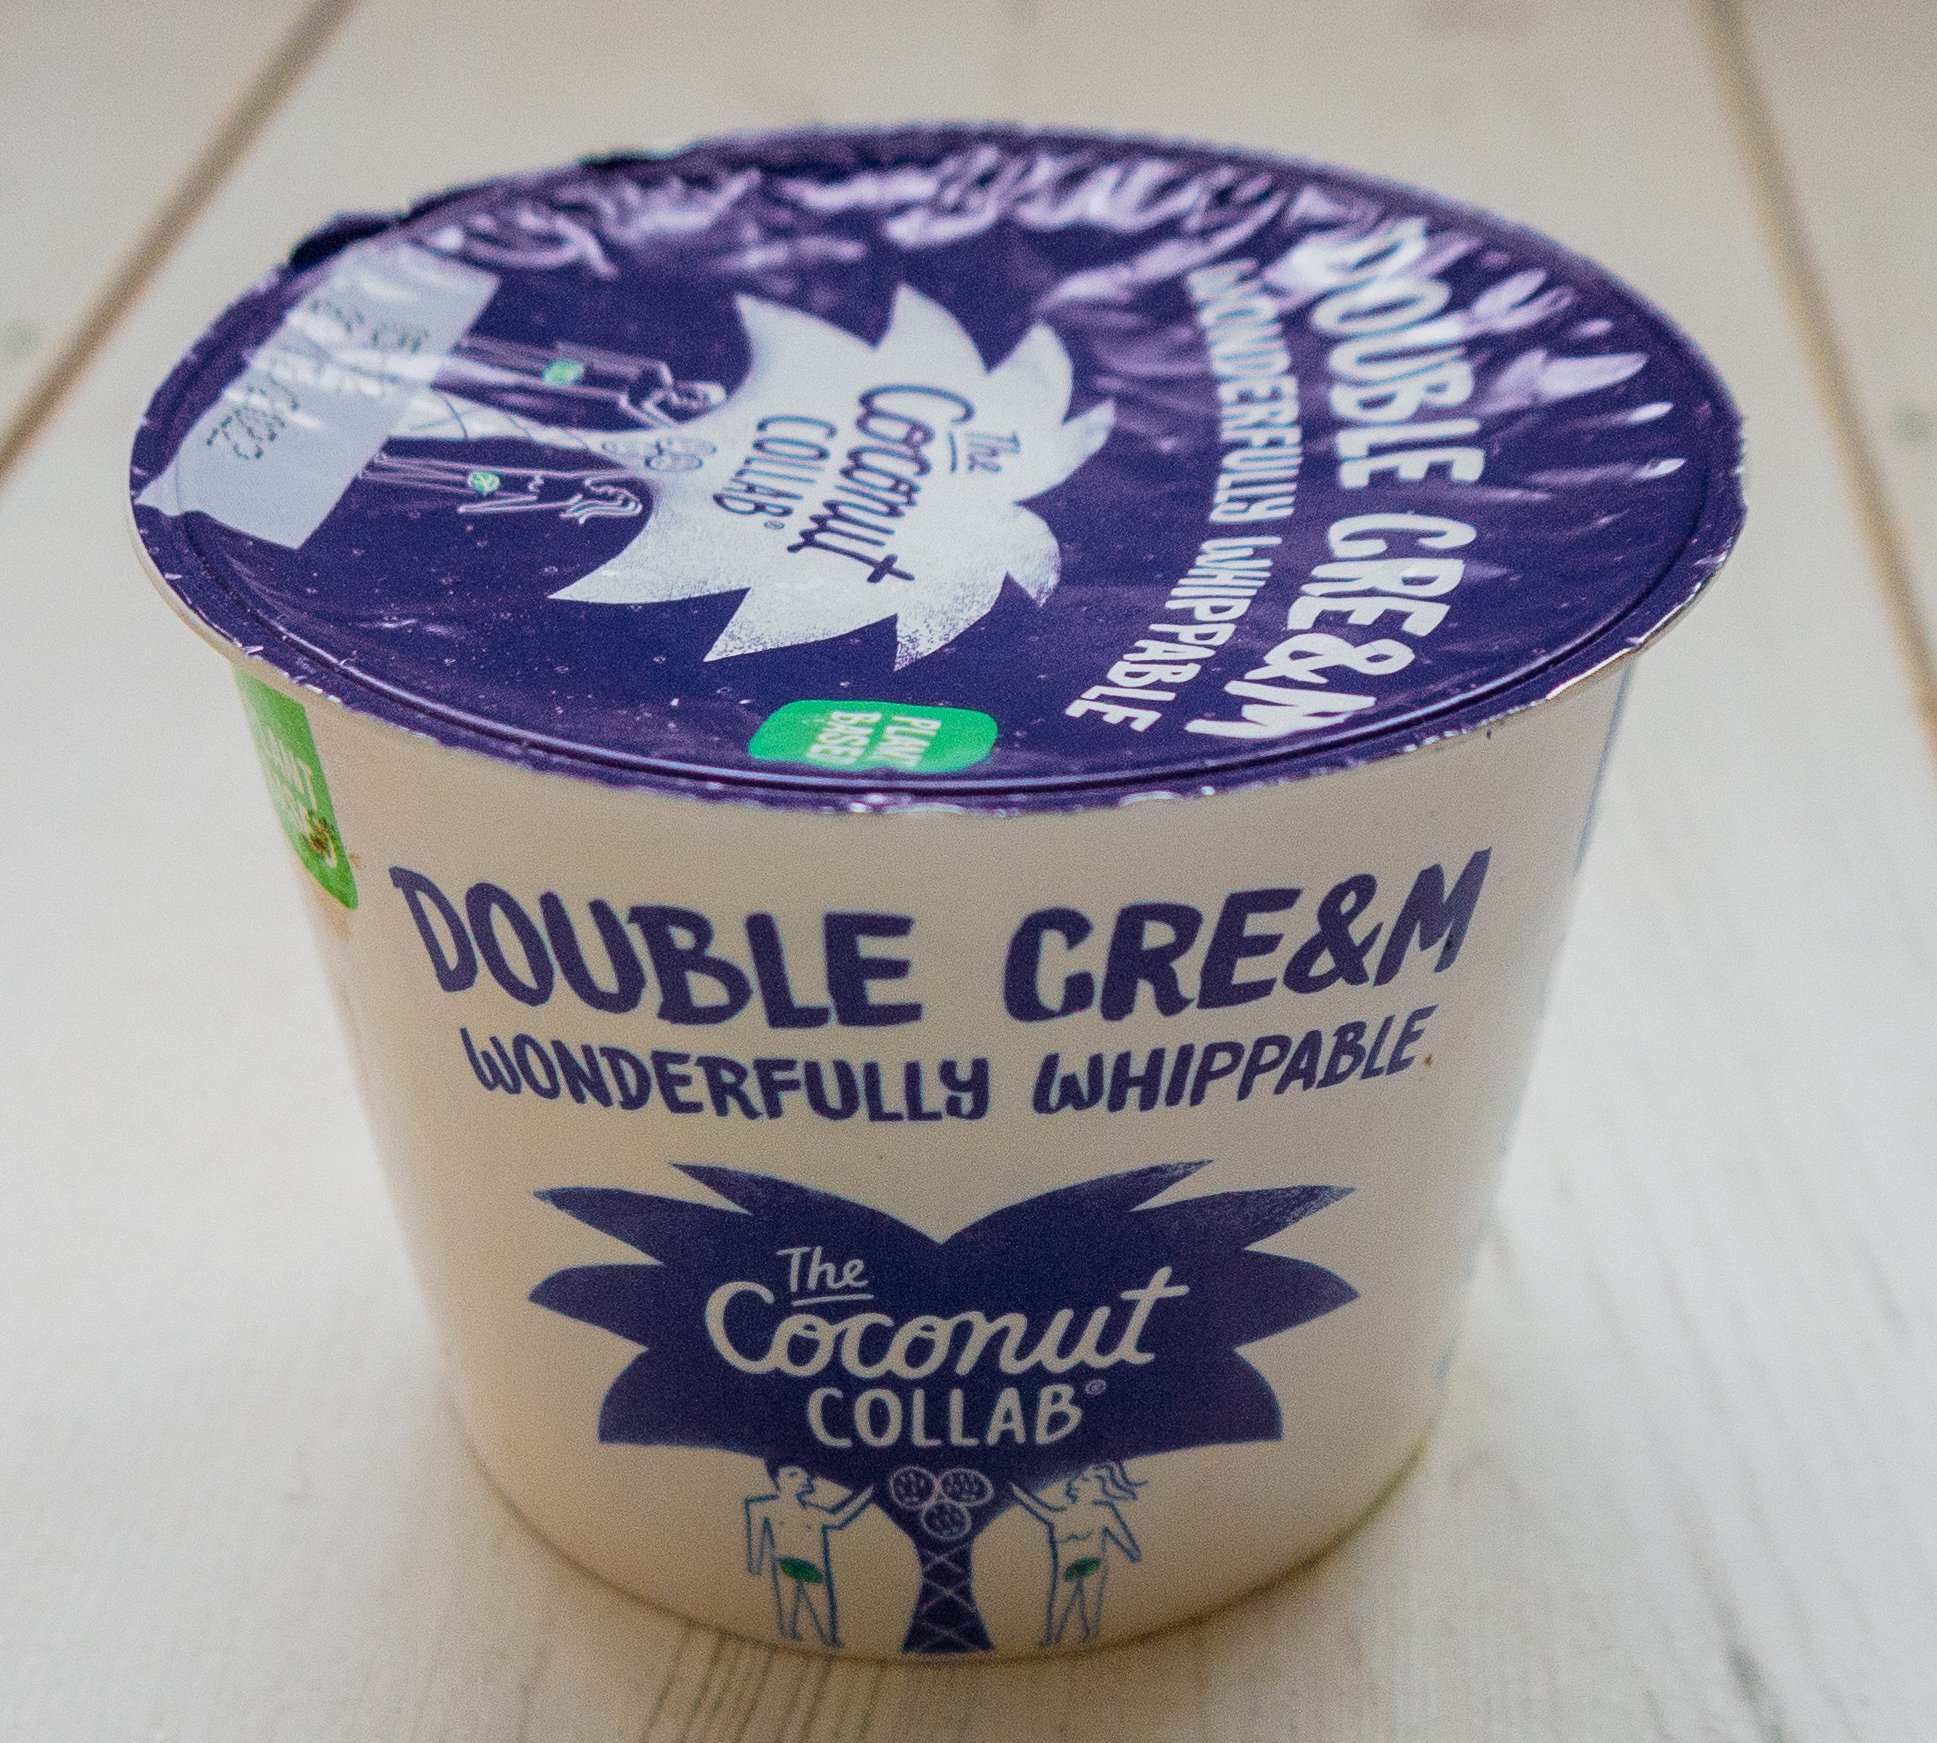
Cream
I have discovered that the best cream for whipping, which holds and doesn't collapse, is made by Coconut Collaborative. I have tried using Elmlea and other plant-based creams, but they do not pipe well and tend to collapse, making them unsuitable for desserts.
Sugar/sweetener
I used xylitol in this recipe because I've been experimenting with different types of sugar. However, I'm not too fond of it because it has a weird taste. Personally, I always prefer to use honey or agave in cooking. Nevertheless, feel free to use your favourite sweetener.
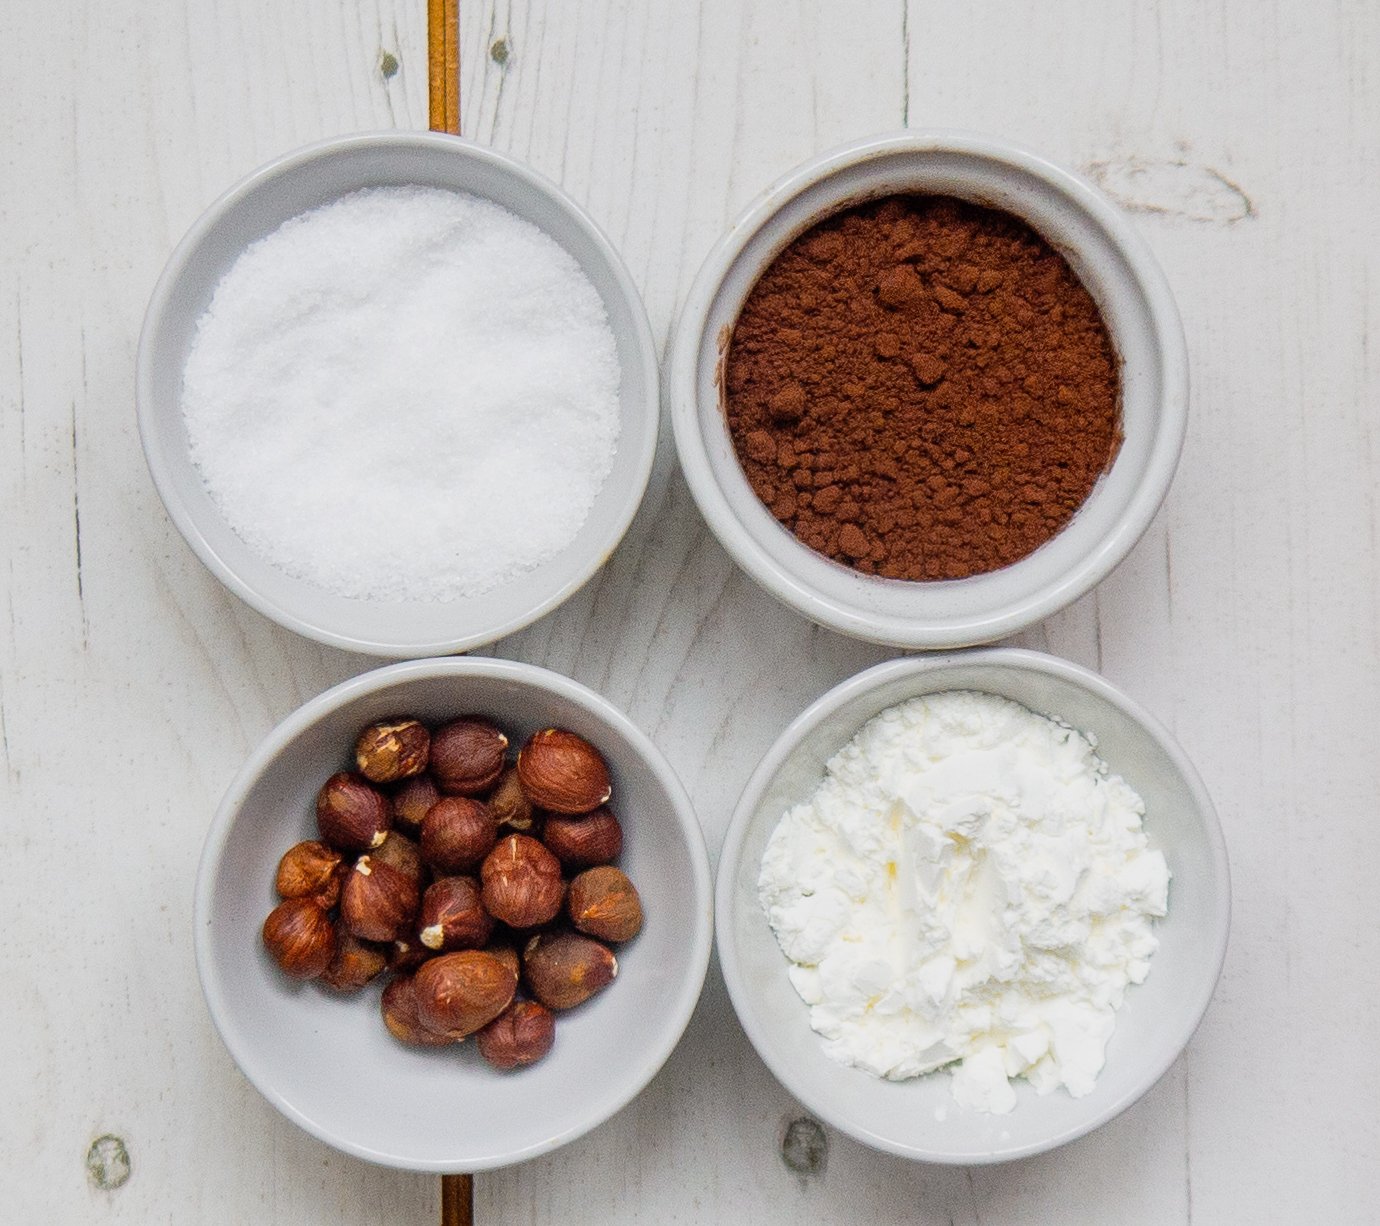
Ingredients
Variations
Try adding mint extract or fresh mint leaves to the milk, ( take the mint leaves out before serving).
Add some orange extract or zest to the milk, strain after boiling, and then whisk in the rest of the ingredients.
Serve the custard chilled with raspberries or strawberries instead.
Use this homemade chocolate custard in a vegan chocolate trifle.
Use this quick chocolate custard in a vegan chocolate tart, use a biscuit base press into a tart case, chill, add the custard and decorate with cream and fruit.
FAQ’s
Can I substitute the cornstarch?
If you don't have cornstarch, you can use arrowroot powder or tapioca starch as alternatives in this recipe. They function in a similar way and will help thicken the custard.
Can I adjust the sweetness level?
Certainly! Feel free to adjust the sweetness level as per your preference. You can increase or decrease the amount of sugar or use a different sweetener altogether, such as maple syrup or agave nectar.
How long can I store the vegan chocolate custard?
You can store the vegan chocolate custard in an airtight container in the refrigerator for up to 3-4 days. Make sure to cover it well to prevent any odours from seeping in.
Is this recipe suitable for people with gluten allergies?
Yes, this recipe is gluten-free as long as the ingredients you use, including the plant-based milk and cocoa powder, are gluten-free certified.
Other recipes you might like
Makes 4 portions - 5 mins cooking time
Step by Step
Recipe
400 ml tin Coconut milk
2 tbsp Cocoa powder
3 tbsp Cornflour
3 tbsp xylitol or any sweetener (to taste, add as much or as little as you require)
1/4 tsp Vanilla extract
1 carton of Cream ( see notes)
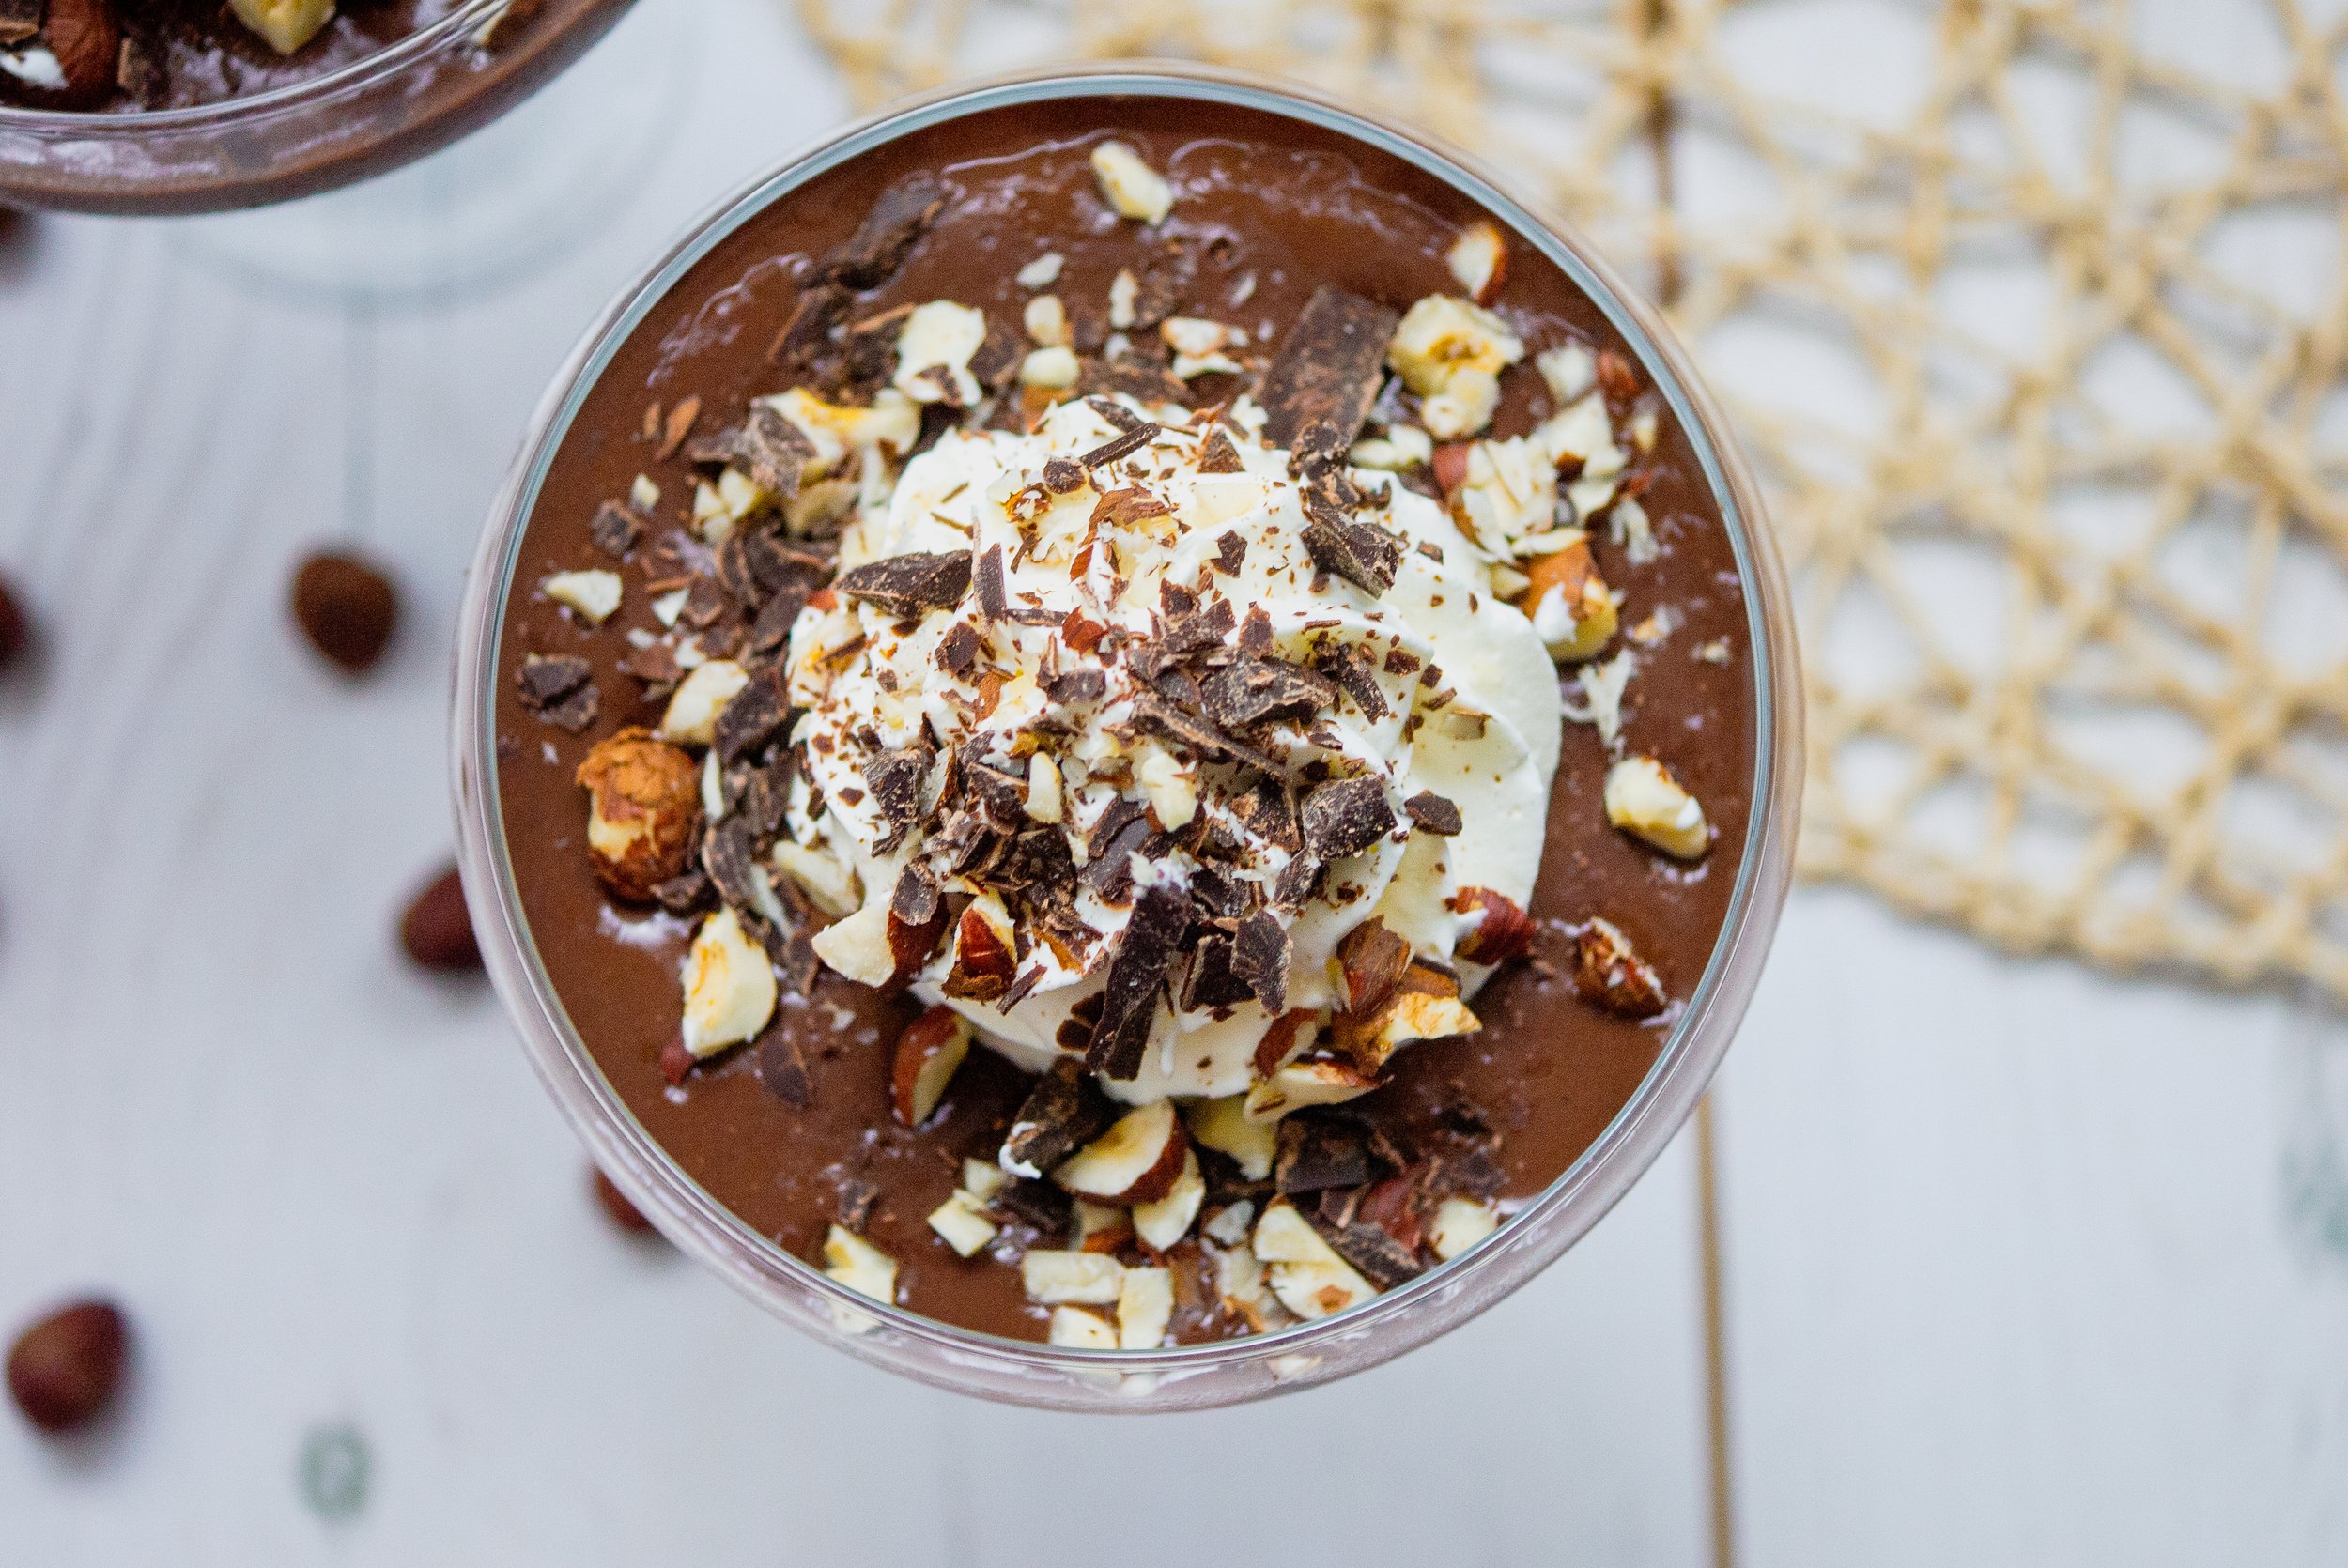
10 Hazelnuts chopped
100 g Chocolate ( see notes)
Method
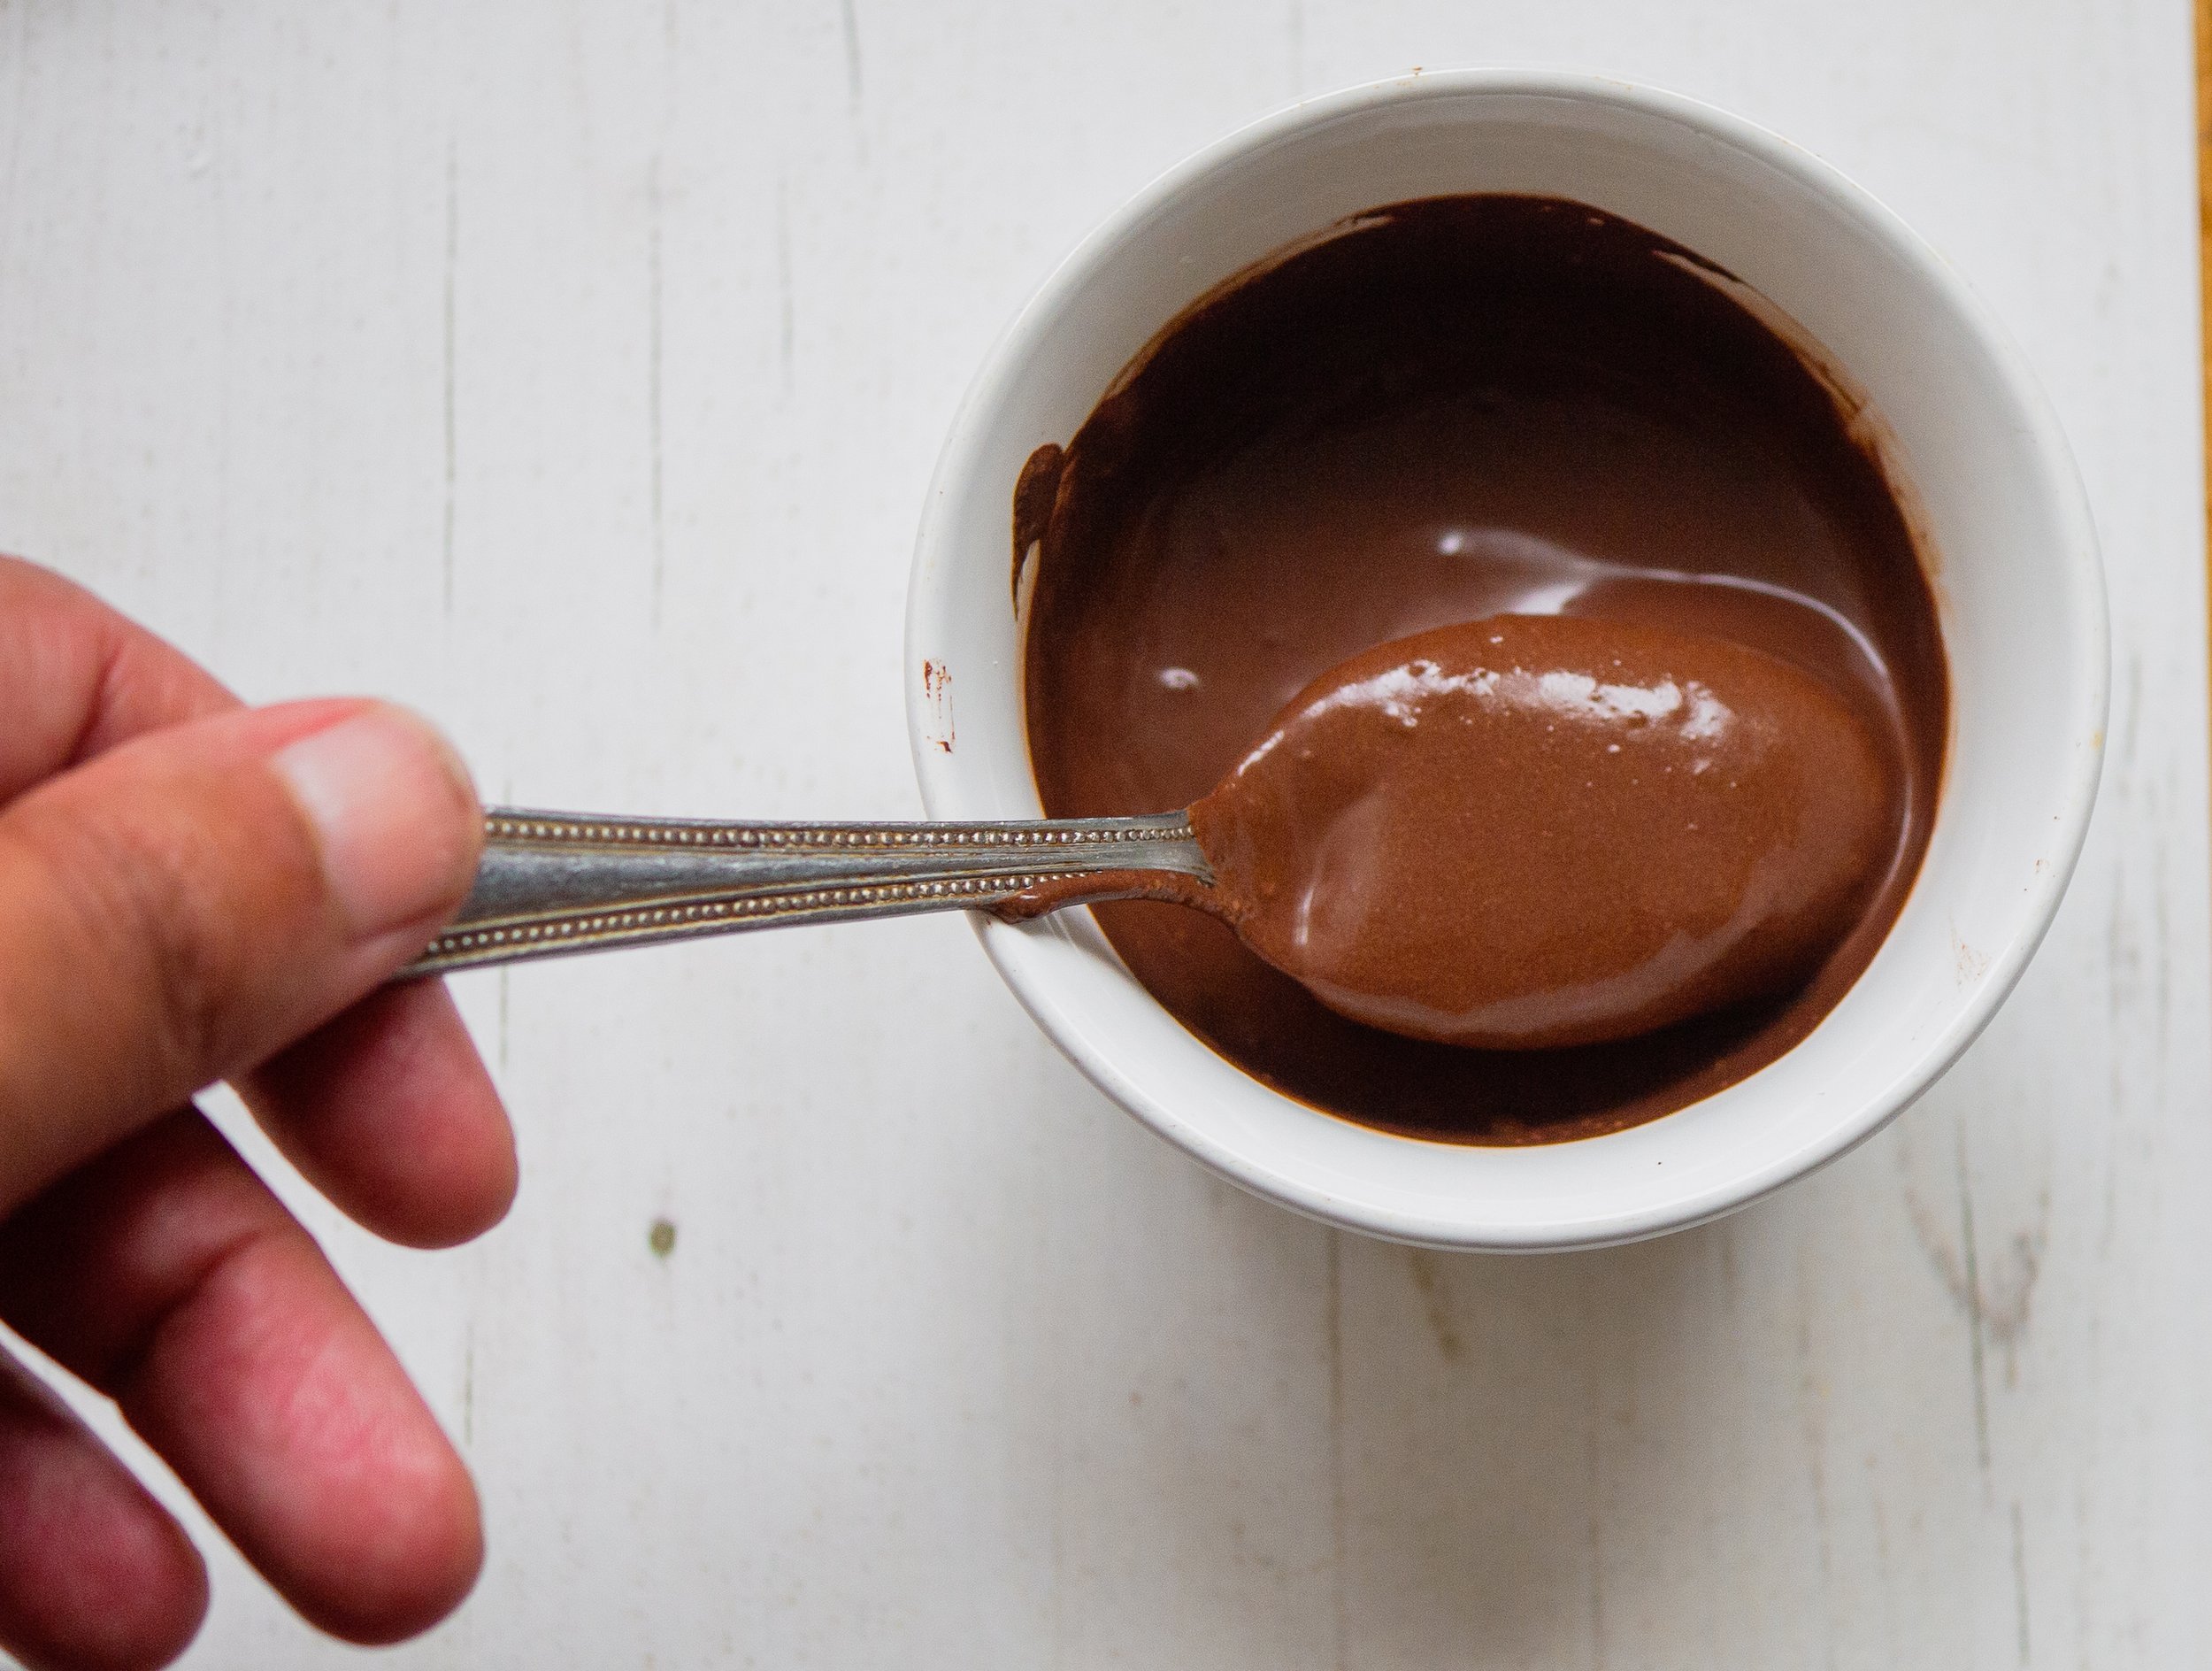
Heat the coconut milk and then add half the chocolate and melt on a very low heat.
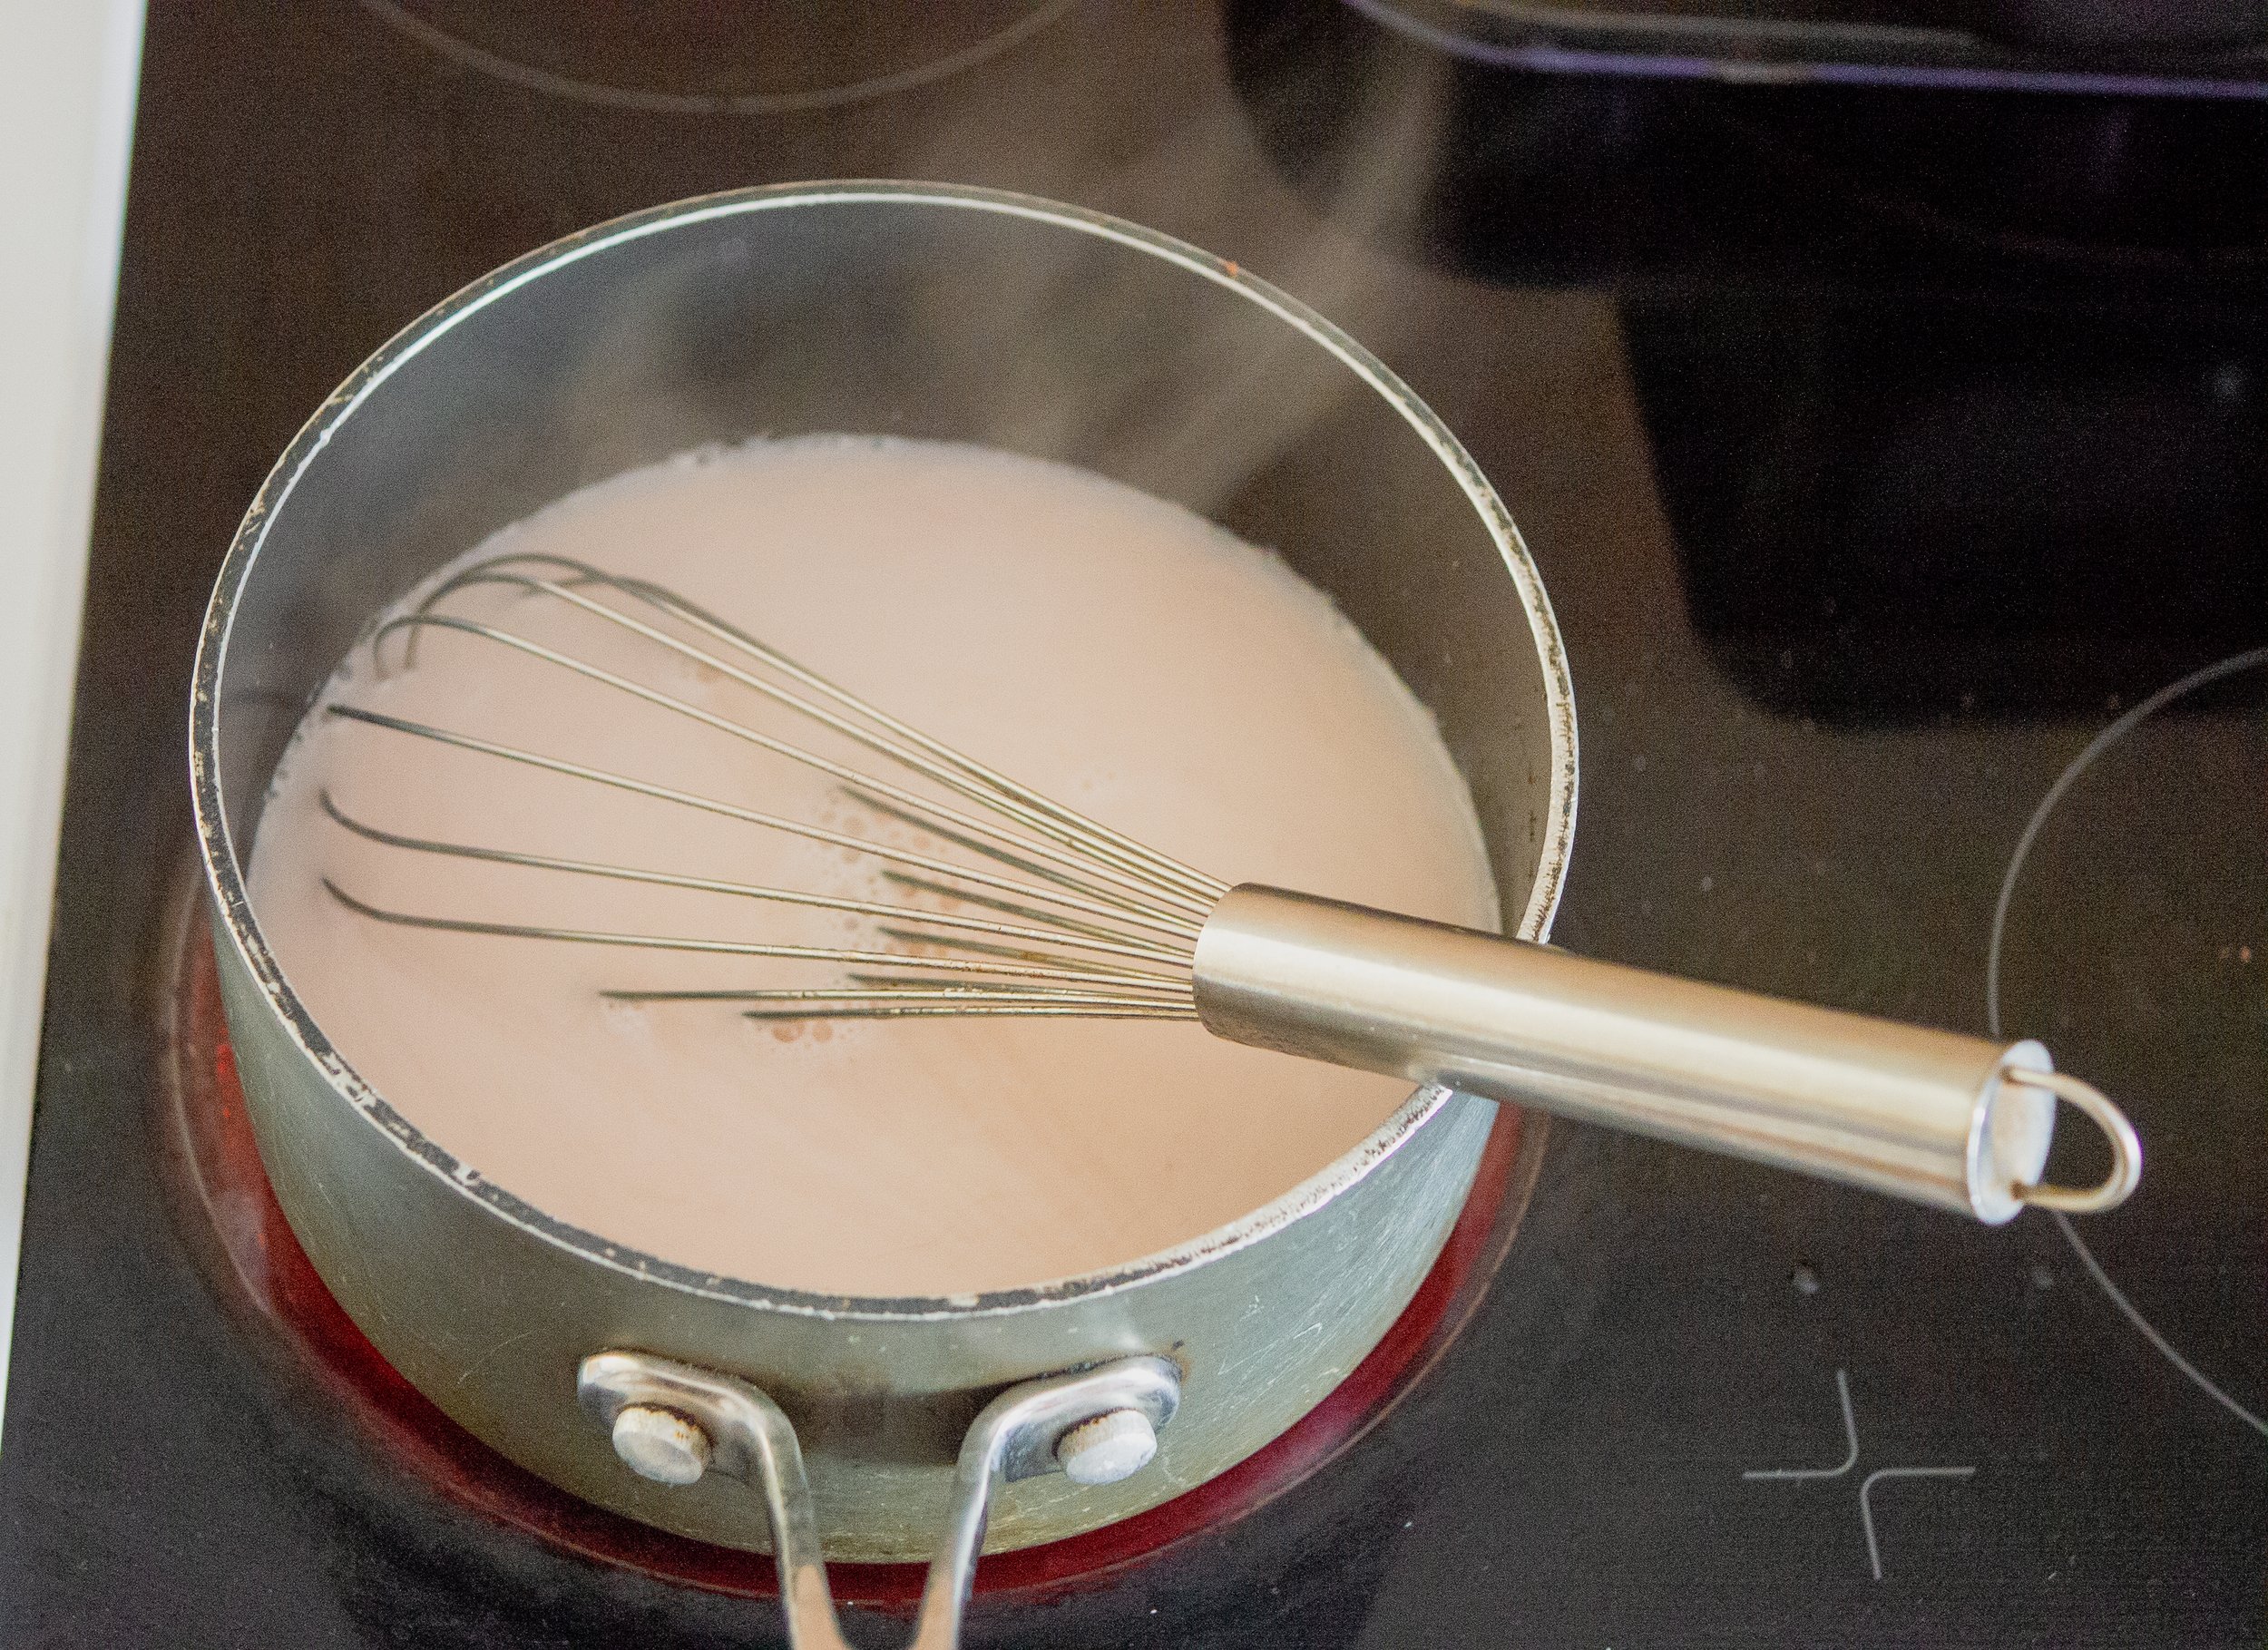
Mix the cornflour and cocoa powder to a paste with a few tbsp water whisk into the coconut milk and bring to a boil.
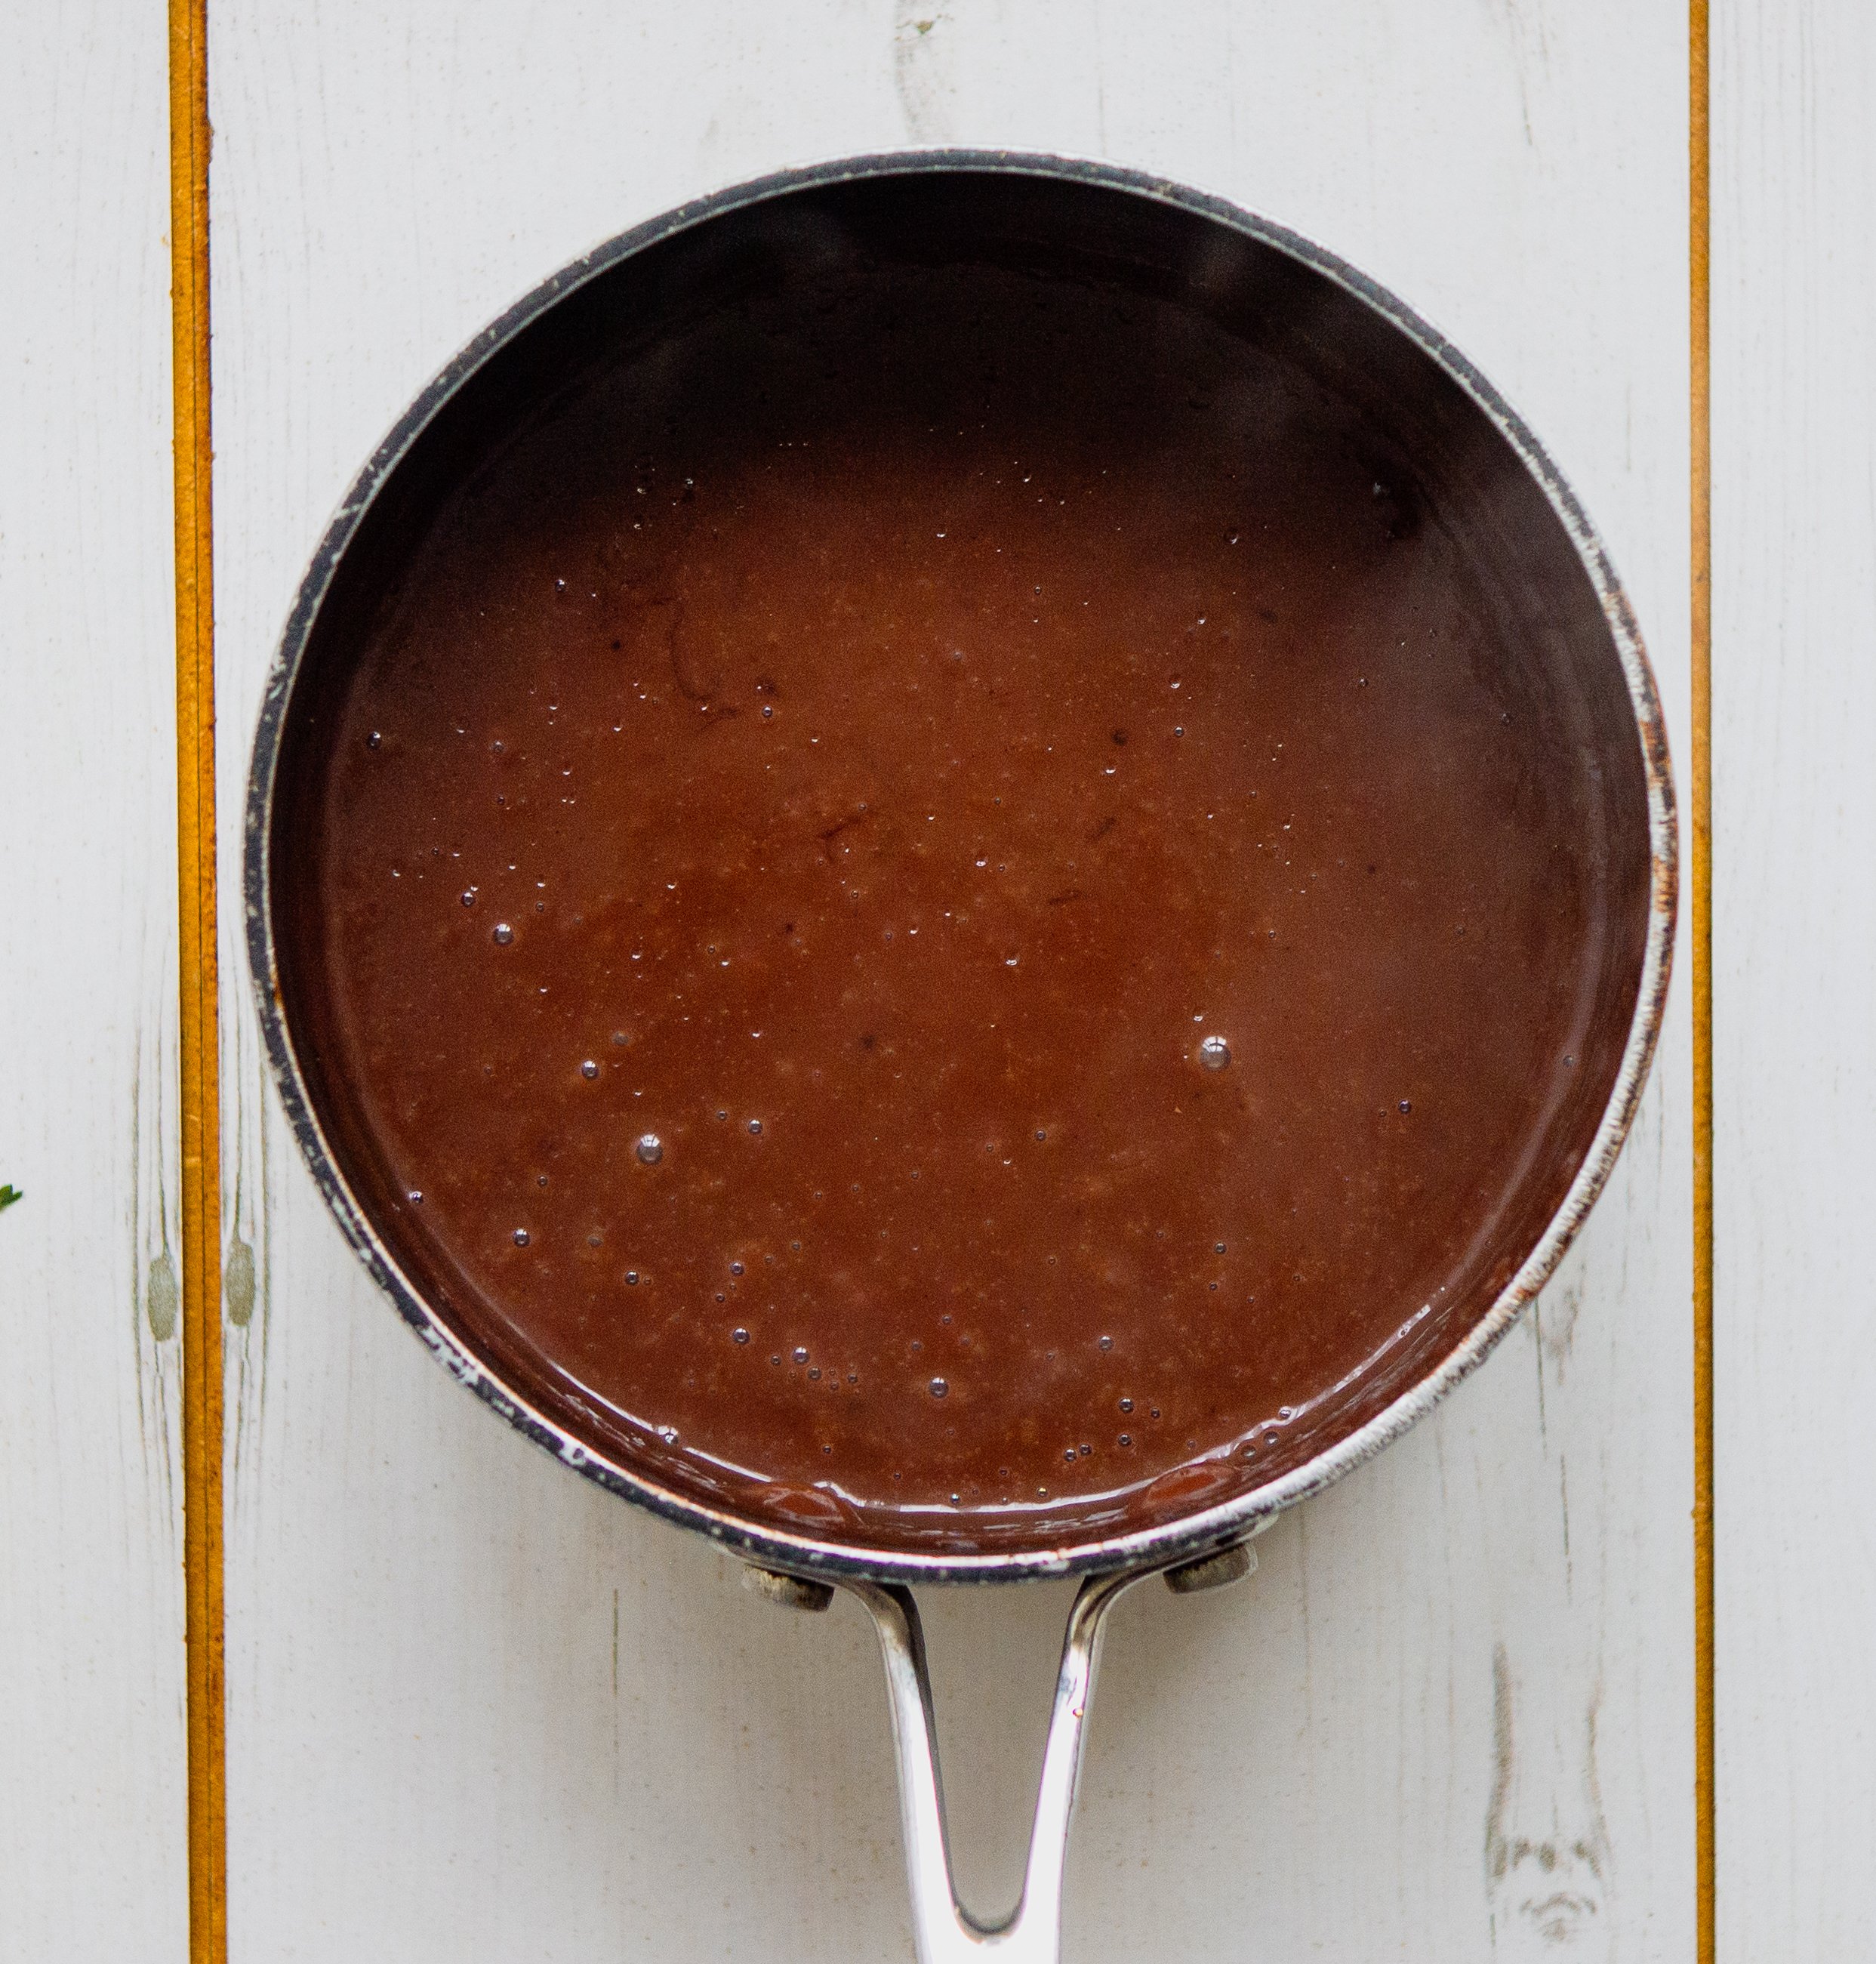
Remove the mixture from the heat and add the sugar and vanilla. Whisk the ingredients thoroughly until well combined.
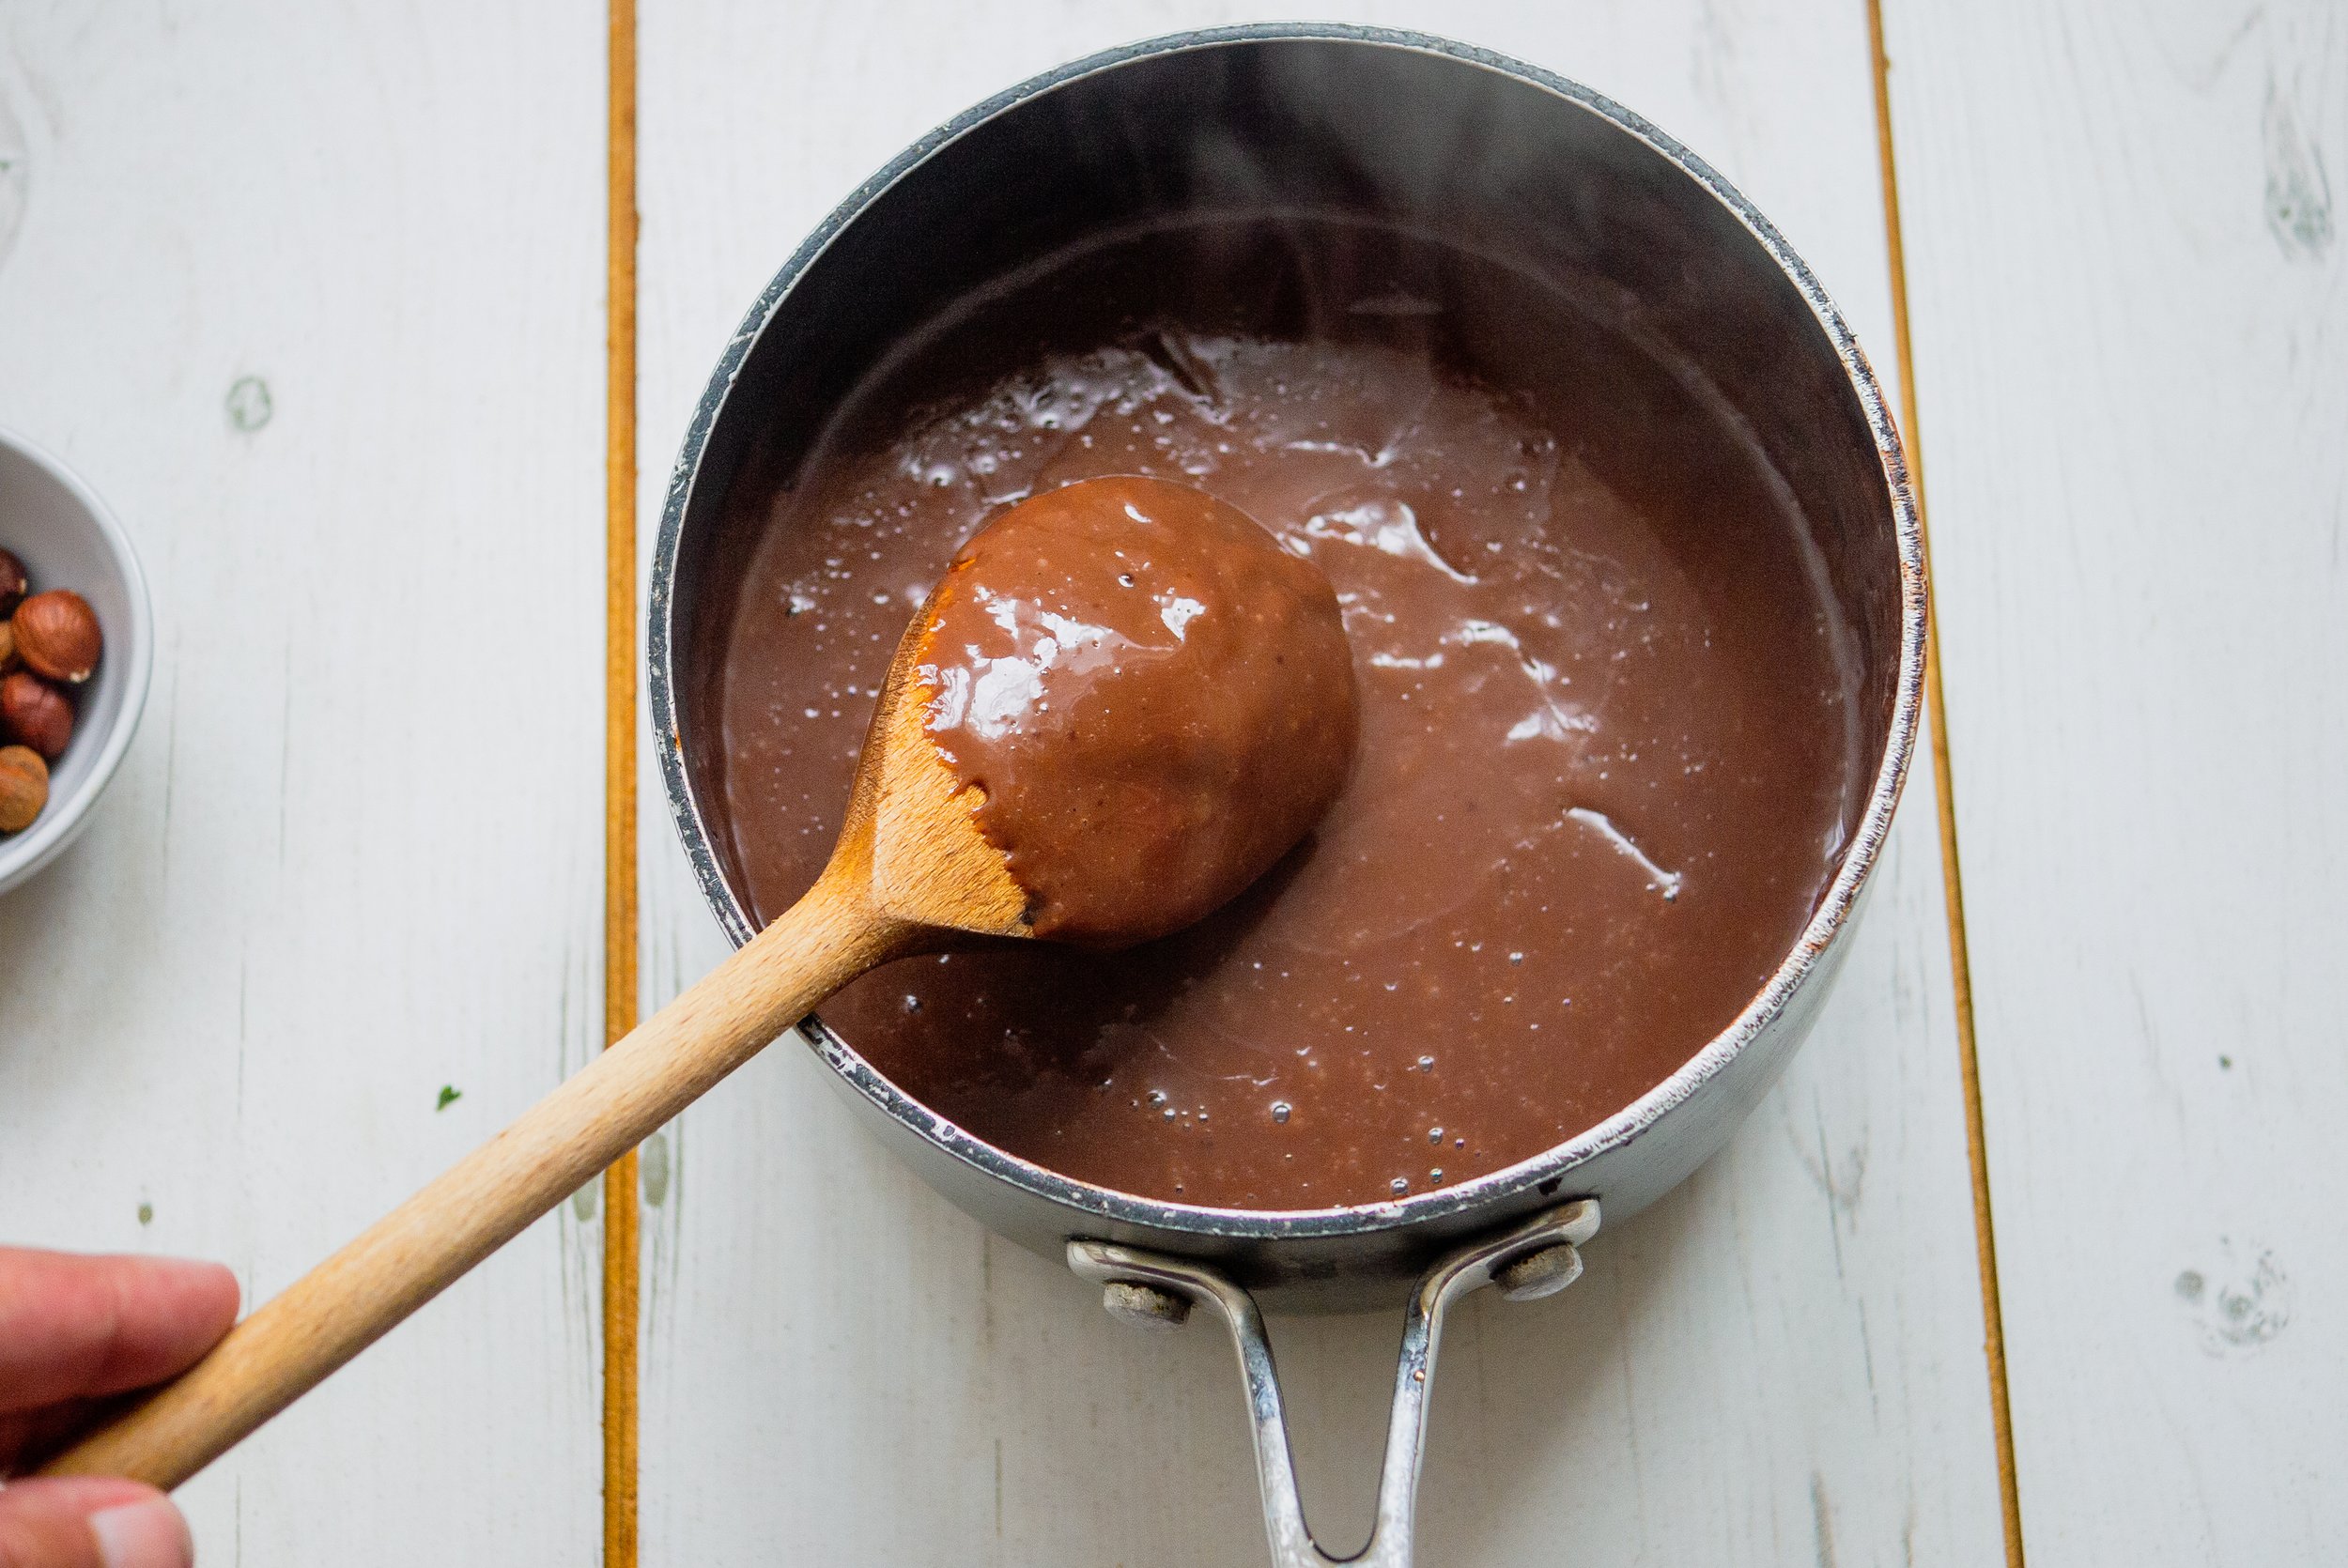
Adjust the sweetness to your liking, at this stage, it’s ready to use as a hot custard for a yummy pudding OR pour into desired dishes, and leave to cool before refrigerating.
If you want to use this recipe as a chilled dessert, wait until the custard has set and then whip the cream. You can either pipe it or place a blob in the centre of the dish. After that, chop or grate the remaining chocolate and hazelnuts, and add them on top. Finally, serve the dessert.
Support & freebies
If your finding cooking for your allergies and intolerances challenging. I also teach cookery classes and can do this in person or via zoom. Please feel free to contact me here for a tailor-made class to suit your needs.
Download a FREE gluten and dairy-free swaps resource. Download it here.
Download your FREE soy-free avoidance list here.

Looking for anything?
Browse all Articles
Latest articles


Latest Recipes


Follow along on Instagram


You might also like these recipes: